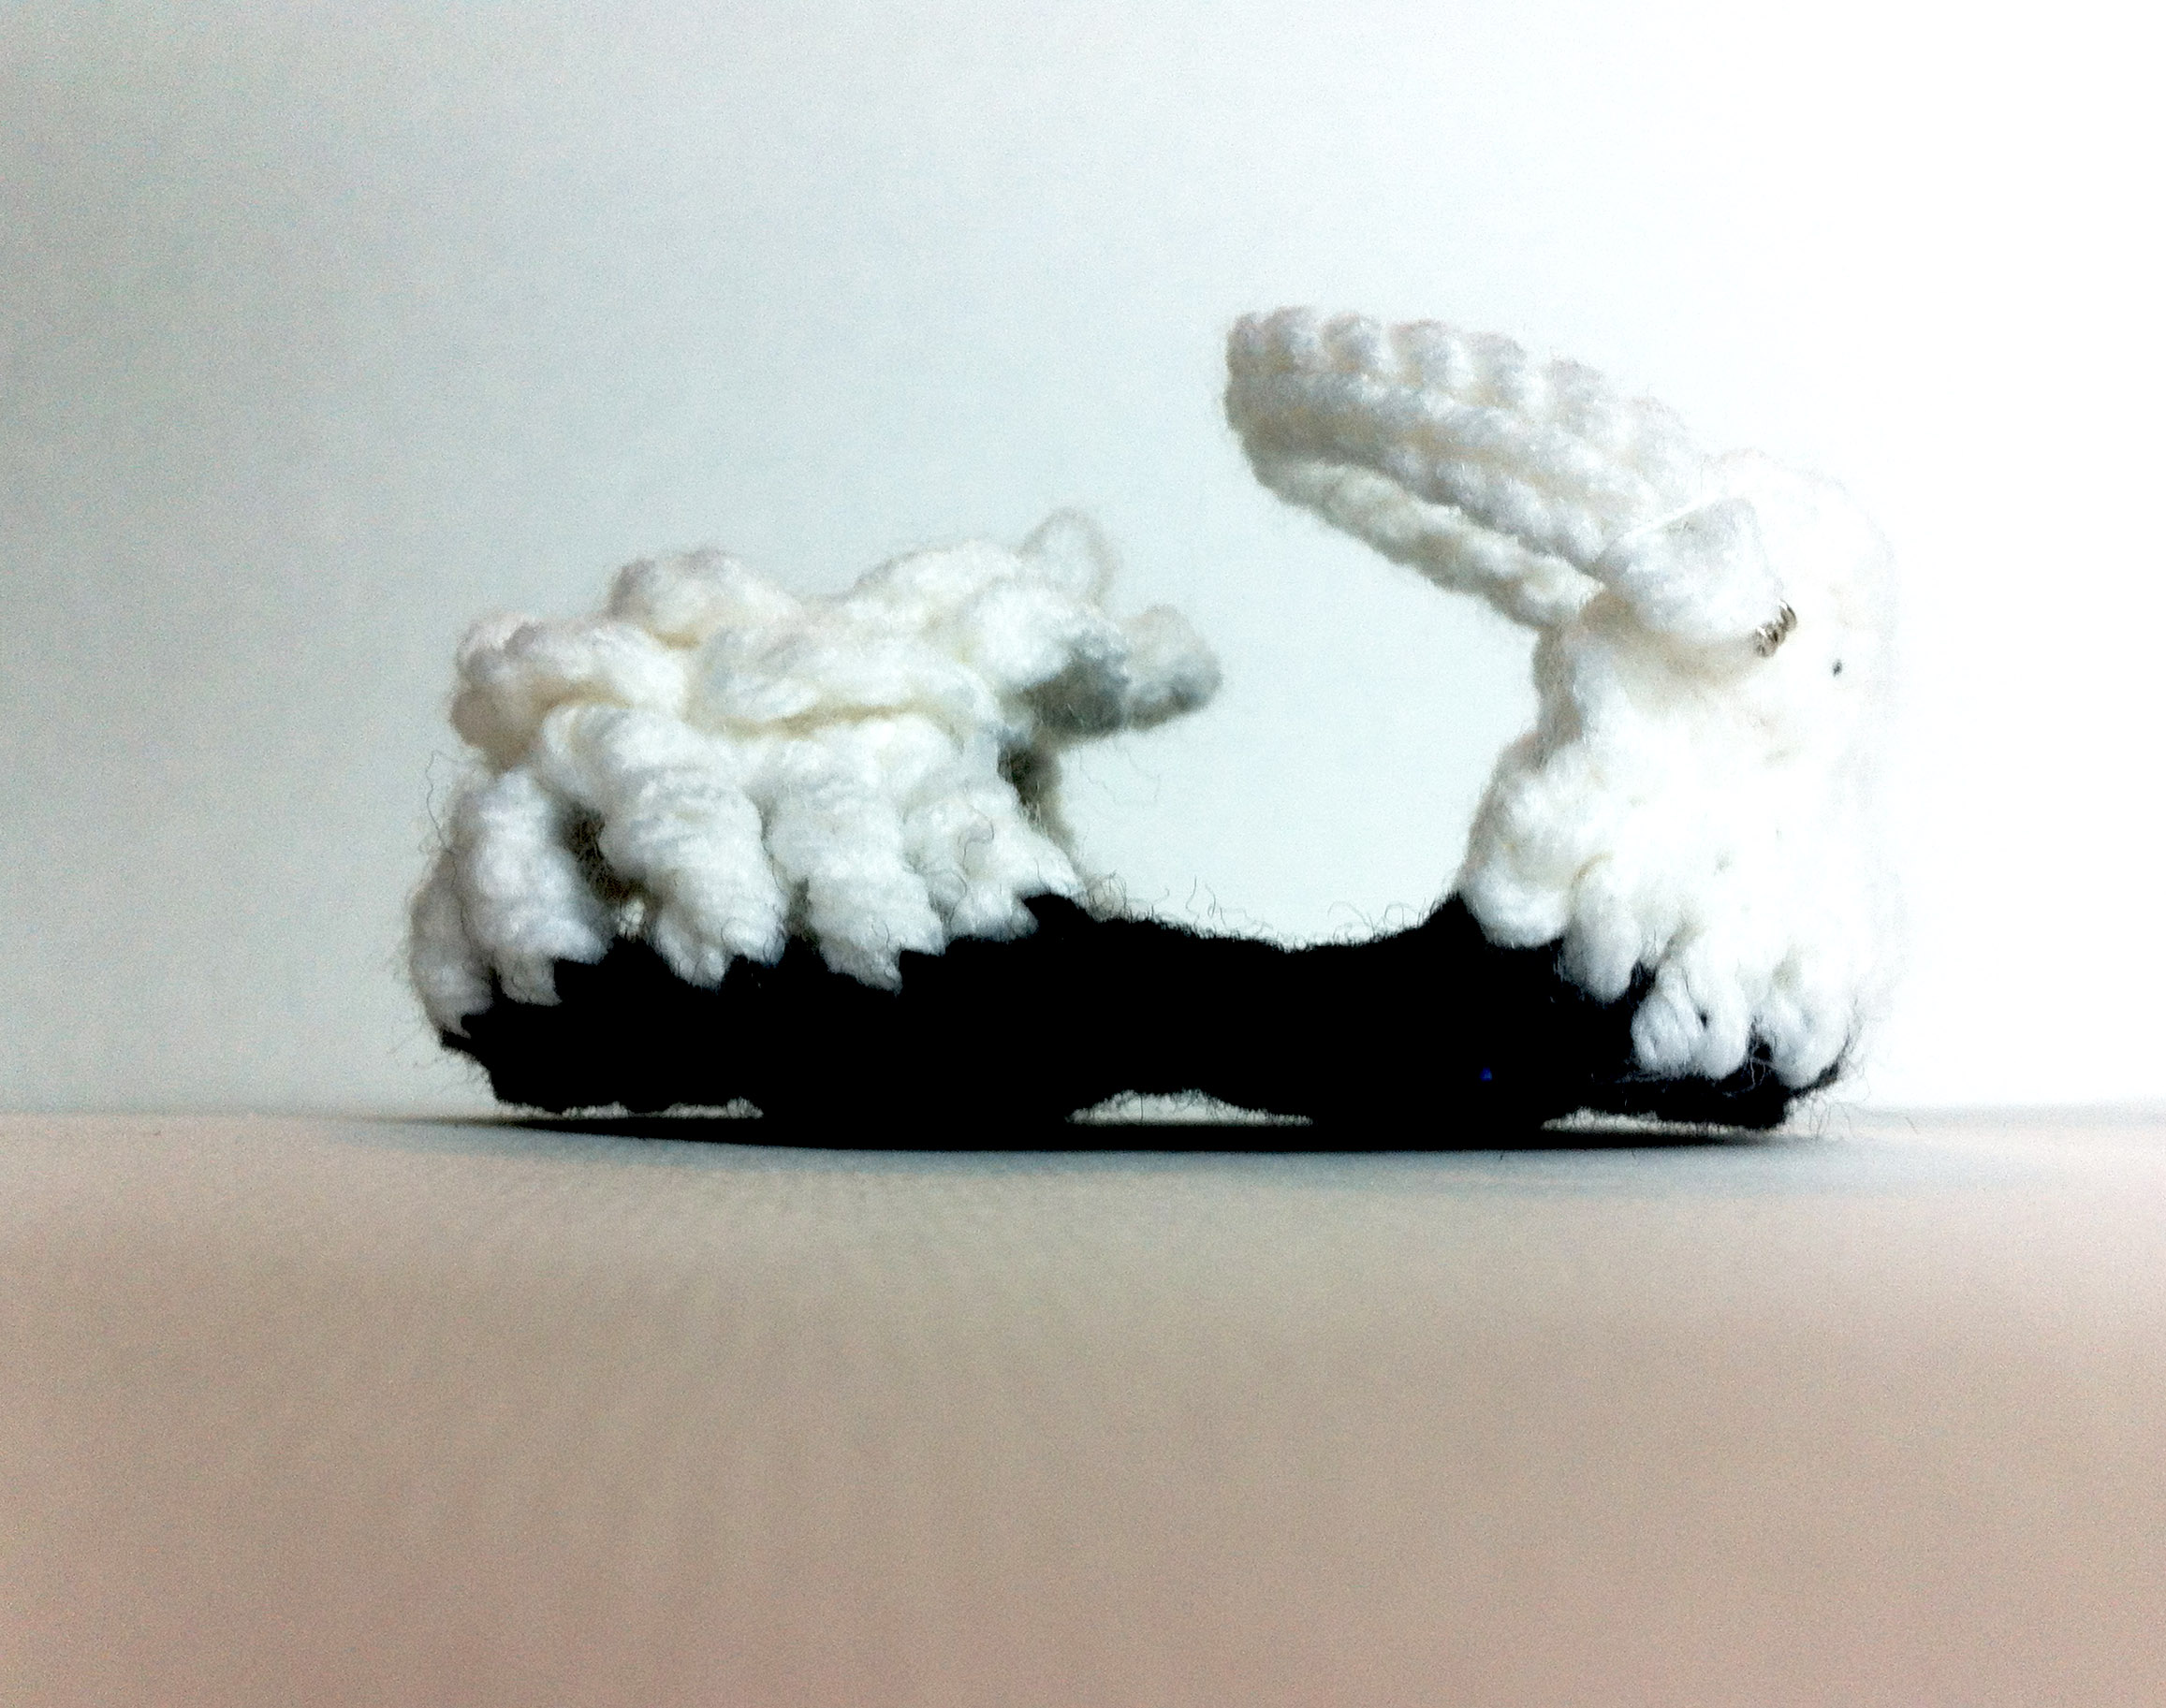
Introducing the Suzy Sandal
pdf link to the pattern: Suzy Sandal
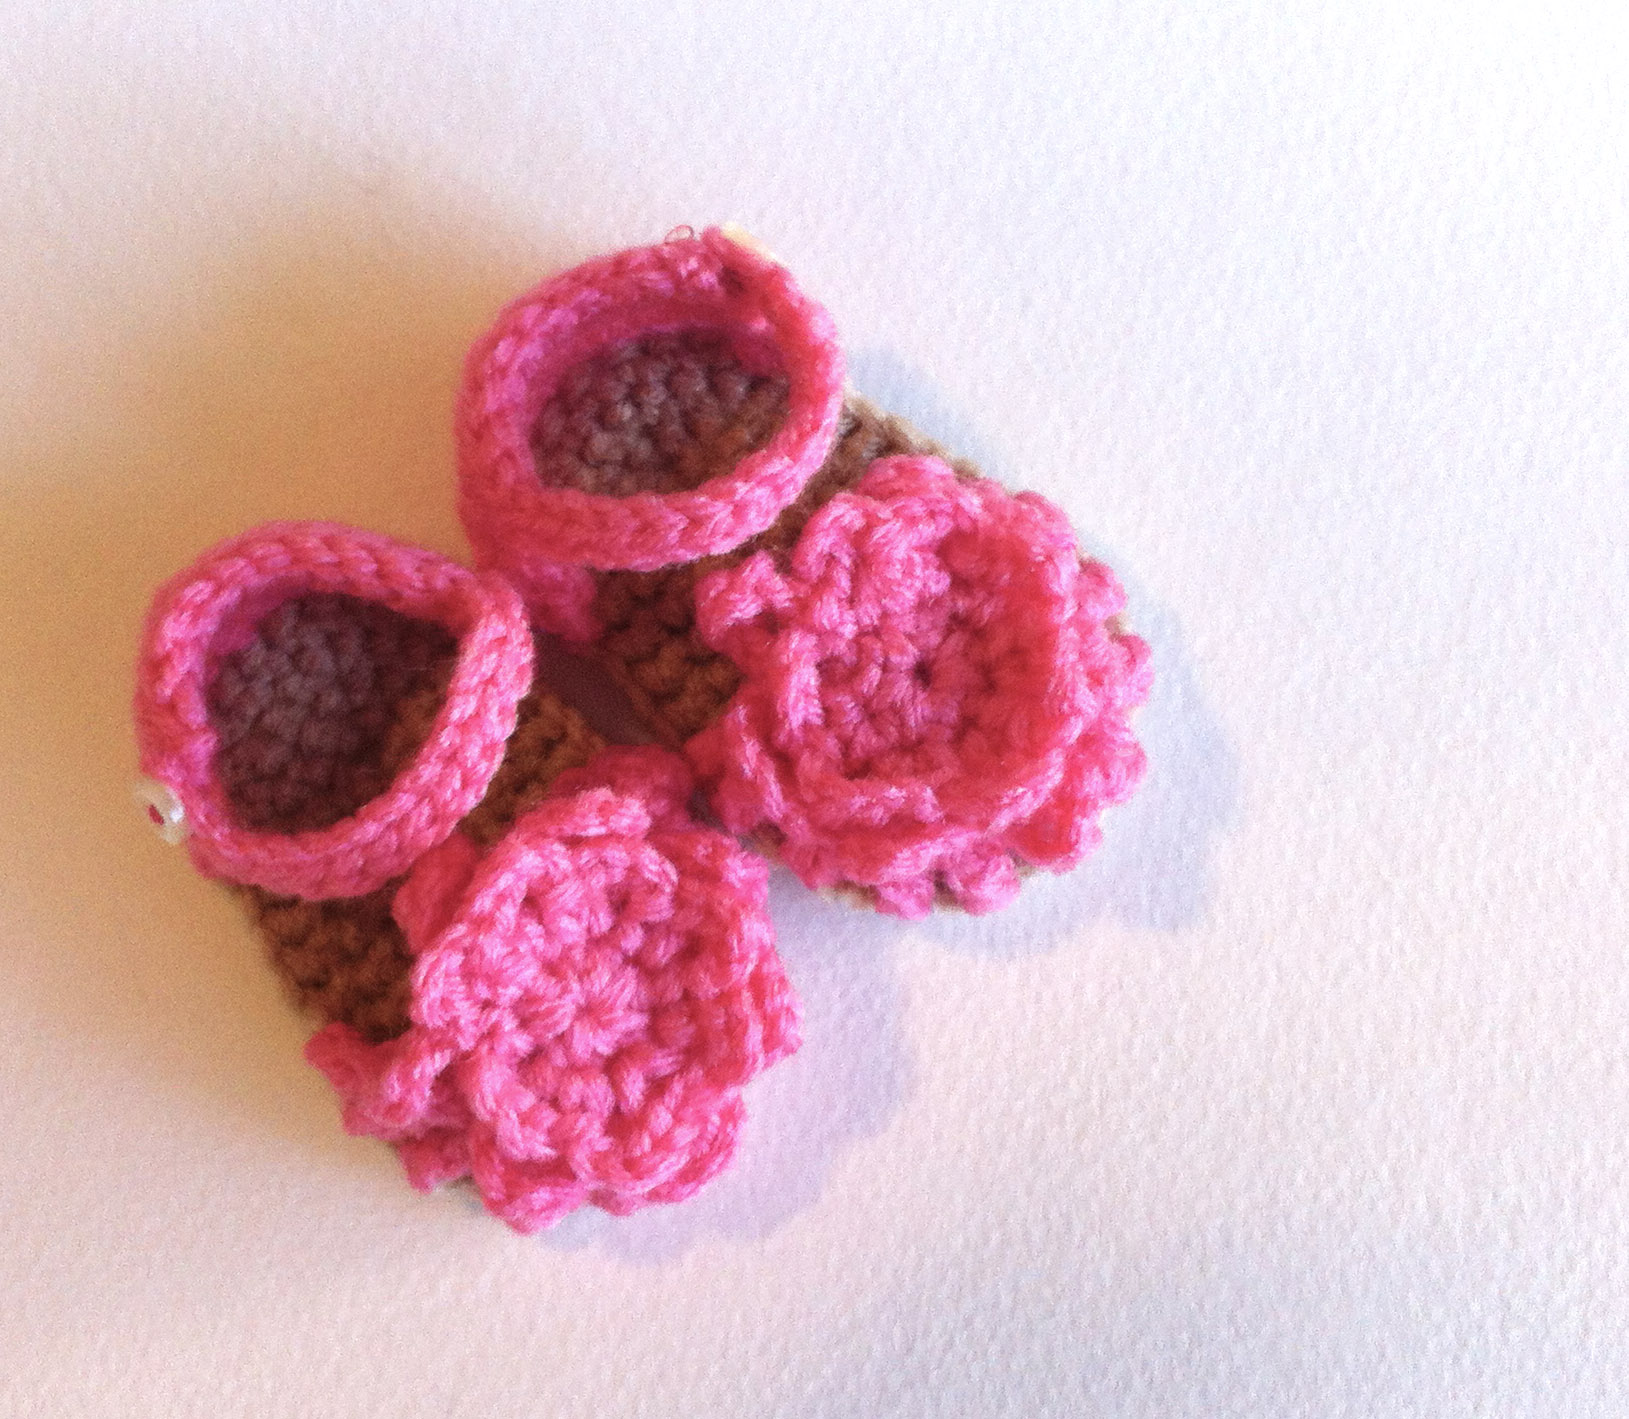
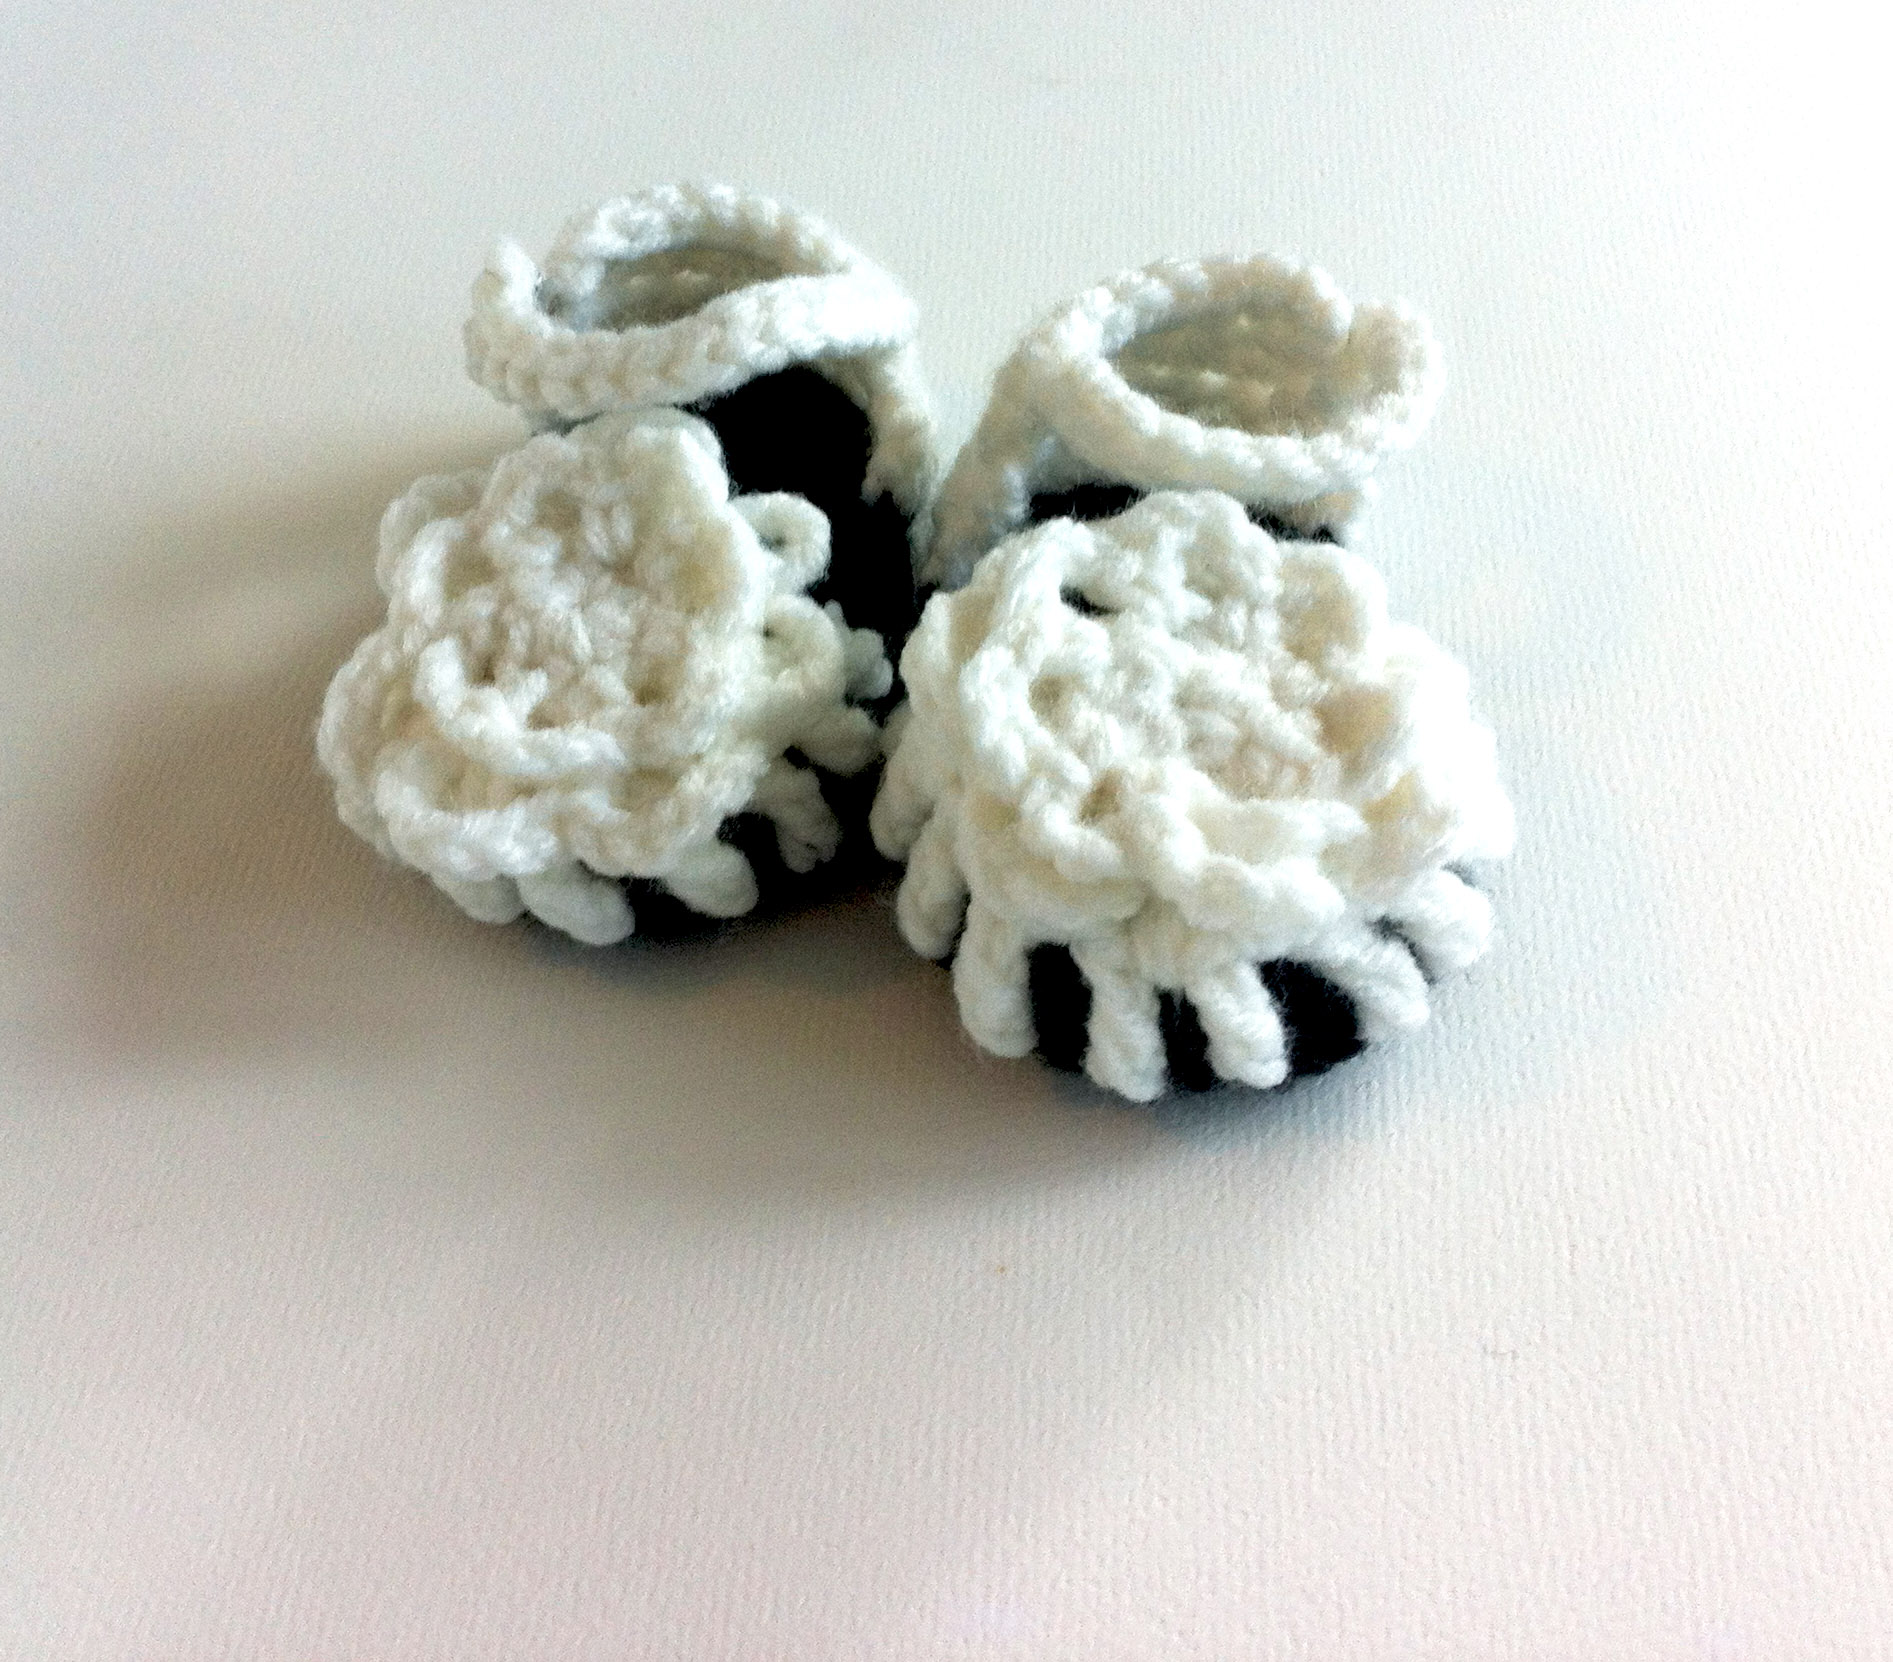
All of my previous babies were born in the fall or winter. The crochet projects I did, while gestating, included beanies and booties- definite cold weather apparel. This little girl will be born in the summer, so those go-to baby items just won’t work (for a while). I have seen some cute sandals around various places on the interwebs and I thought I could come up with a cute version of my own.

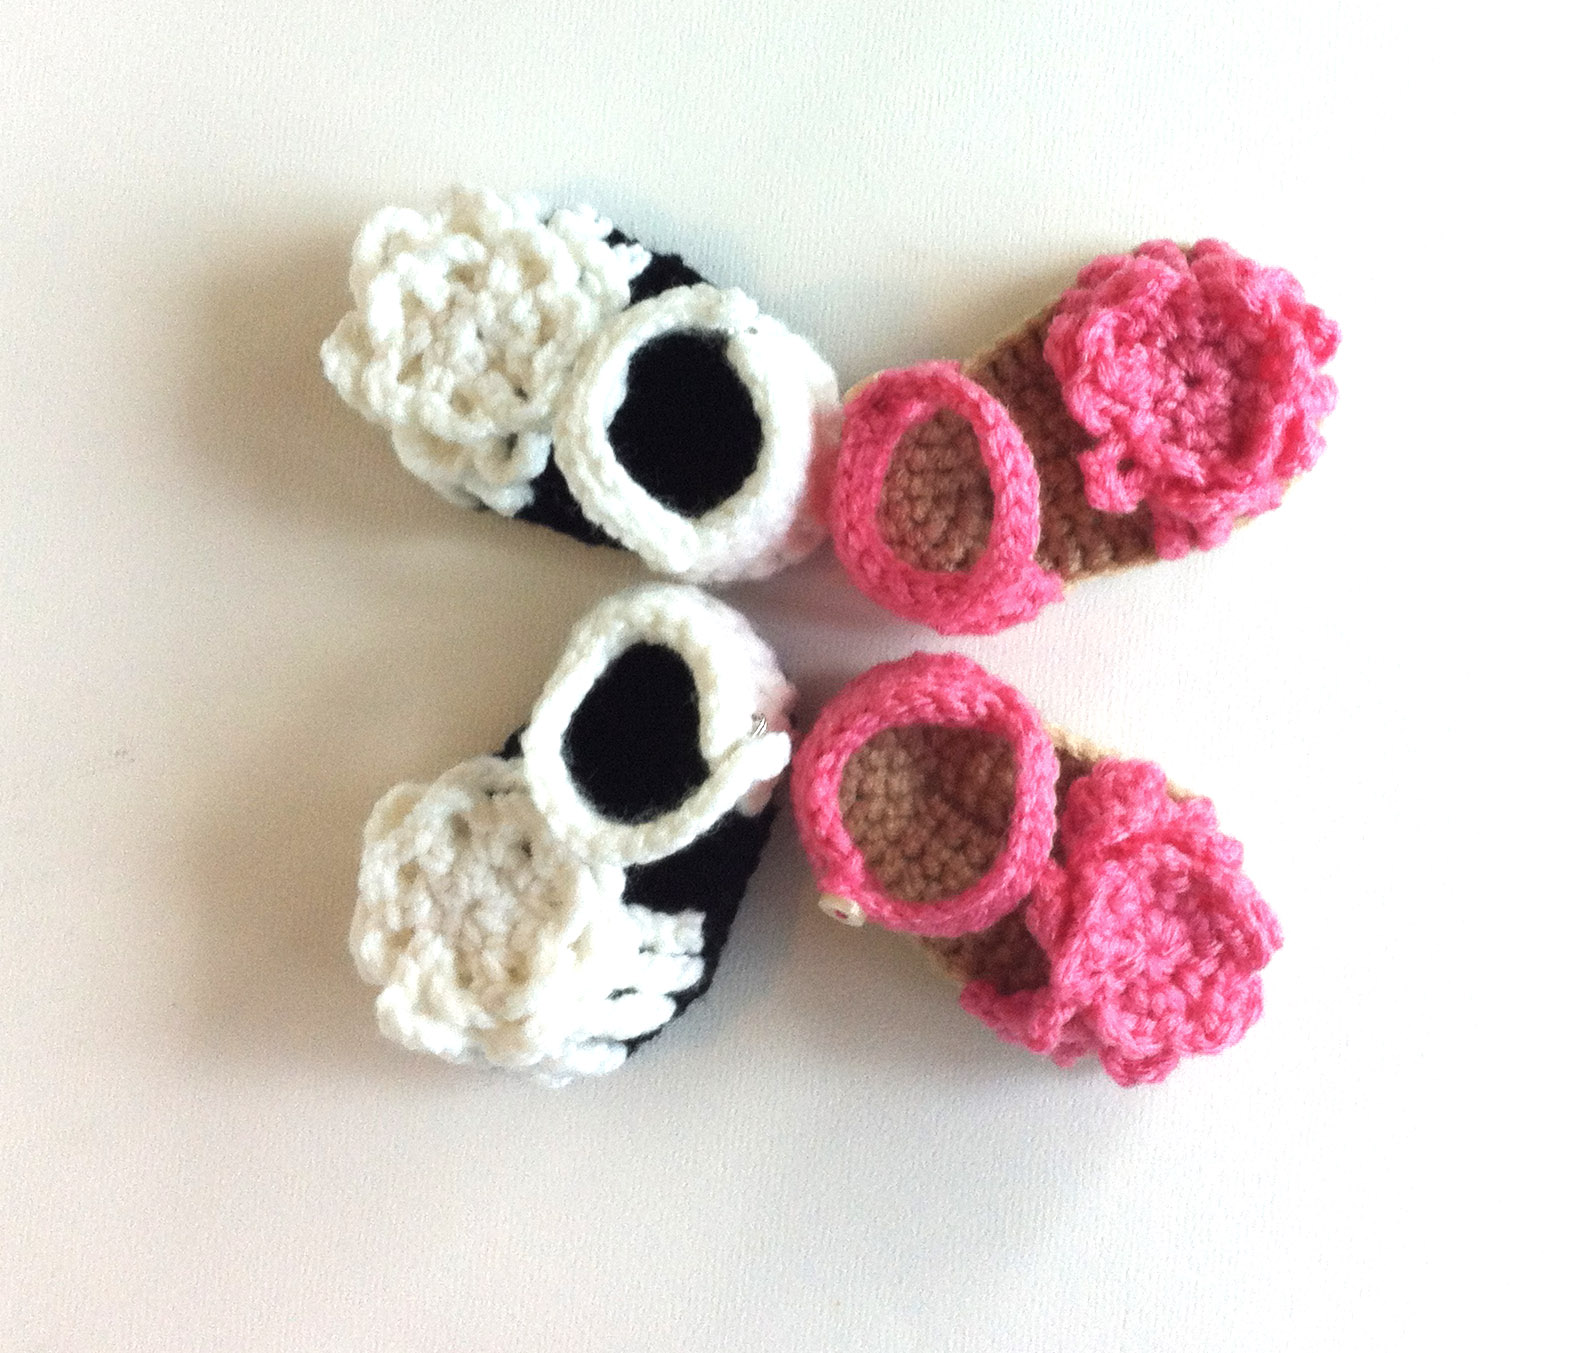
I I just made them, without writing down the pattern, but I had a bit of response from people wanting to try some, too. So, I whipped up another pair, writing the pattern out for you. 🙂 They make size Newborn (approx. 3 inches), but you could easily make a 0-3 month size (3.5 inches) or 6 month (4 inches) by changing the hook size. Perhaps sometime I will write new patterns for those sizes using the same hook size.
I would love for you to try out the pattern, let me see your creations, and let me know of any problems or questions you run into. A word of caution: they have not been tested on a live human, so I have no idea about fit. If you try them and put them on your squishy baby, please let me know how they fit. I will have a live model of my own come June, but until then, I just have to go with how it looks to me.
Oh, a word about the name. When my oldest, Liam, found out that we were having a baby, he obsessed about it for days- before finding out that it’s a girl. Every morning he’d see my growing belly and say, “I can’t wait to meet my new baby sister, Suzy!” He even told his Sunday School class that his mom was going to have a baby girl named Suzy. Well, I doubt that we’ll name her Suzy, but since we don’t have a name and she is referred to as Suzy, and since these were created with her in mind, that’s what I’m naming the pattern.
So, let’s get to it, shall we?
Size F hook (3.75 mm)
worsted weight yarn
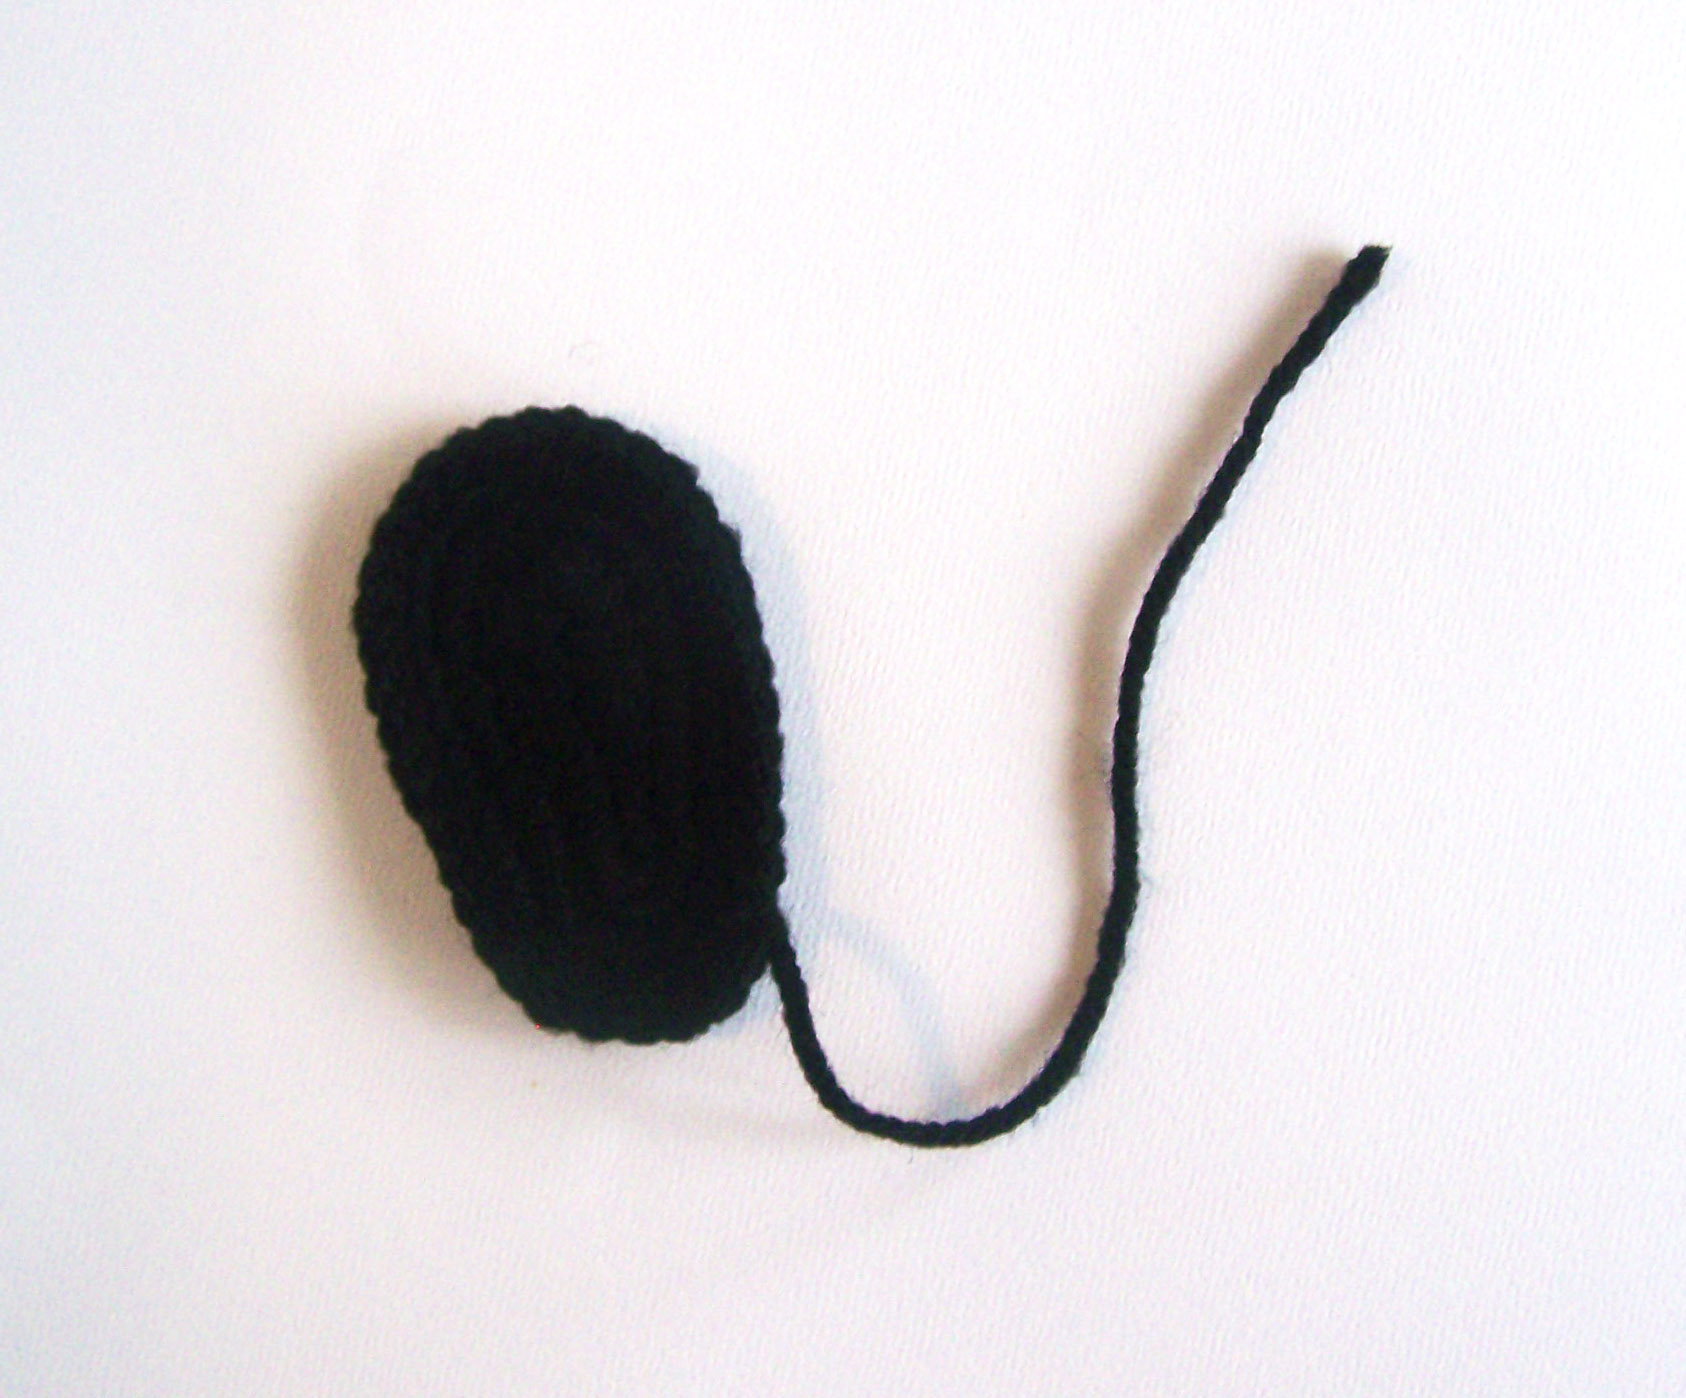
Sole:
Chain 9
Row 1: 3 sc in second stitch from hook, sc in next 2 stitches, hdc, dc in next 3 stitches, 6 dc in last stitch. Working across other side of chain, dc in next 3 stitches, hdc, sc in next 2 stitches.
Row 2: Starting in the first sc of the last round, 2 sc in each of the next 3 stitches, sc in next 6 stitches, 2 sc in each of the next 6 stitches, sc in next 6 stitches.
Row 3: Starting in the first sc of the last round, *sc in next, 2 sc in next,* Repeat 3 times, sc in next 8 stitches, *sc in next, 2 sc in next,* Repeat 4 times, sc in next 8 stitches.
Row 4: sc in next 2 stitches, 2 sc in next, sc in next 2 stitches, sc in next, slip stitch in next stitch
Row 5: slip stitch in each stitch around. Fasten off. (39 stitches) Turn the entire sole over so that the back of the sole is on the inside of the shoe. When you reattach the yarn, attach it only on the inside loops.
Heel:
Attach yarn using a slip stitch 3 stitches from where you left off on the sole IN FRONT LOOPS ONLY.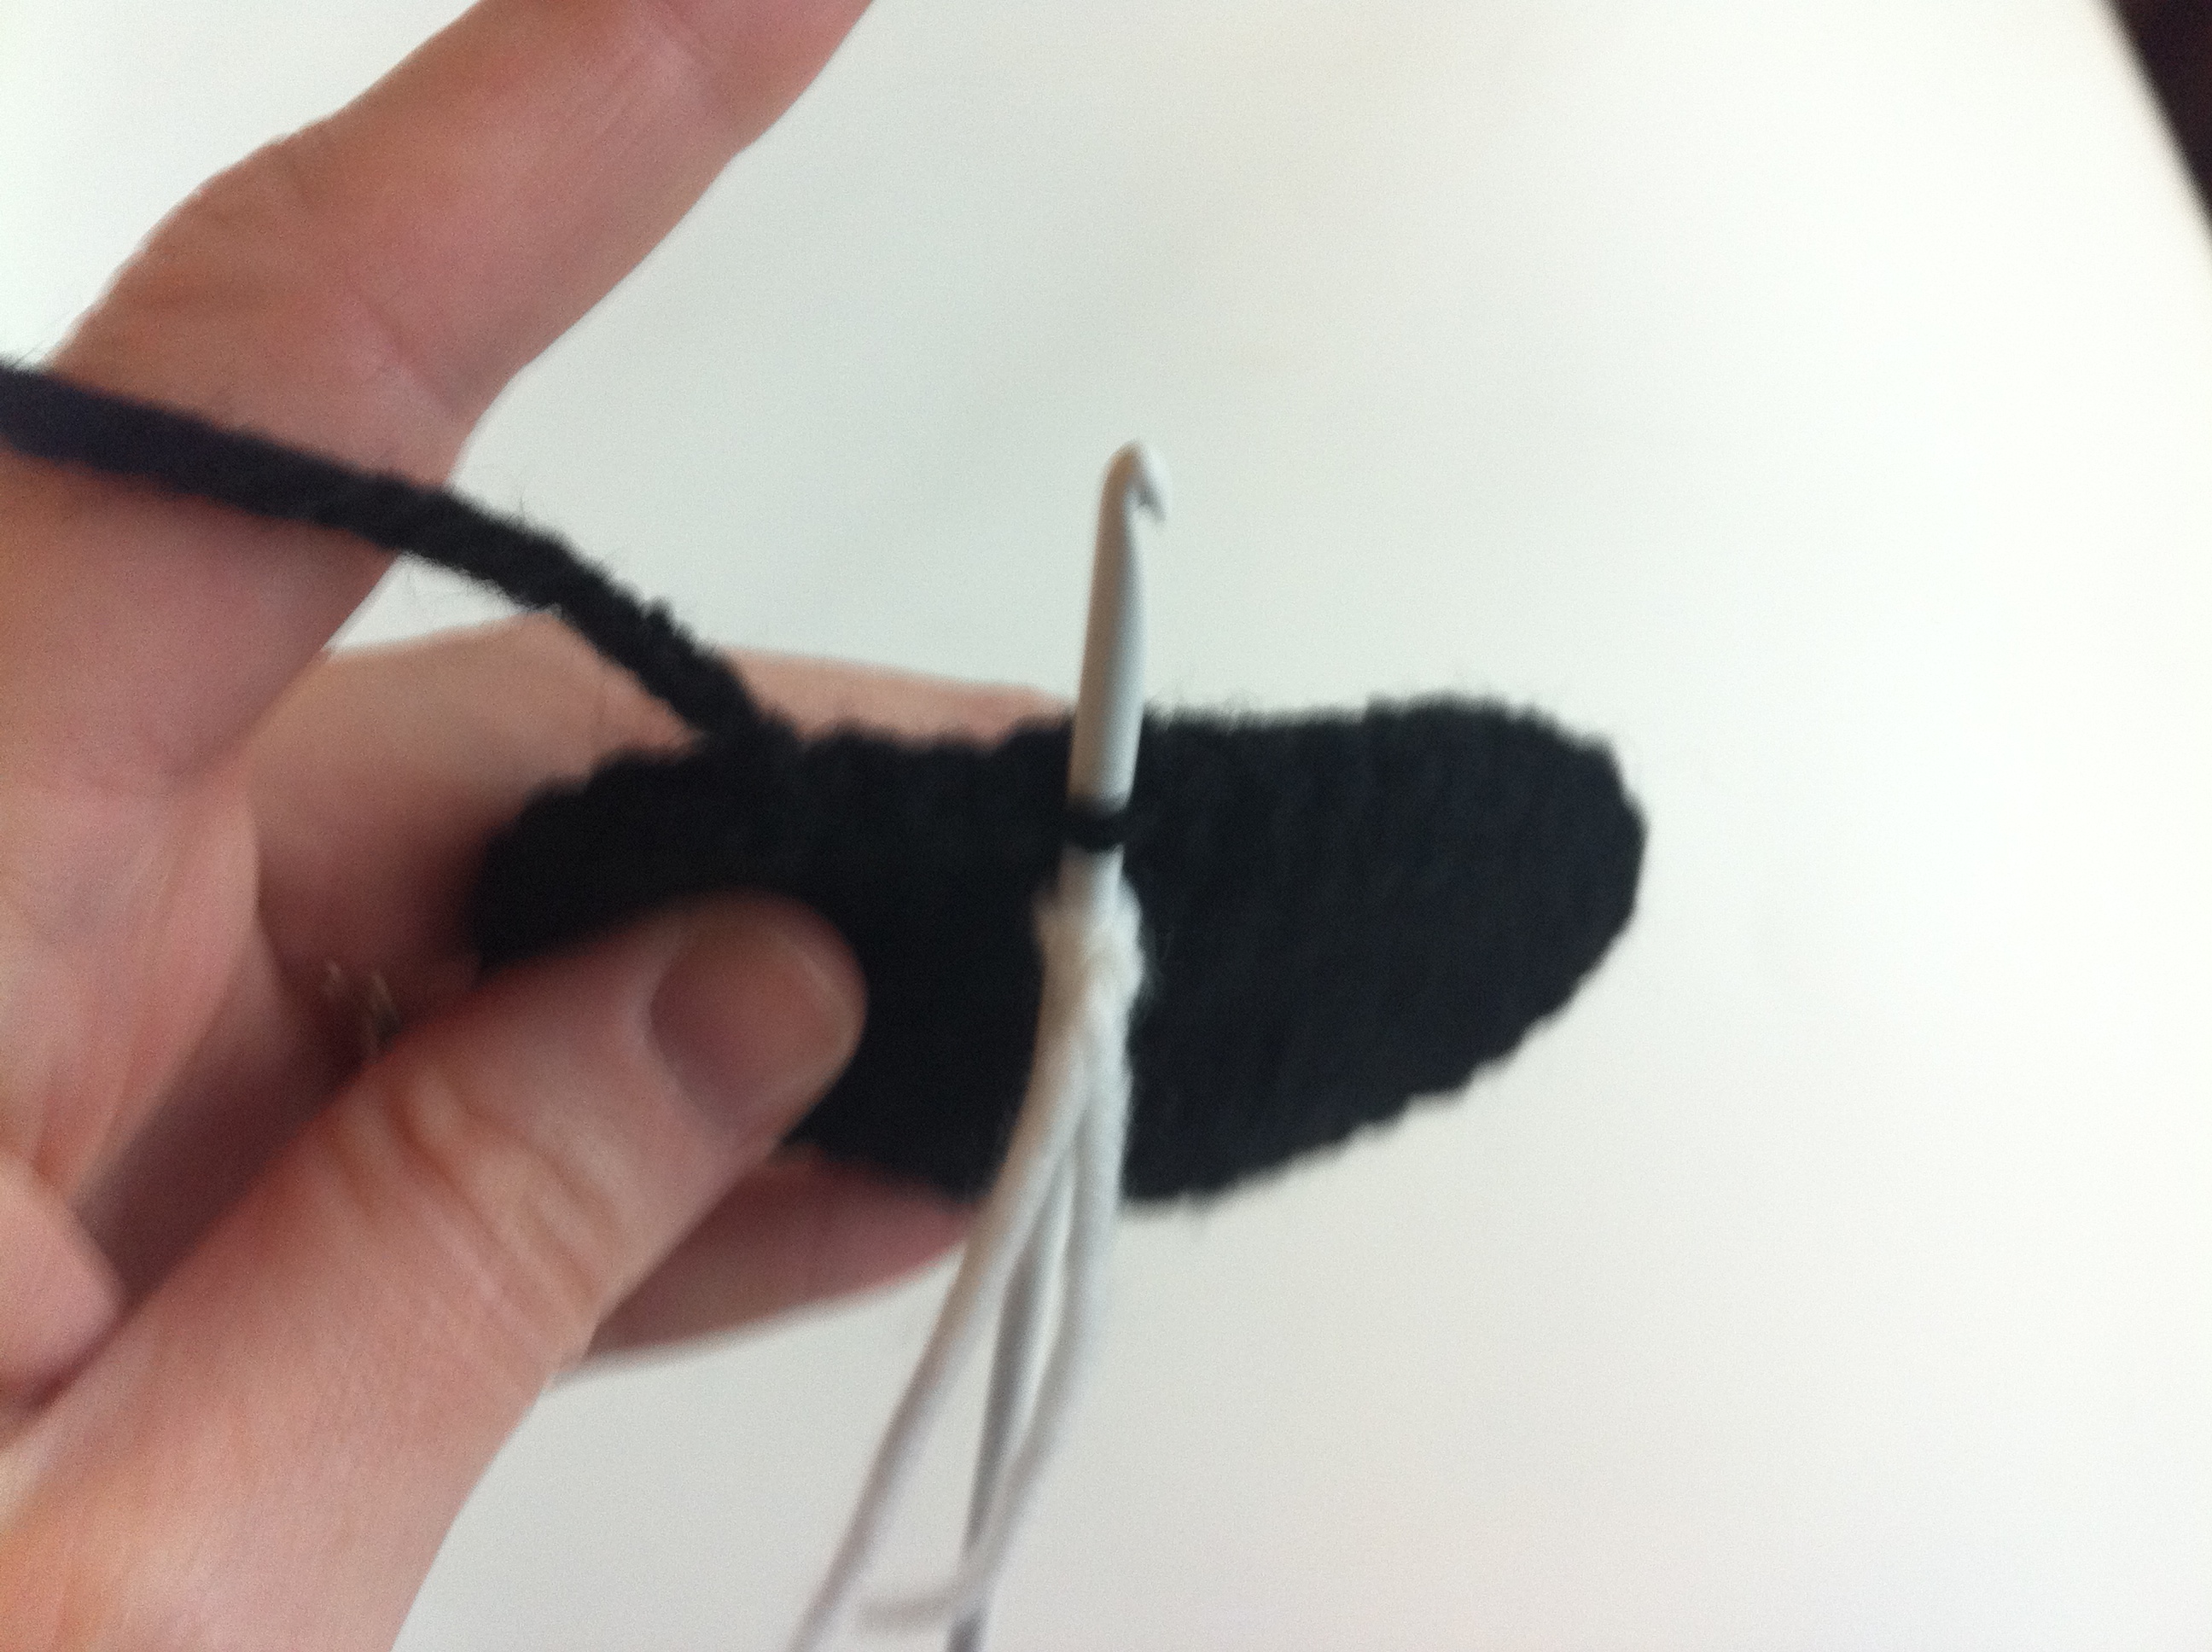
(sorry about the blurry picture.)
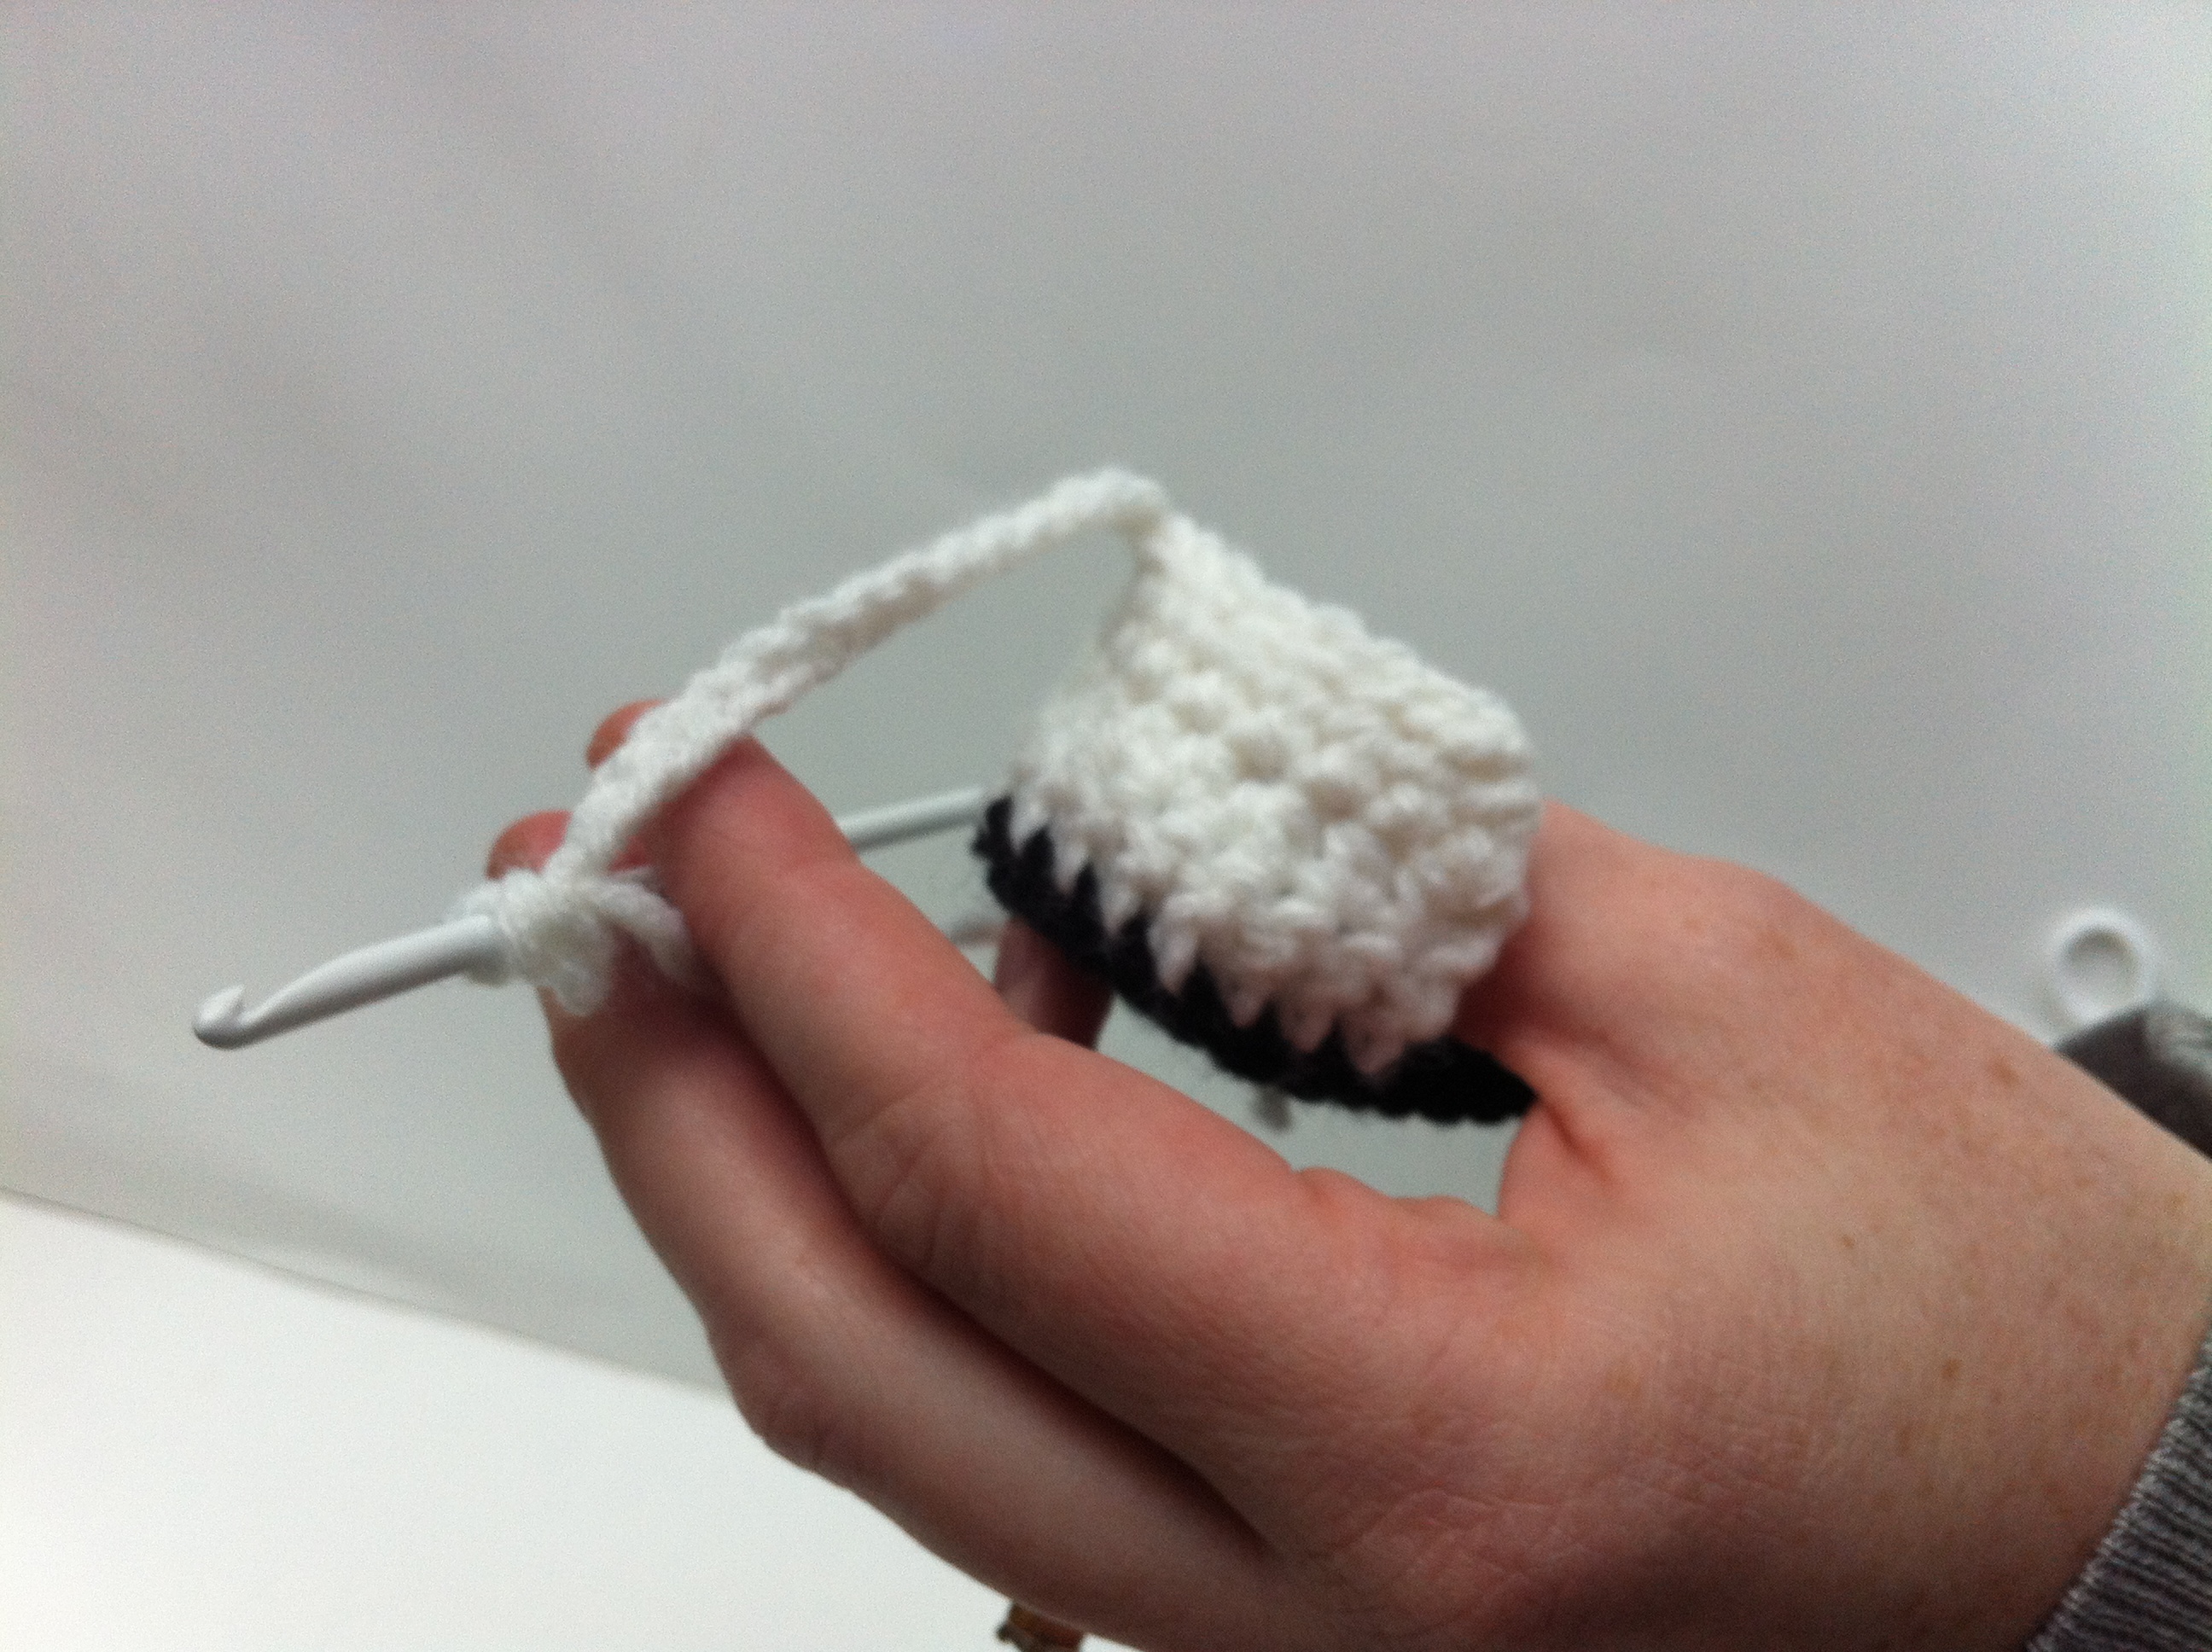
Row 1: Chain 2 (This will be counted as your first dc), dc in each of the next 11 stitches (you should have 12 dc, including the first ch 2), chain 1, TURN
Row 2: hdc in next 2 stitches, hdc2tog in next, hdc in next 2 stitches, hdc2tog in next, hdc in last 2 stitches. Chain 1, TURN
Row 3: hdc across all 8 stitches
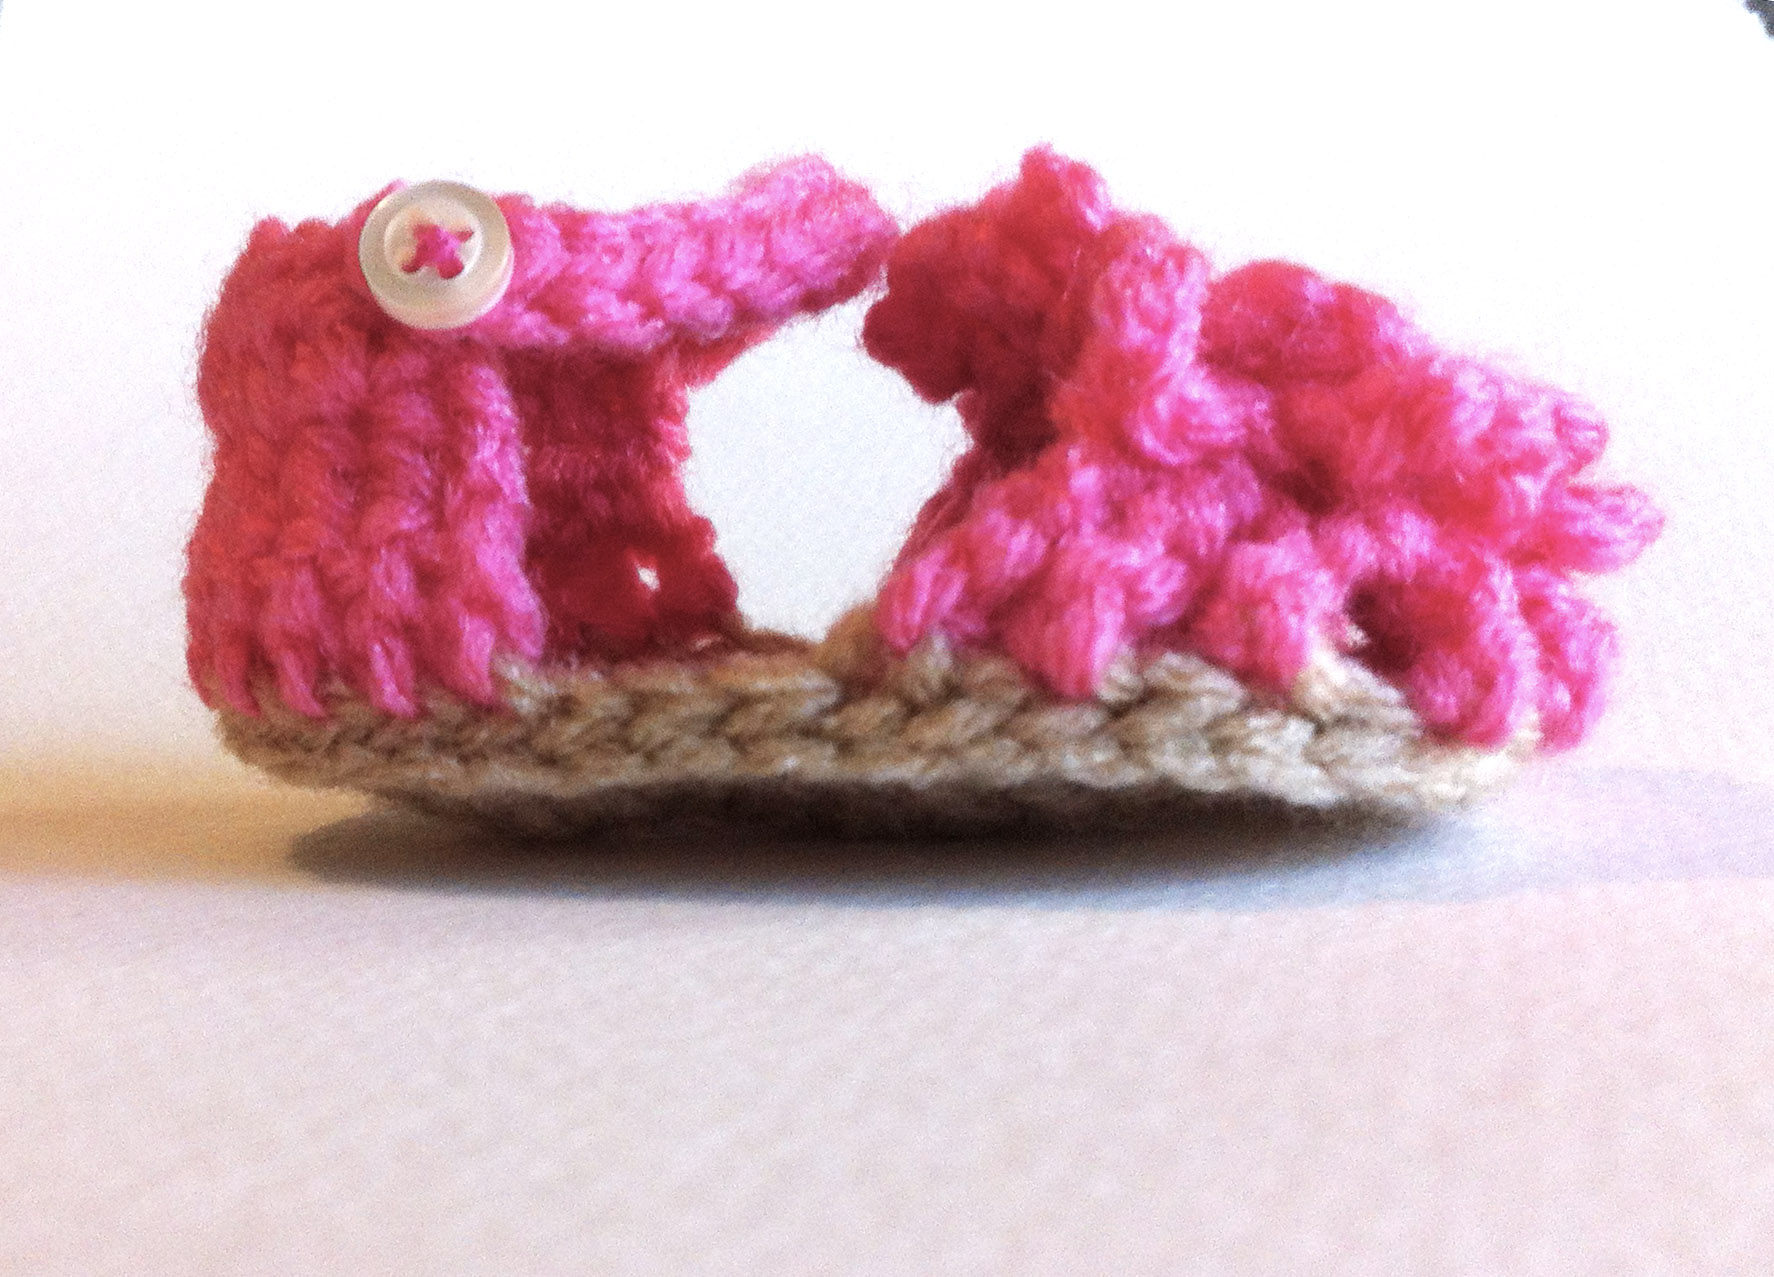
For left shoe: chain 16, slip stitch in 2nd stitch from hook and each stitch across the strap and back of the shoe. (23 slip stitches) Fasten off.
For right shoe: slip stitch across the back of the shoe (8 slip stitches), chain 16, slip stitch in 2nd stitch from hook and each stitch of the strap. Slip stitch strap to back of shoe. Fasten off.
Toe:
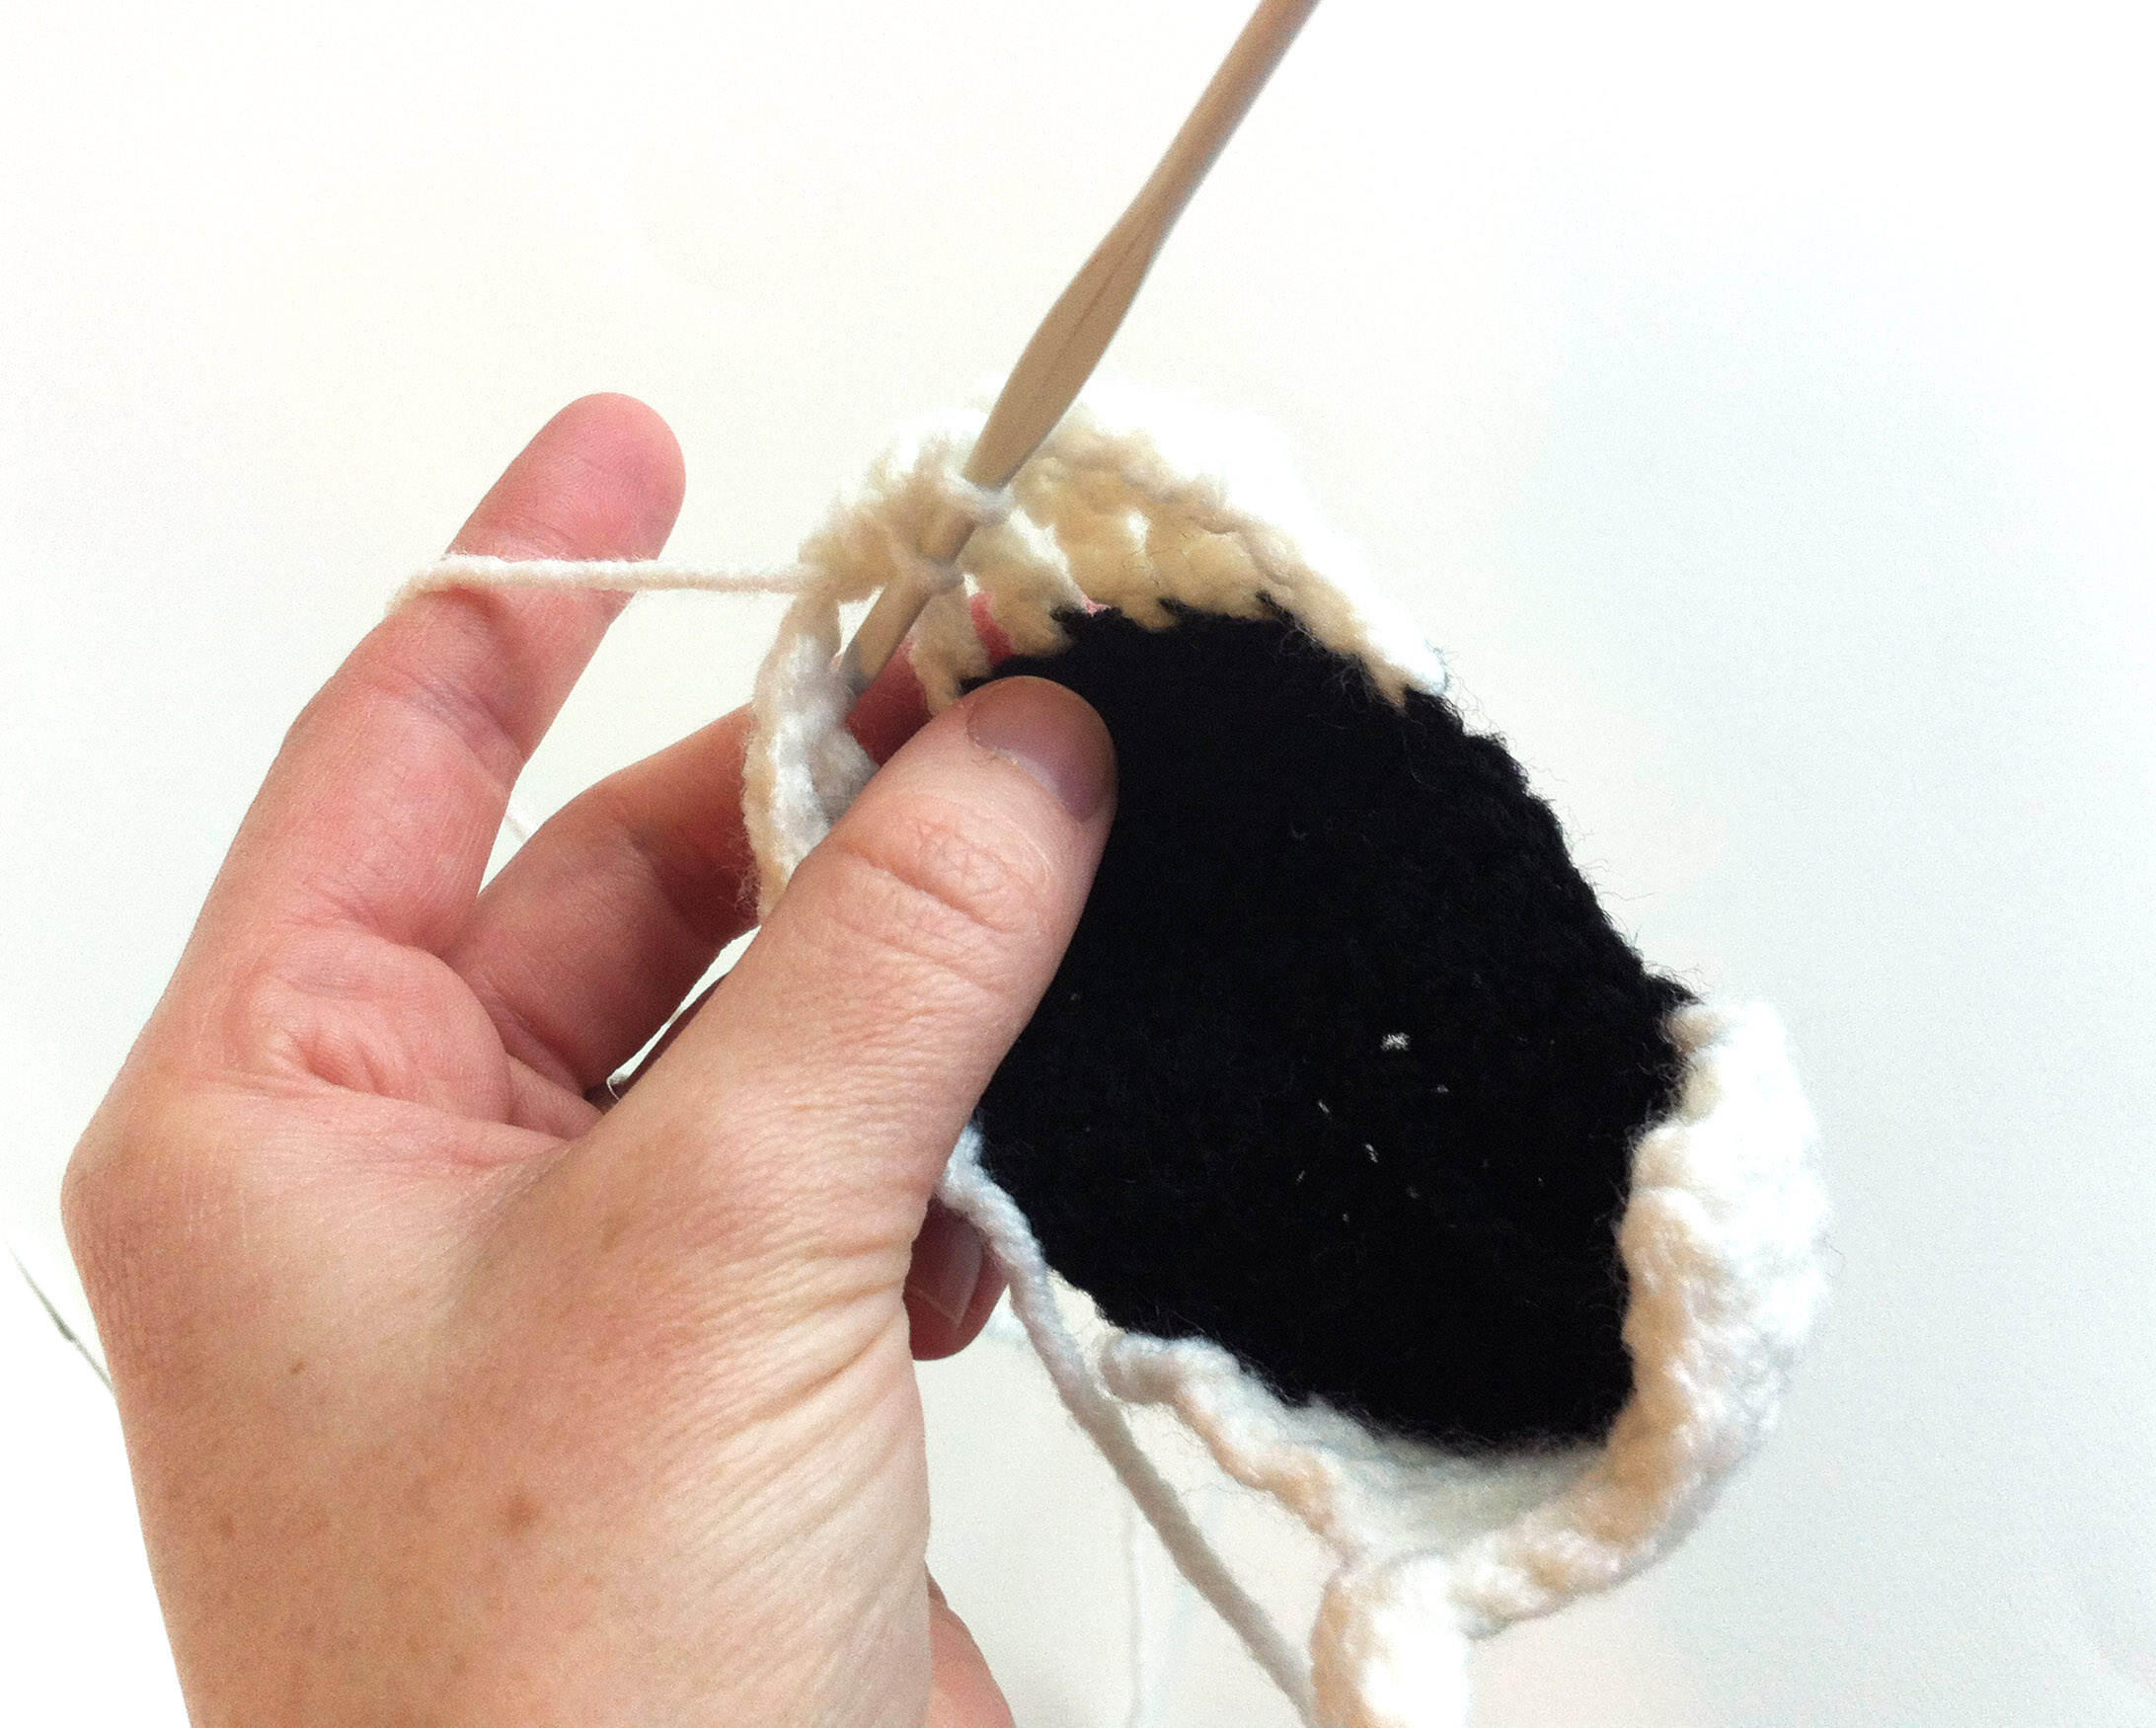
Attach yarn using a slip stitch in the 4th stitch from the left heel stitch on the sole IN FRONT LOOPS ONLY.
Row 1: Chain 4 (This will count as your first tc),* skip 1 stitch, tc in next stitch, chain 1,* Repeat 9 times, skip next stitch, tc in next stitch (this should be the 4th stitch from the heel.) chain 2, TURN
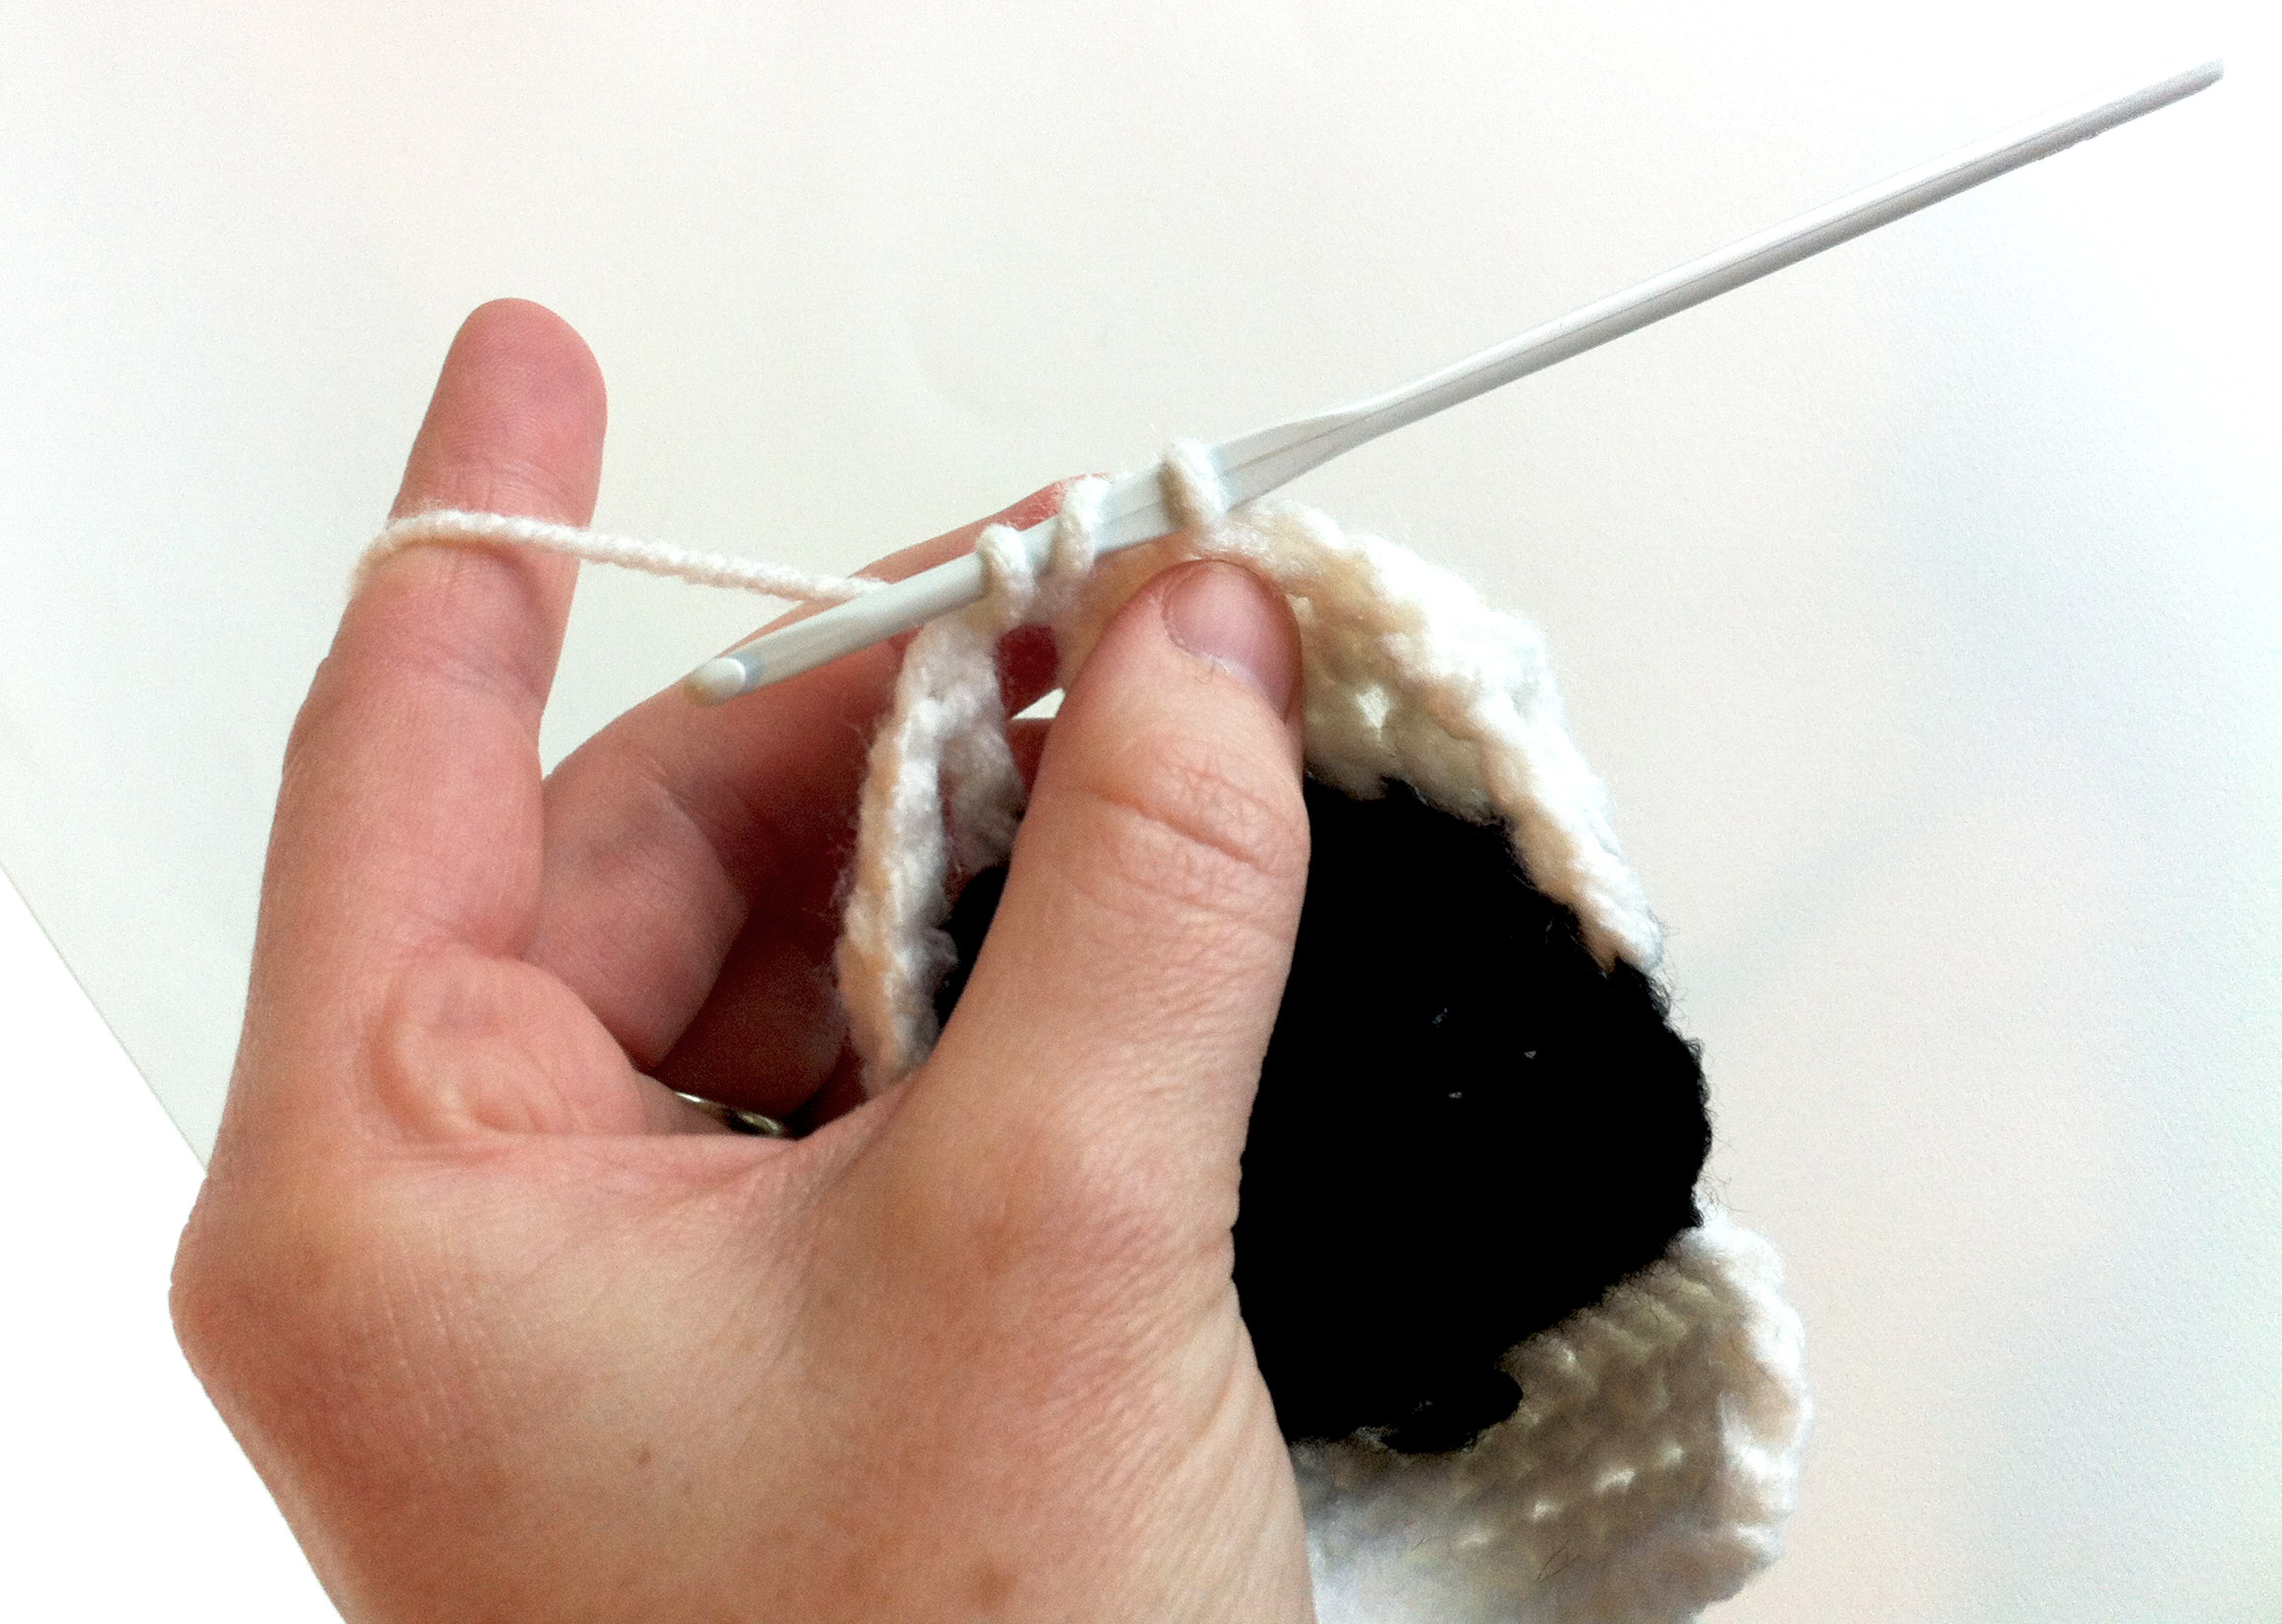
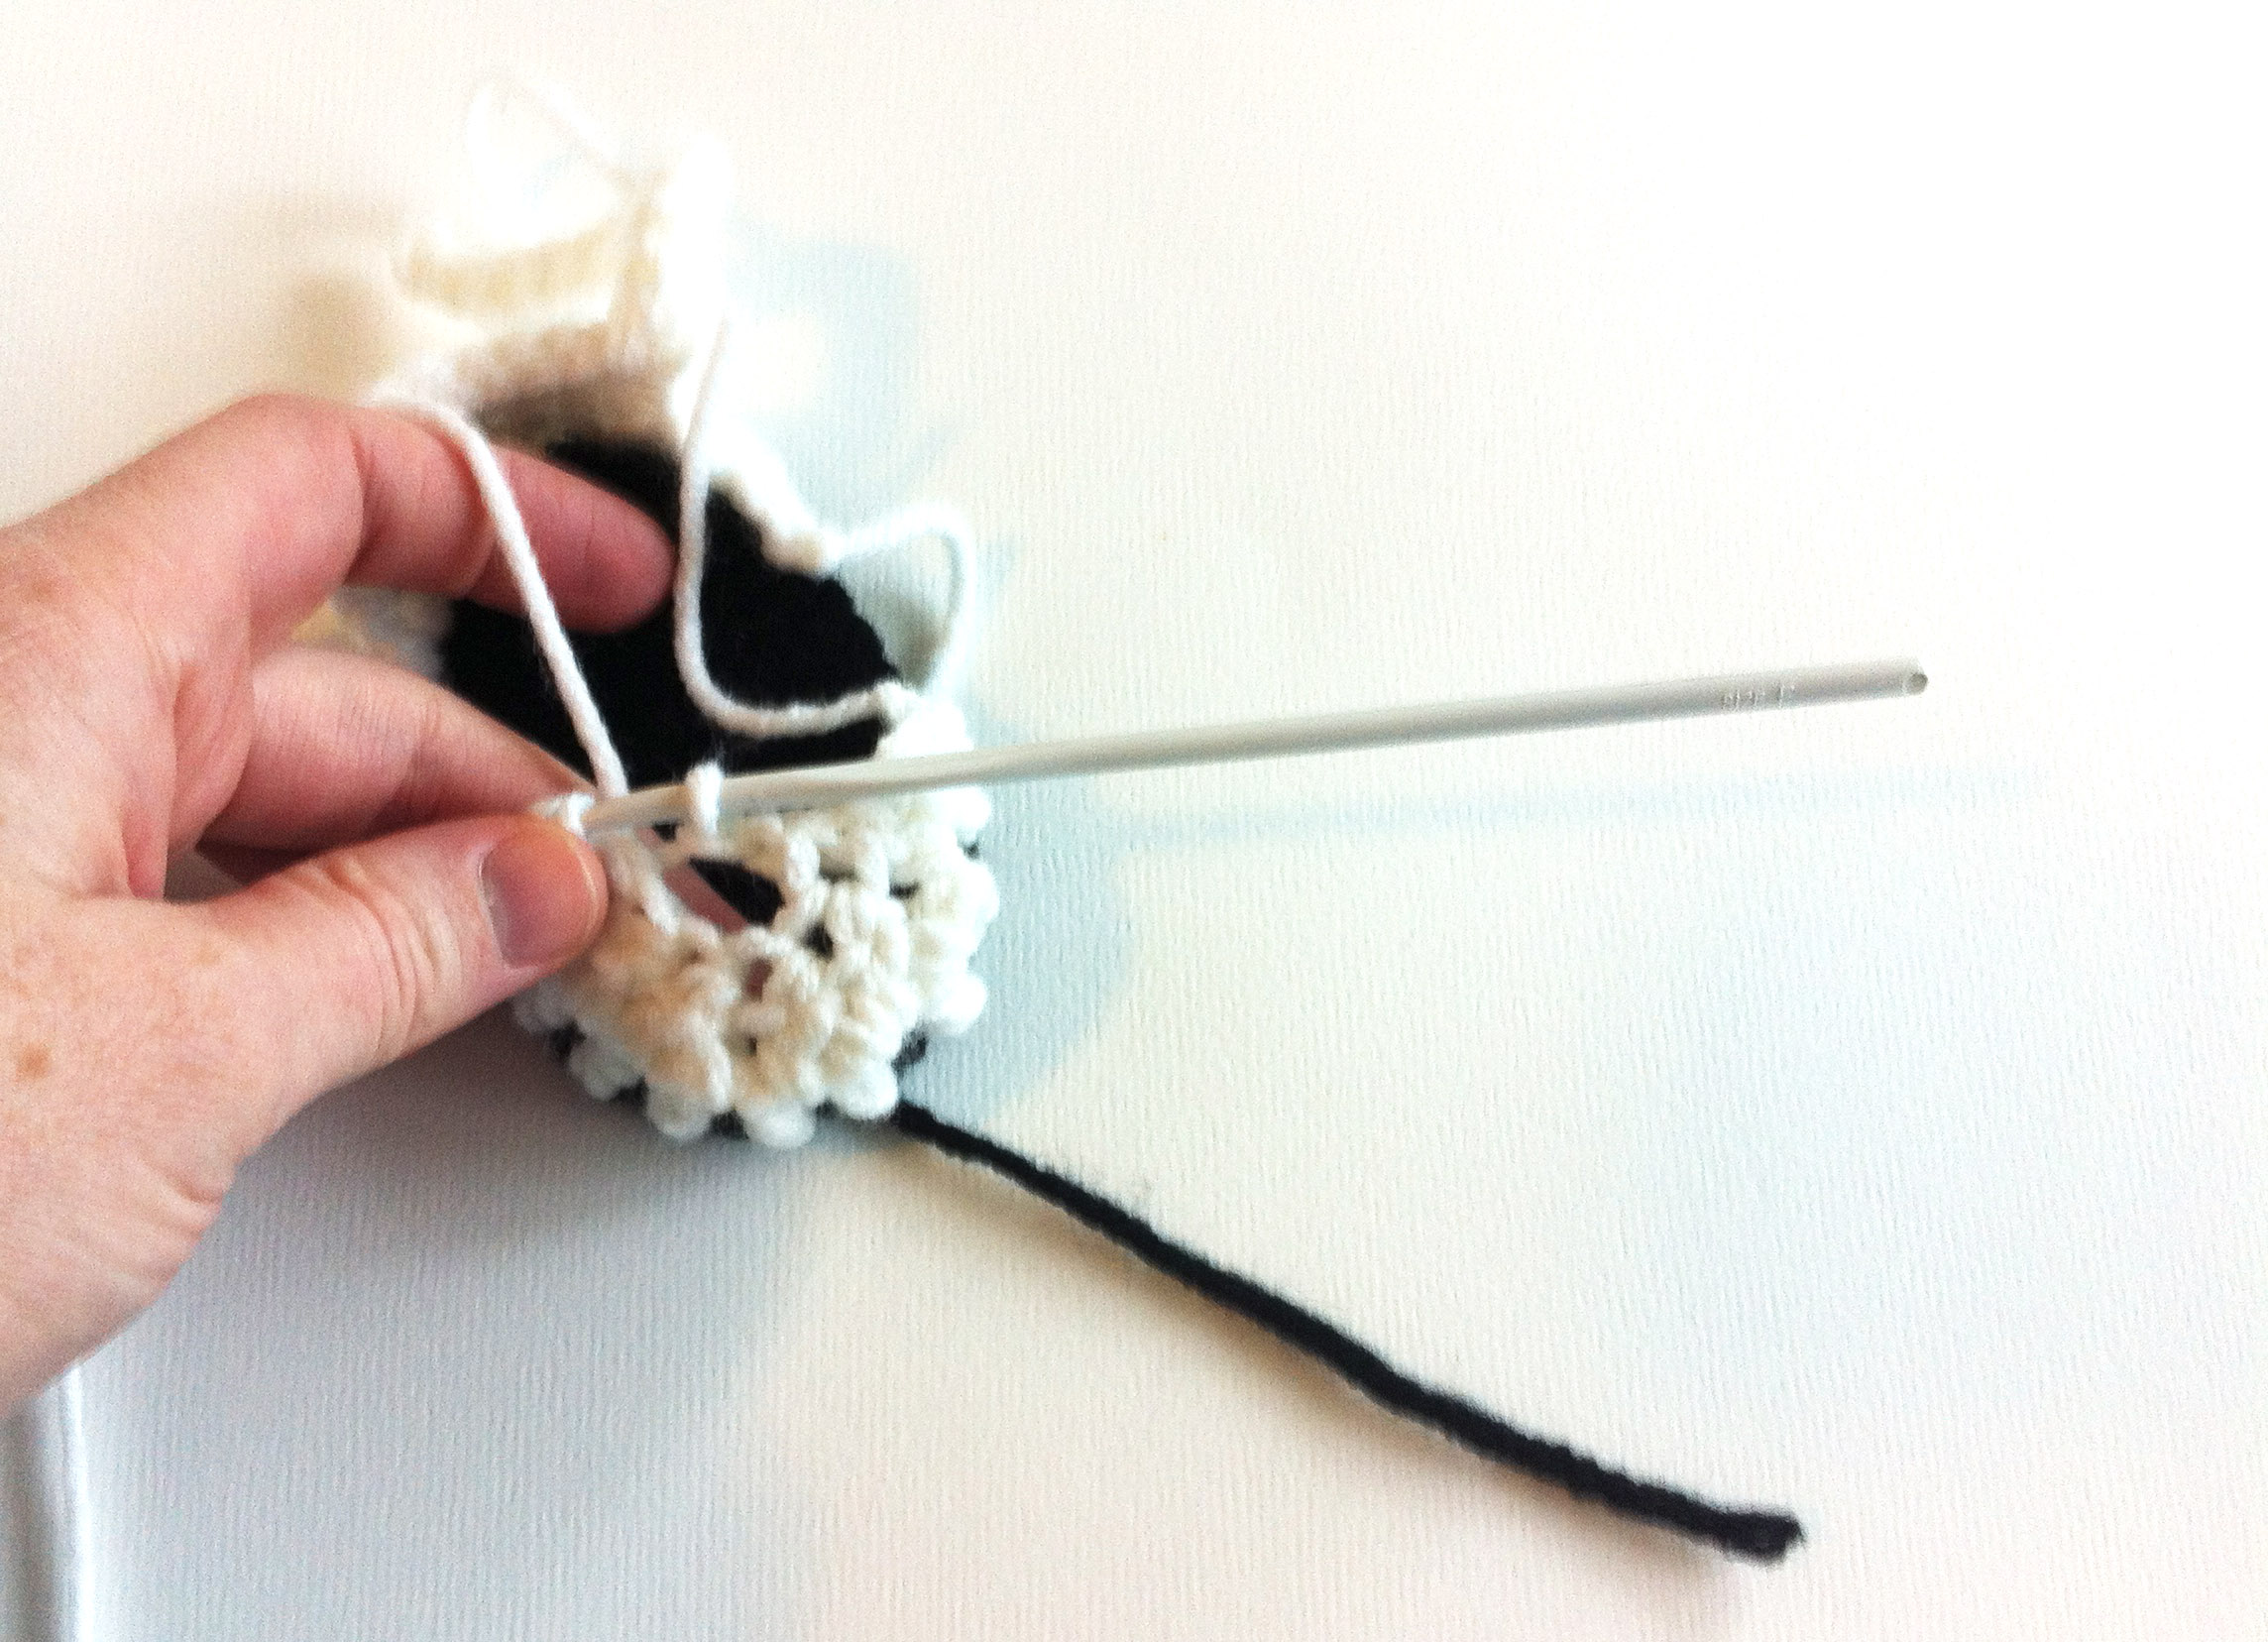
Row 2: Making your stitch around the ch 1 that is between the tc of the last row, dc2tog 5 times. chain 2, slip stitch to the first dc2tog stitch to close off the toe cap. Fasten off.
Flower:
Make a magic ring with 7 hdc, slip stitch to first hdc and pull tail to close off ring.
Row 1: *Chain 4, sc in next stitch* Repeat 7 times to make 7 petals.
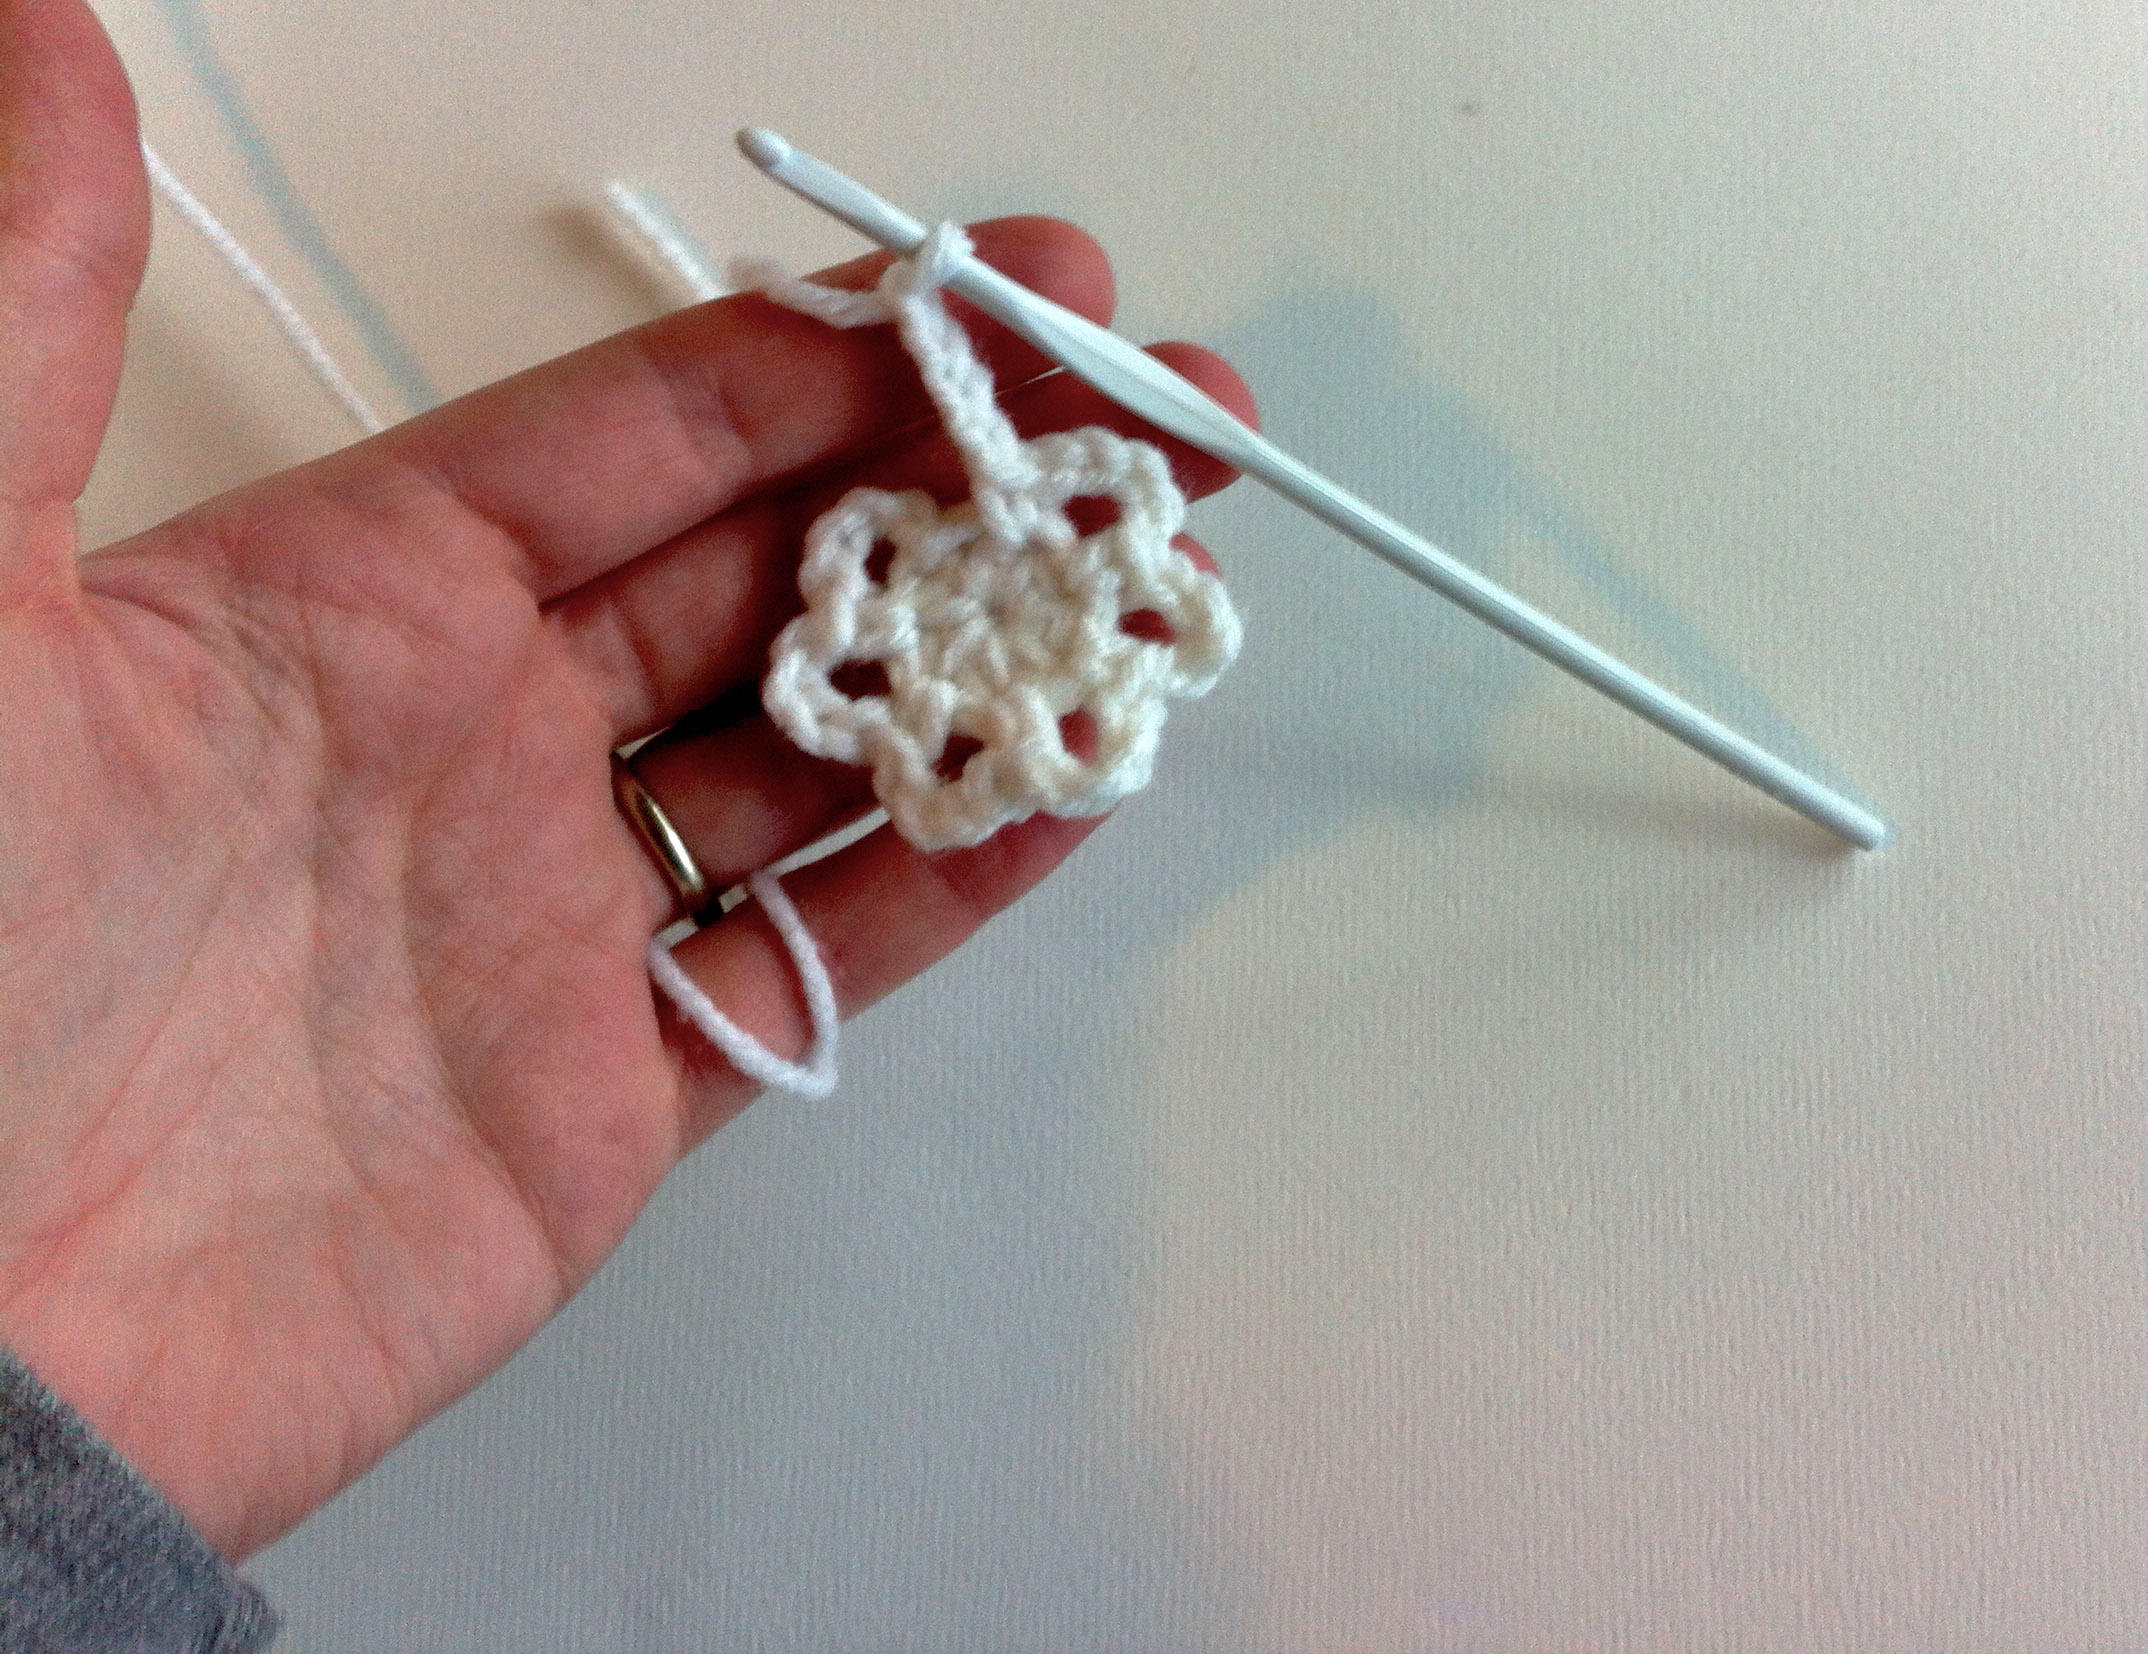
Row 2: *Chain 6, sc in back loops of the sc from last row (should create a petal right behind the petal from row 1)* Repeat 6 times, chain 6, slip stitch in last stitch to make 7 petals

Fasten off, leaving a long tail to sew flower on to the toe cap.
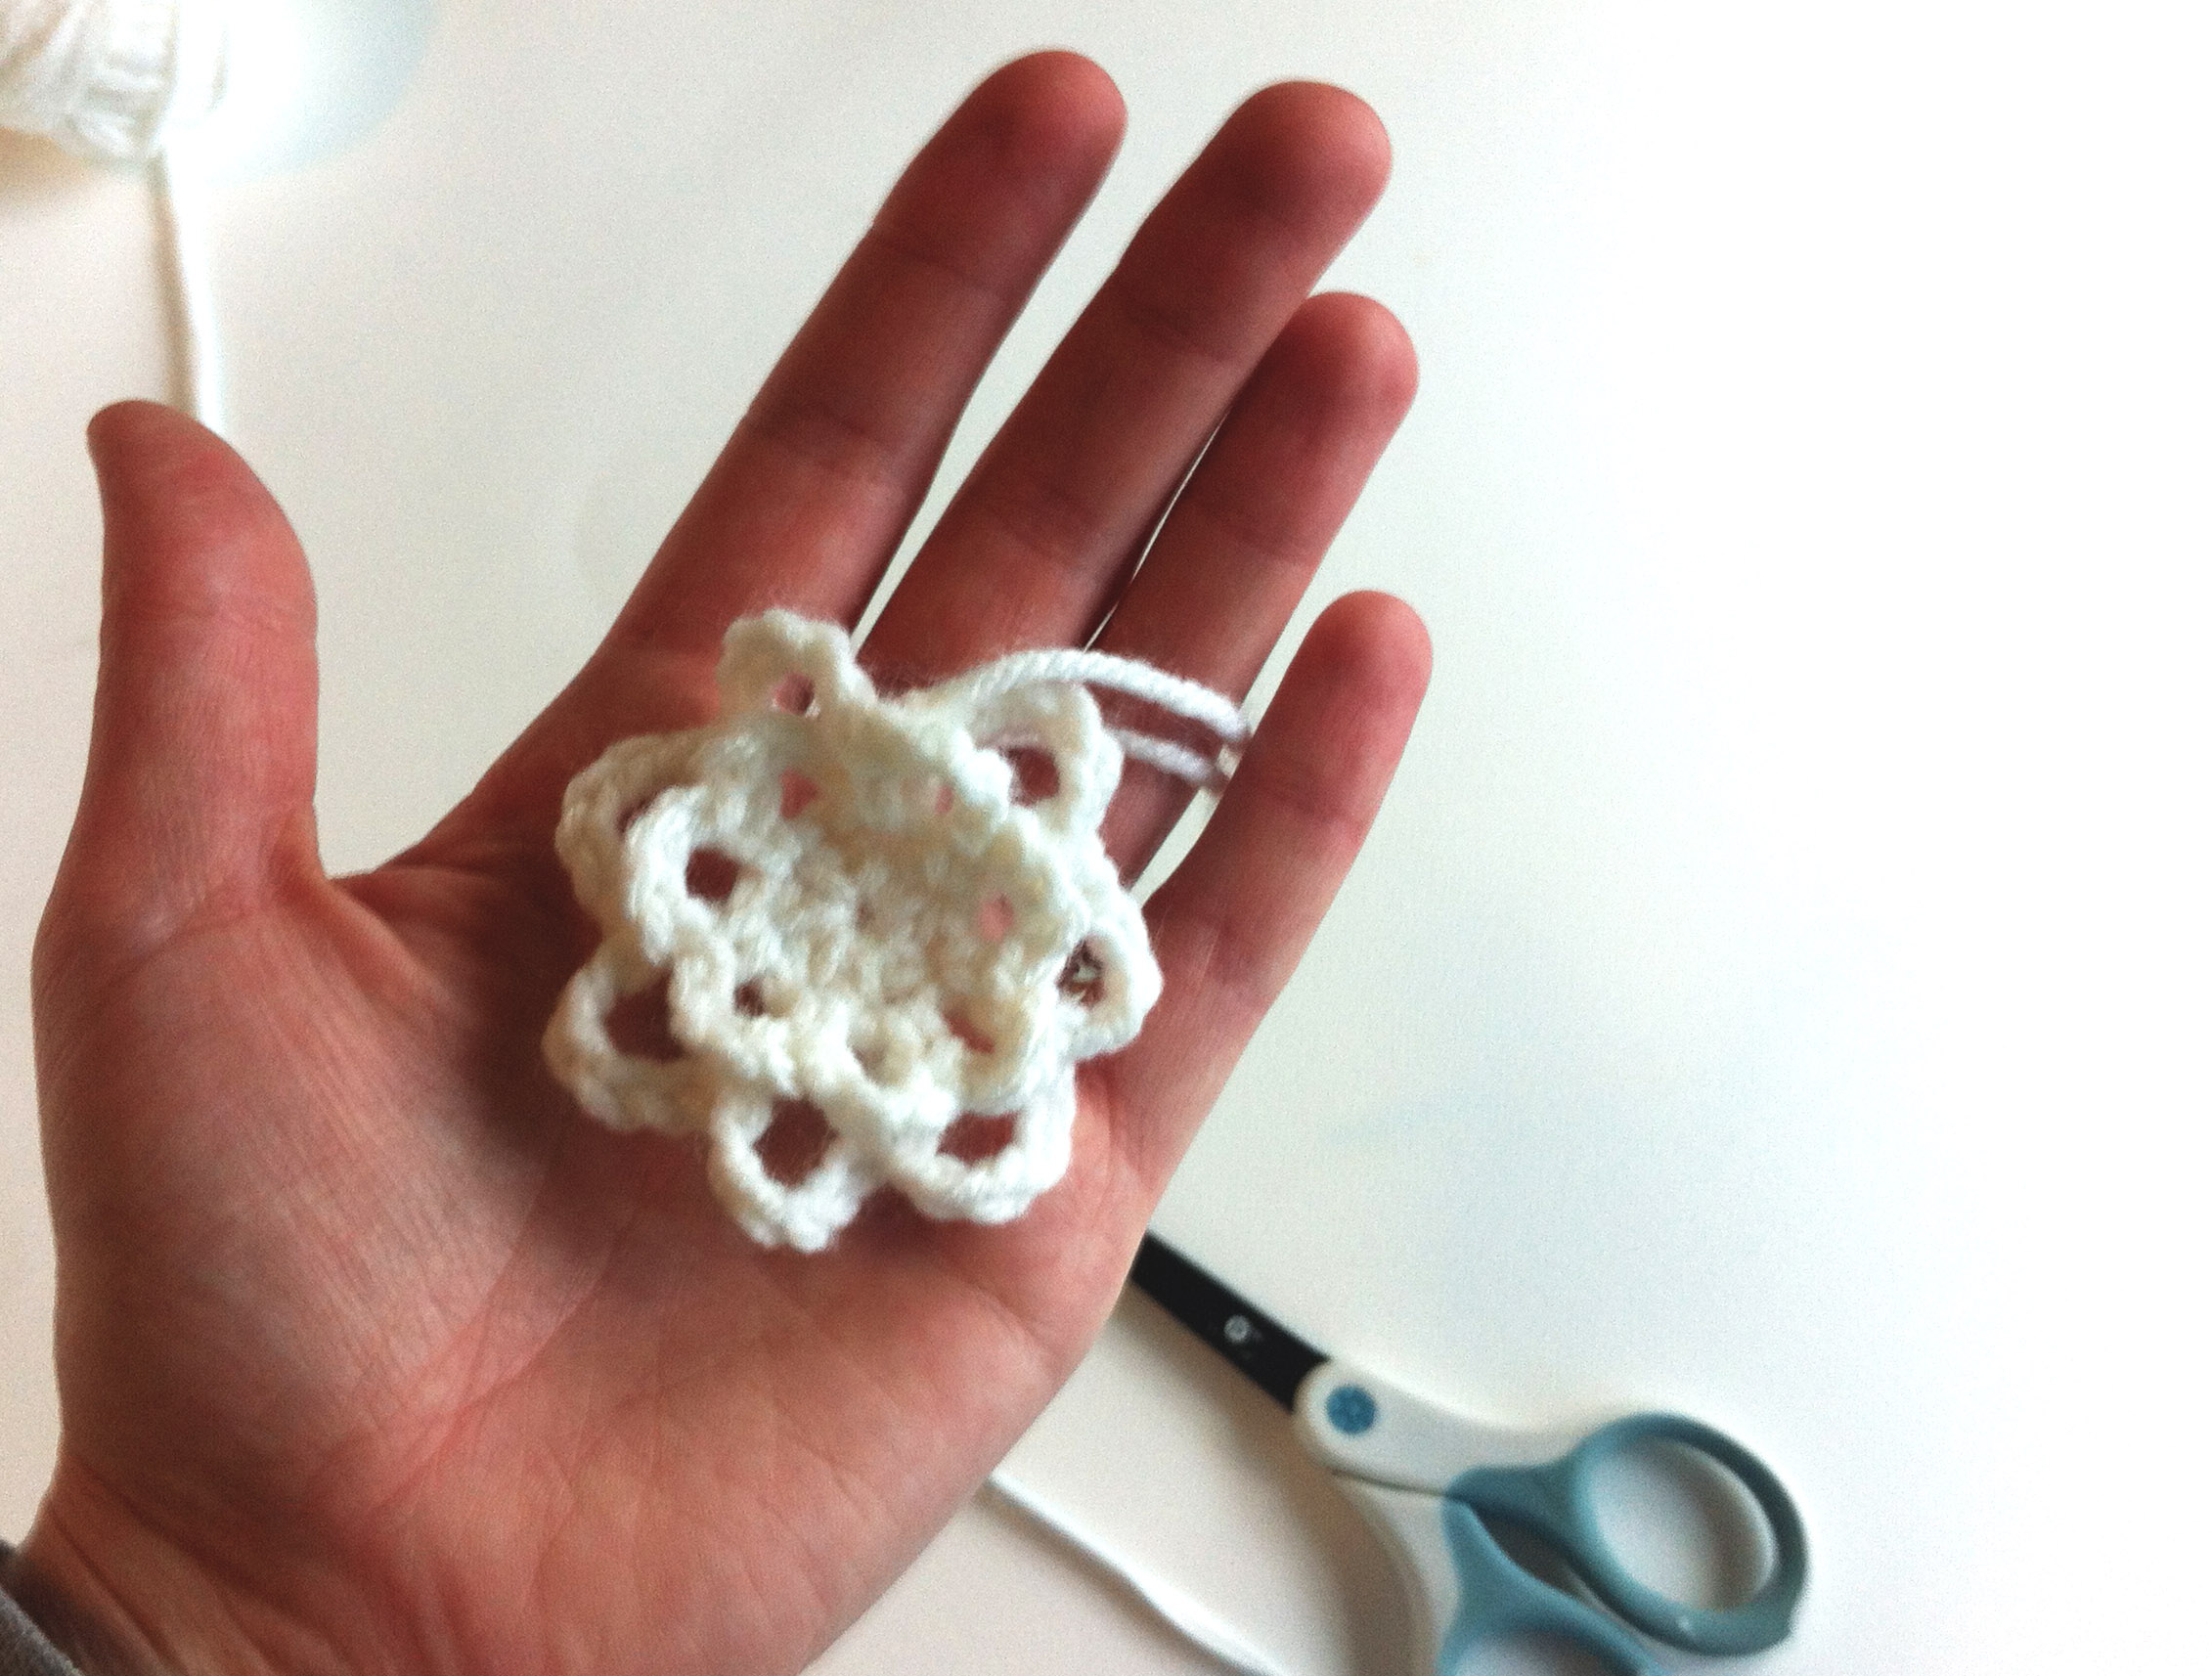
Weave in all ends, sew flower on.
For the closure around the ankle, I used a small hook and eye closure and a button sewn on to the outside of the strap, just for aesthetics. You can use a sew-on snap or other closure of your choice.
Repeat all steps for the other shoe. Congratulations! You now have a most adorable pair of summer sandals!

Here is a link to the pdf version of the pattern. Suzy Sandal
You may use this pattern as you wish, but please do not sell it as your own. I would love a link back to this post if you use it.

Leave a comment