
Back… oh, I don’t know when… I made a t shirt polo, posted some pattern pieces, and just kind of said, “Go for it!” I have made more and intended on taking process photos to make a tutorial, but didn’t get to it until this week. So, I present to you the long awaited t shirt polo tutorial.

I only have the pieces in 12-18 month size, however, by simply lengthening the body pieces, you could make a 24 month size very easily. Maybe use a bigger seam allowance to make a 6-12 month?
I’ve also made these into onesies, by extending the body pieces and adding snaps at the crotch, with good results.
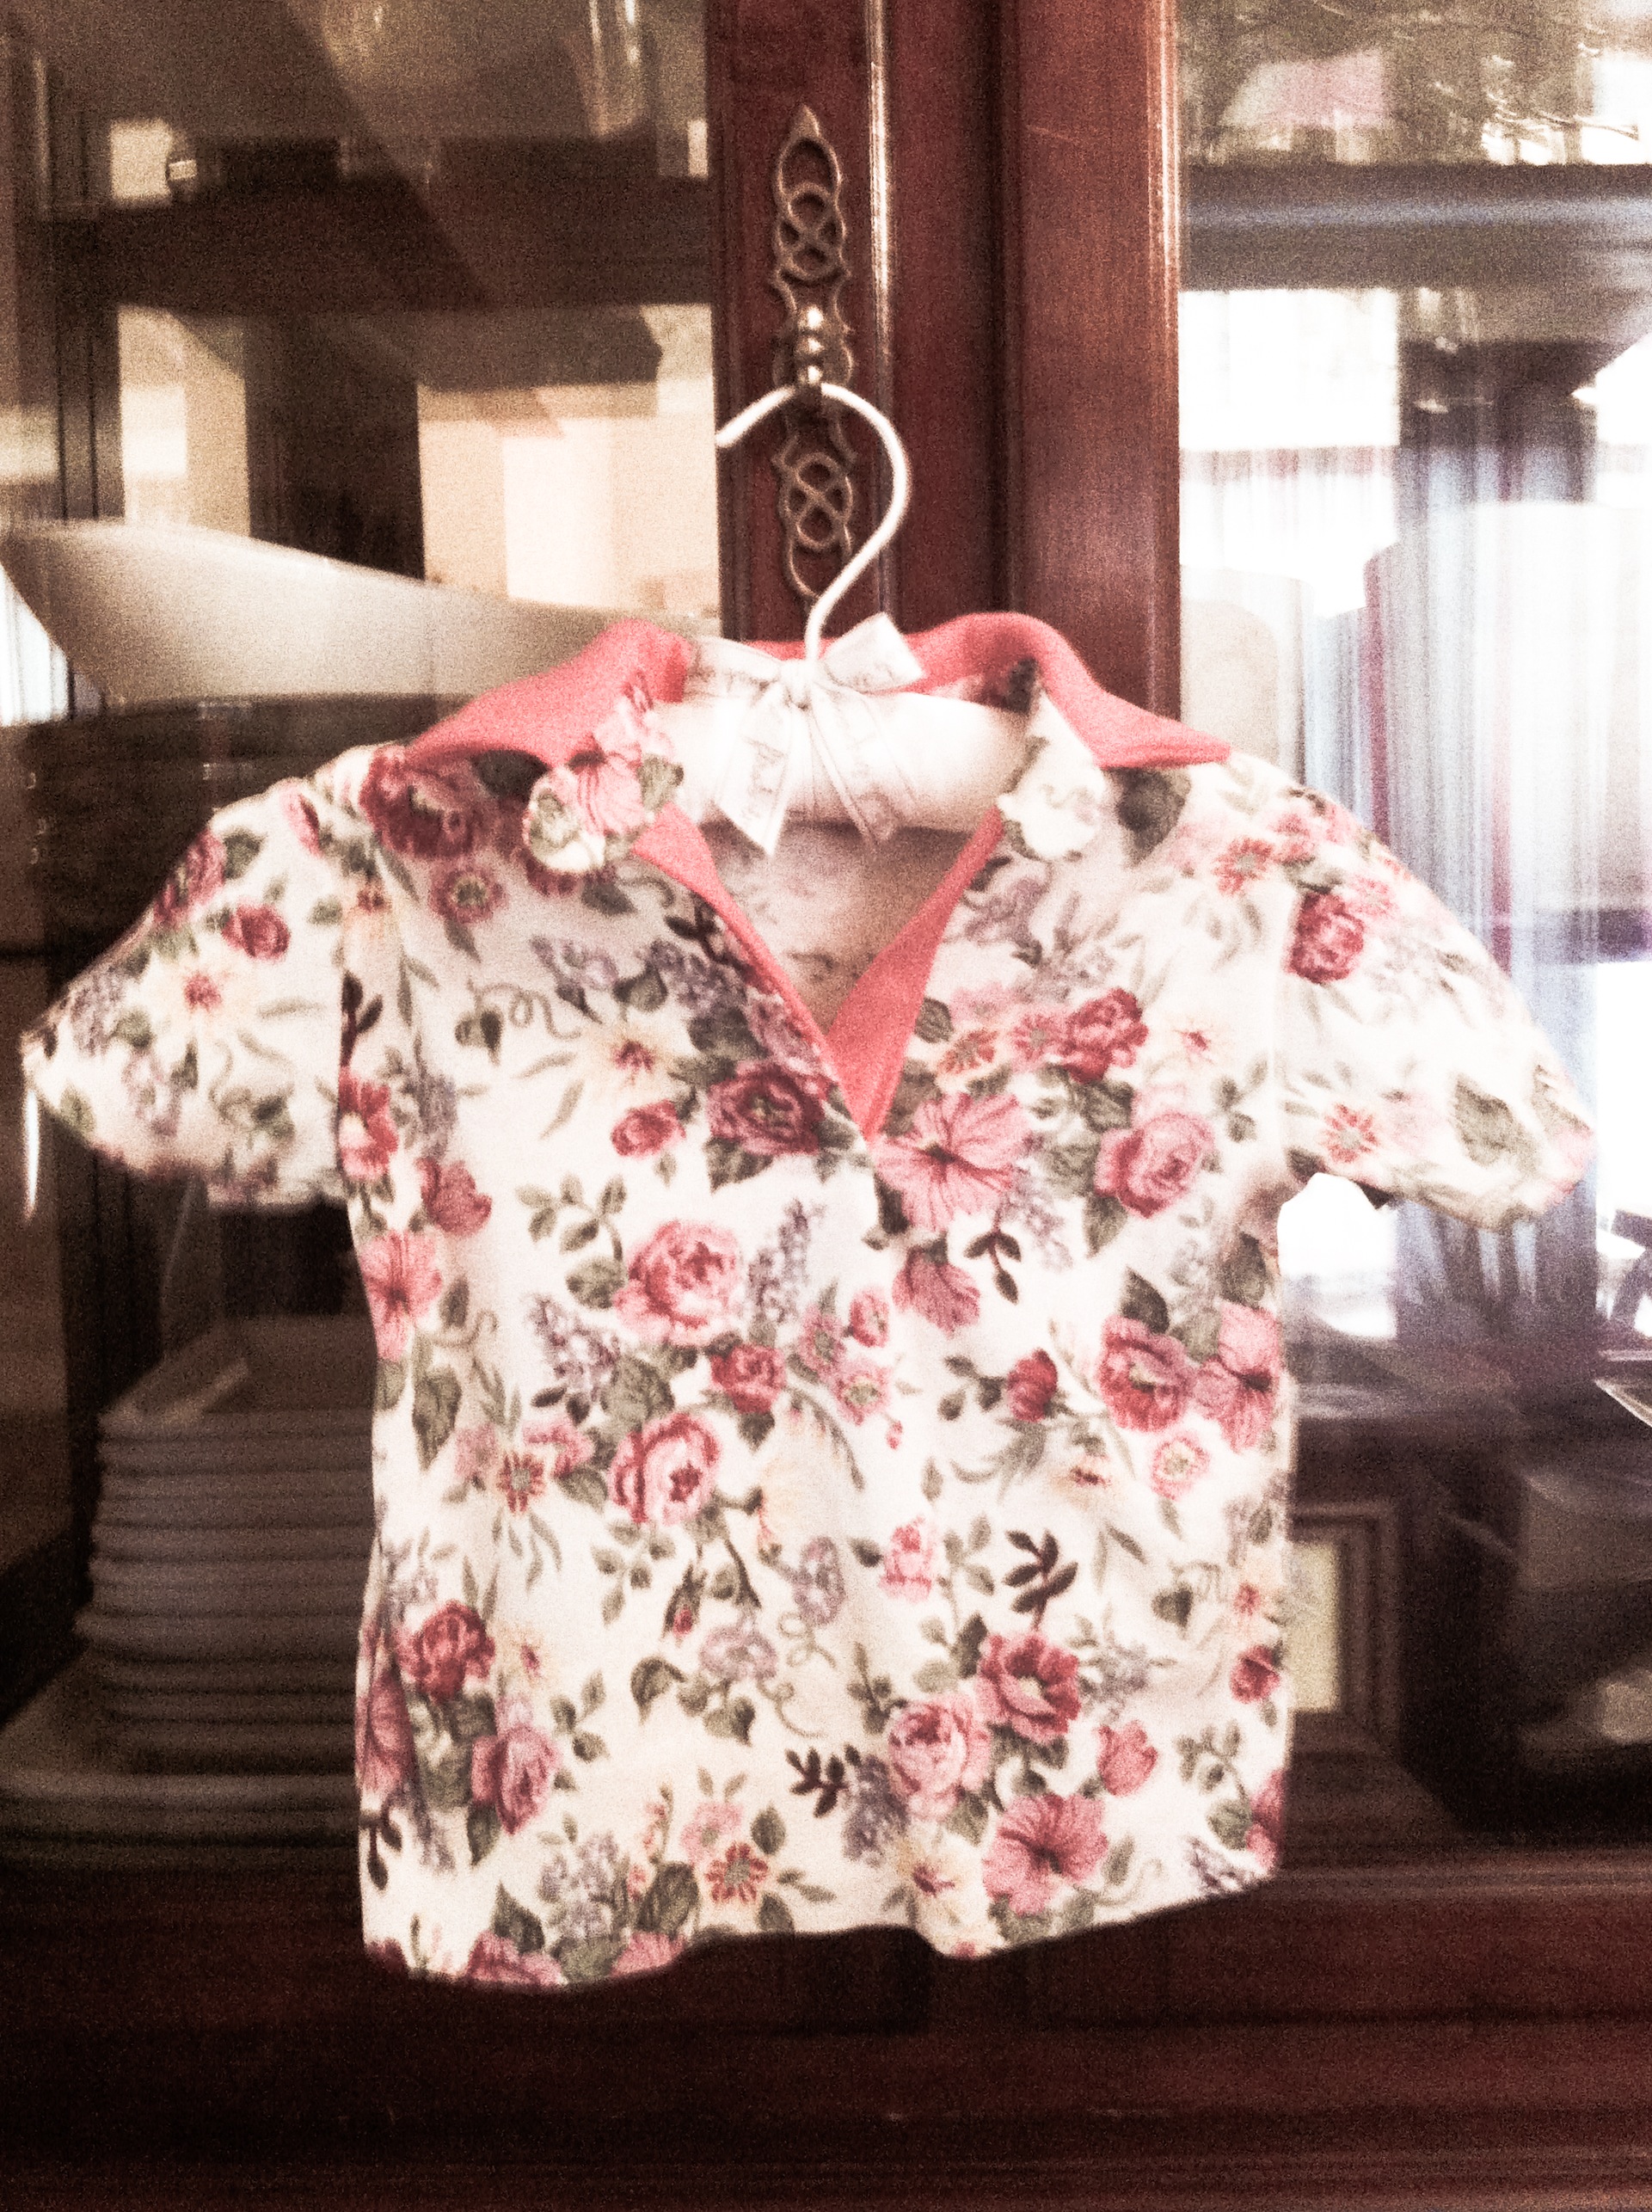
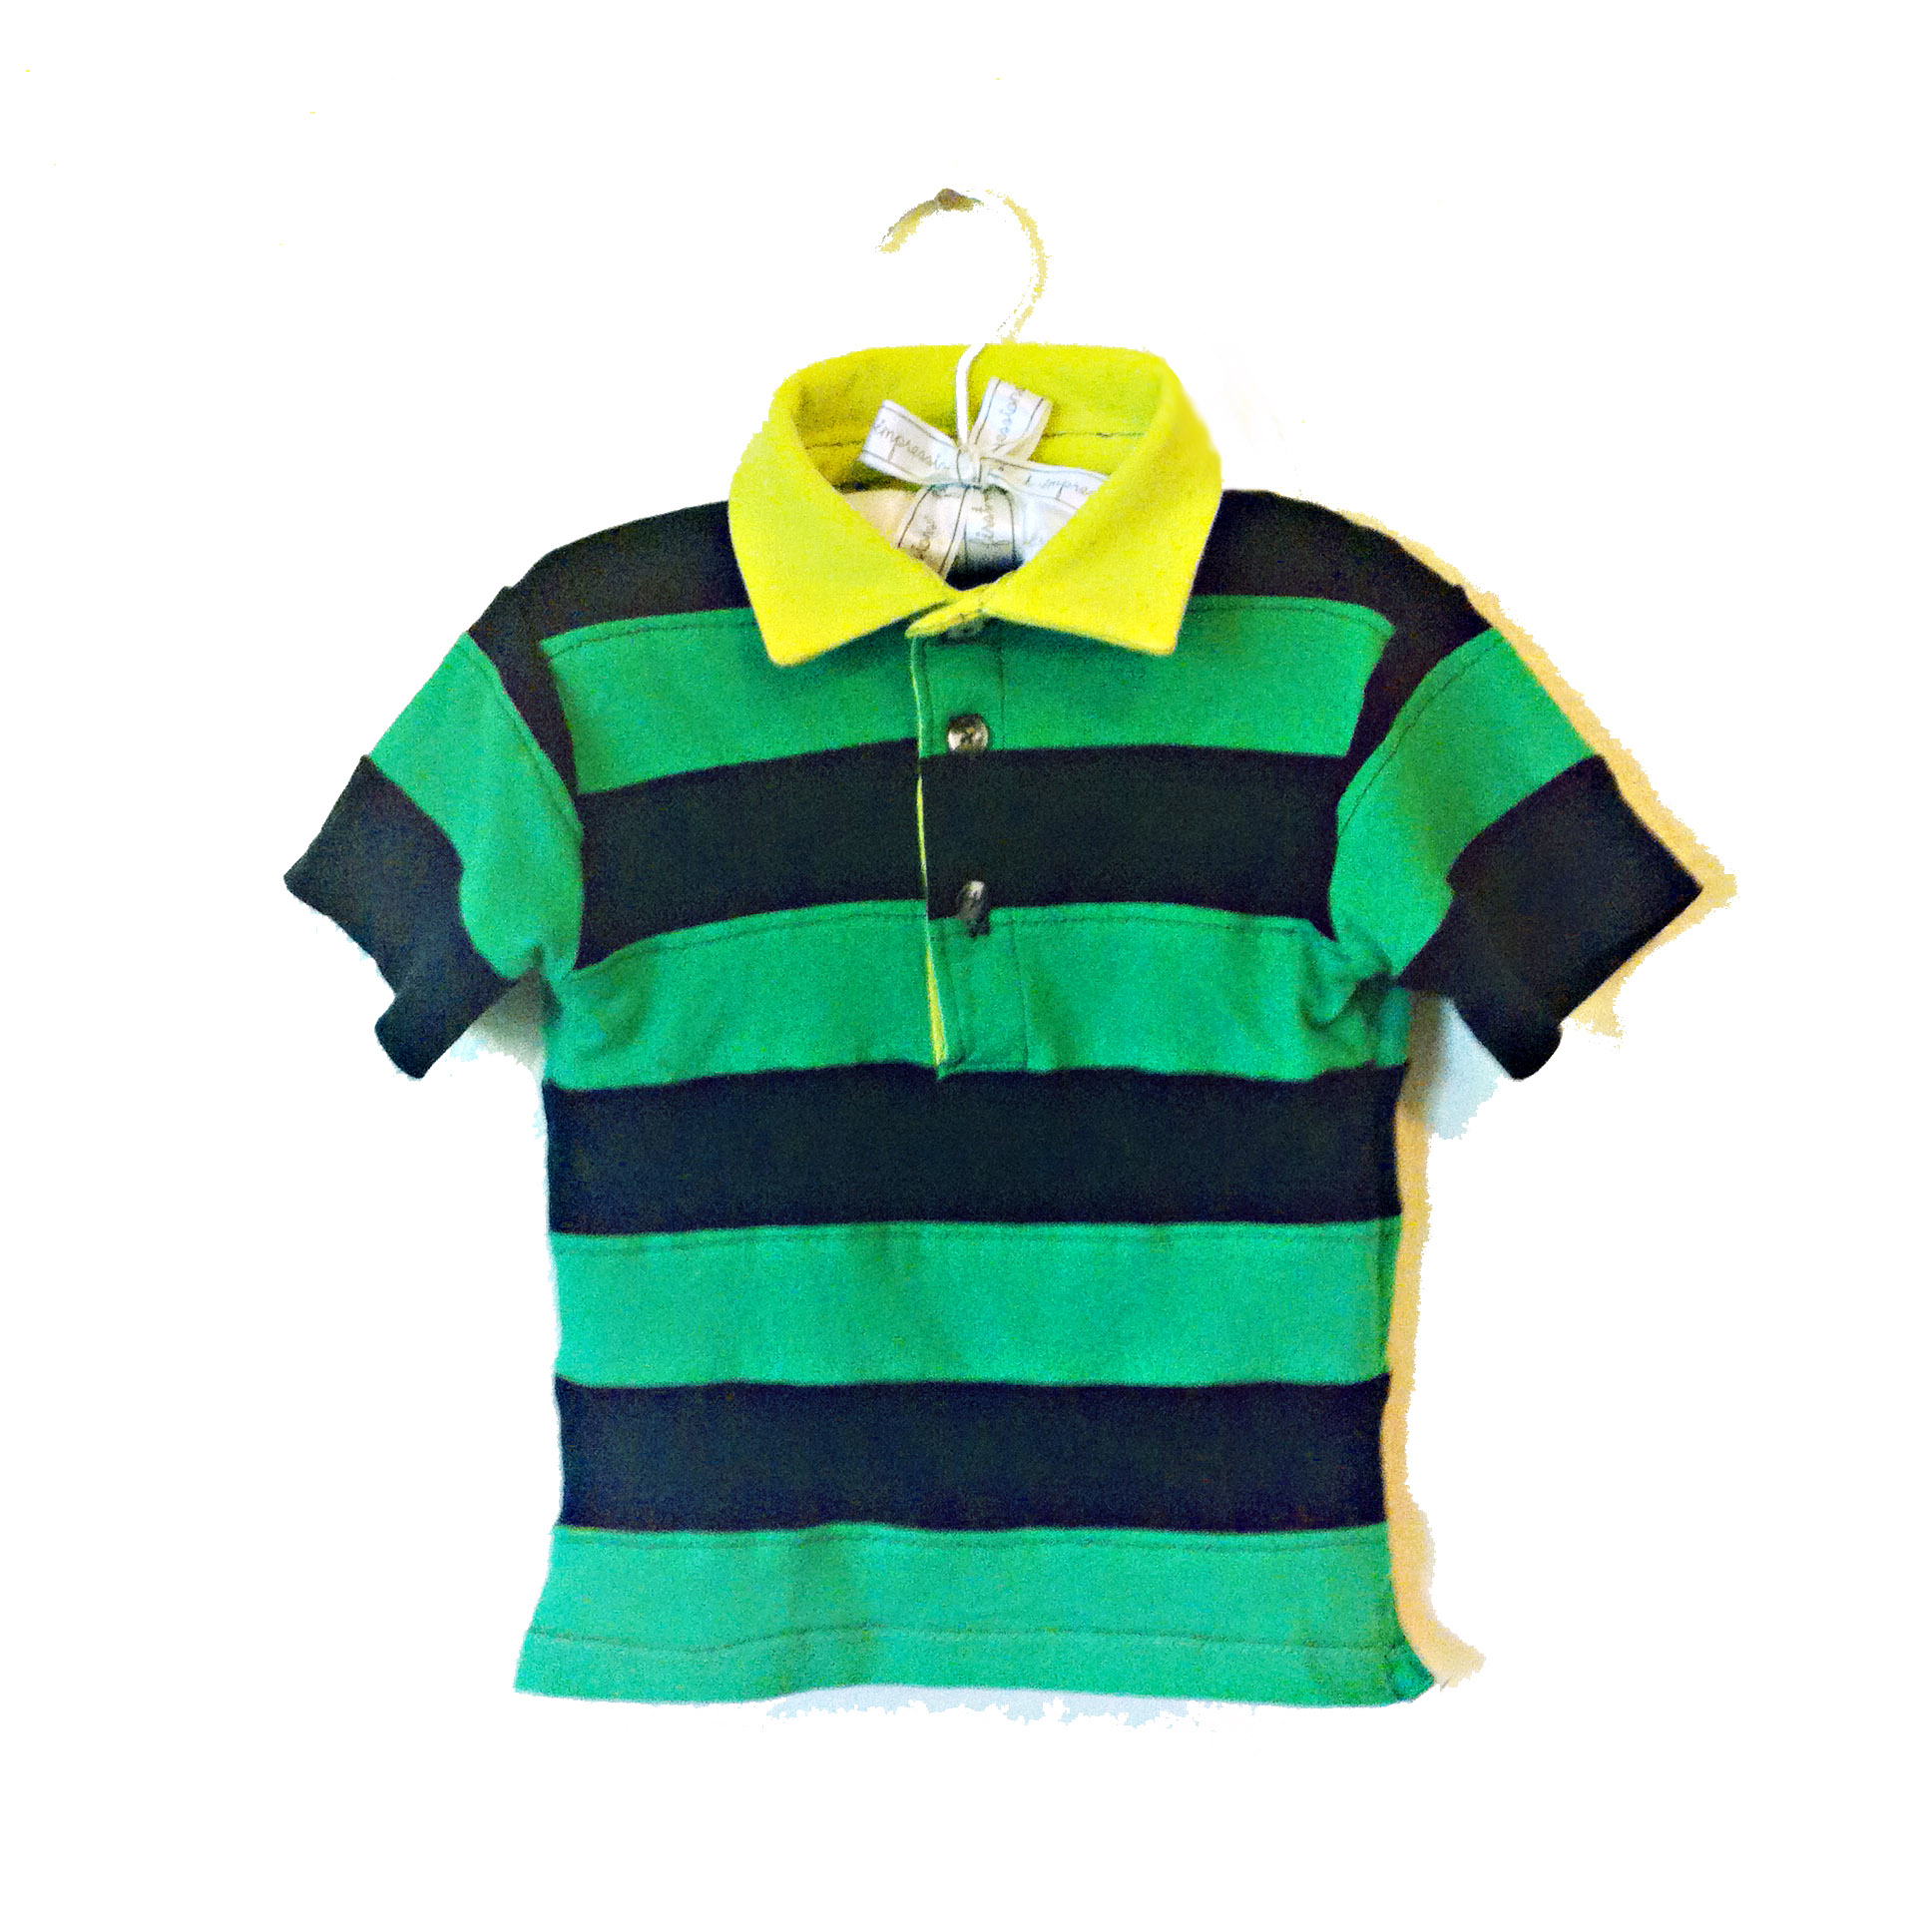
 These are very versatile and can be used for girls or boys. The photos from the tutorial are a girly version, in fact. (I have boys, though, so the majority of the shirts I have made are for boys.)
Okay, let’s get started. Print out the following pattern pieces at 100% scale.
Cut out your pieces. You should have 1 front, 1 back, 2 sleeves, 2 collars, 2 top button/ collar pieces, and 2 rectangles for button placket facings.
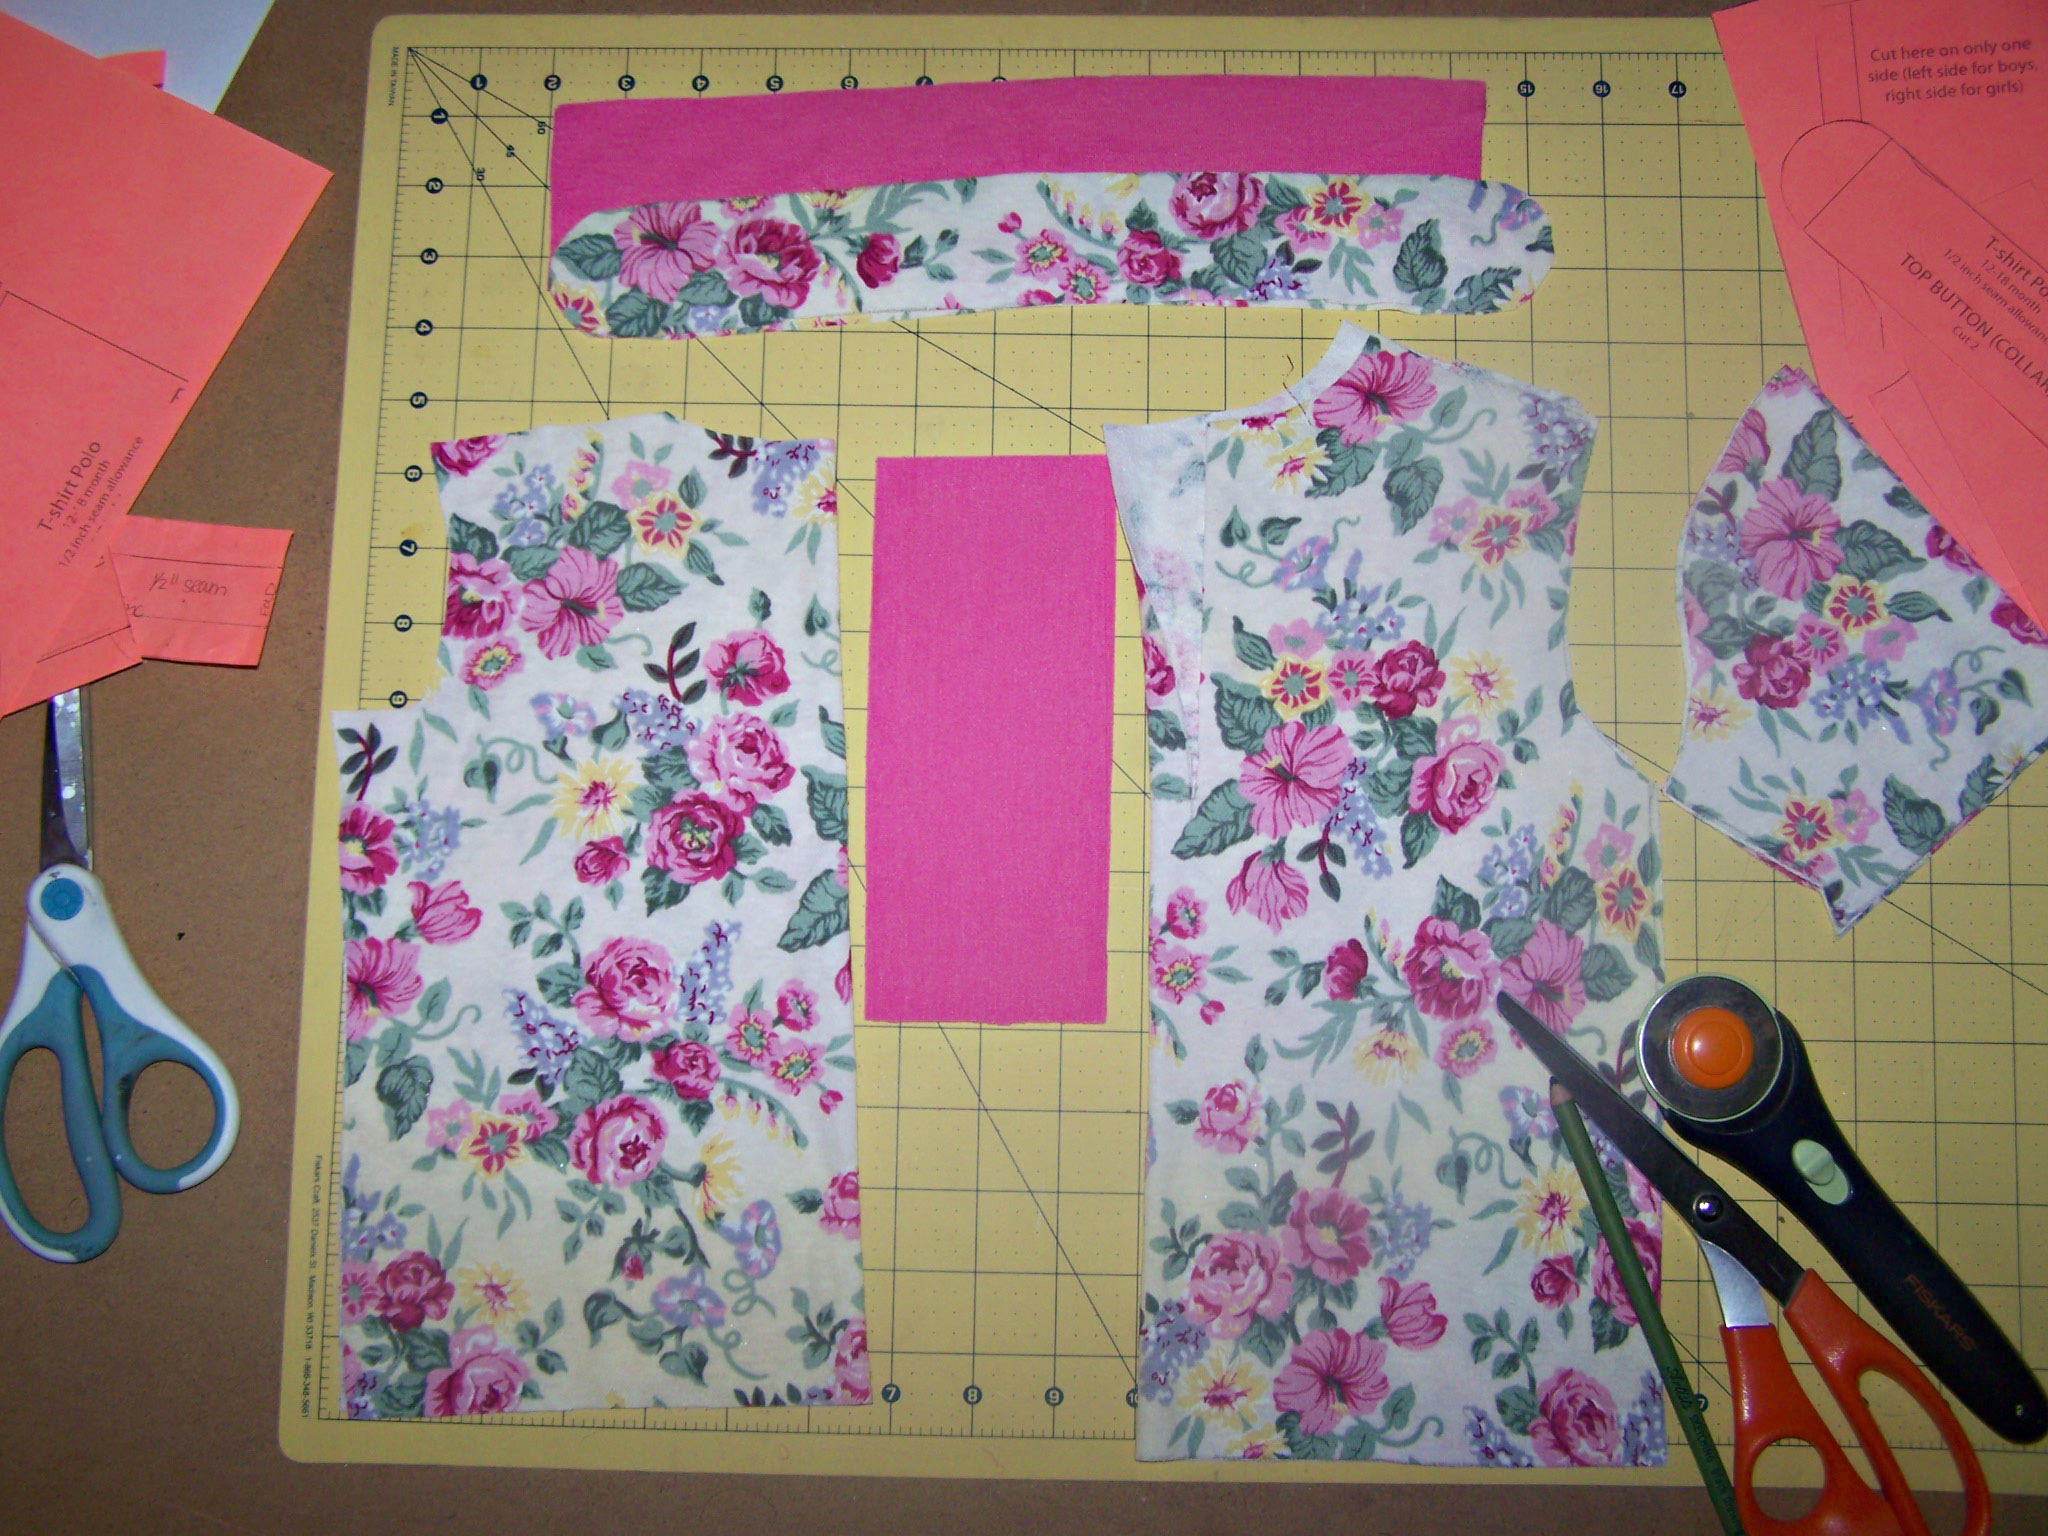
There is 1/2 inch seam allowance included.
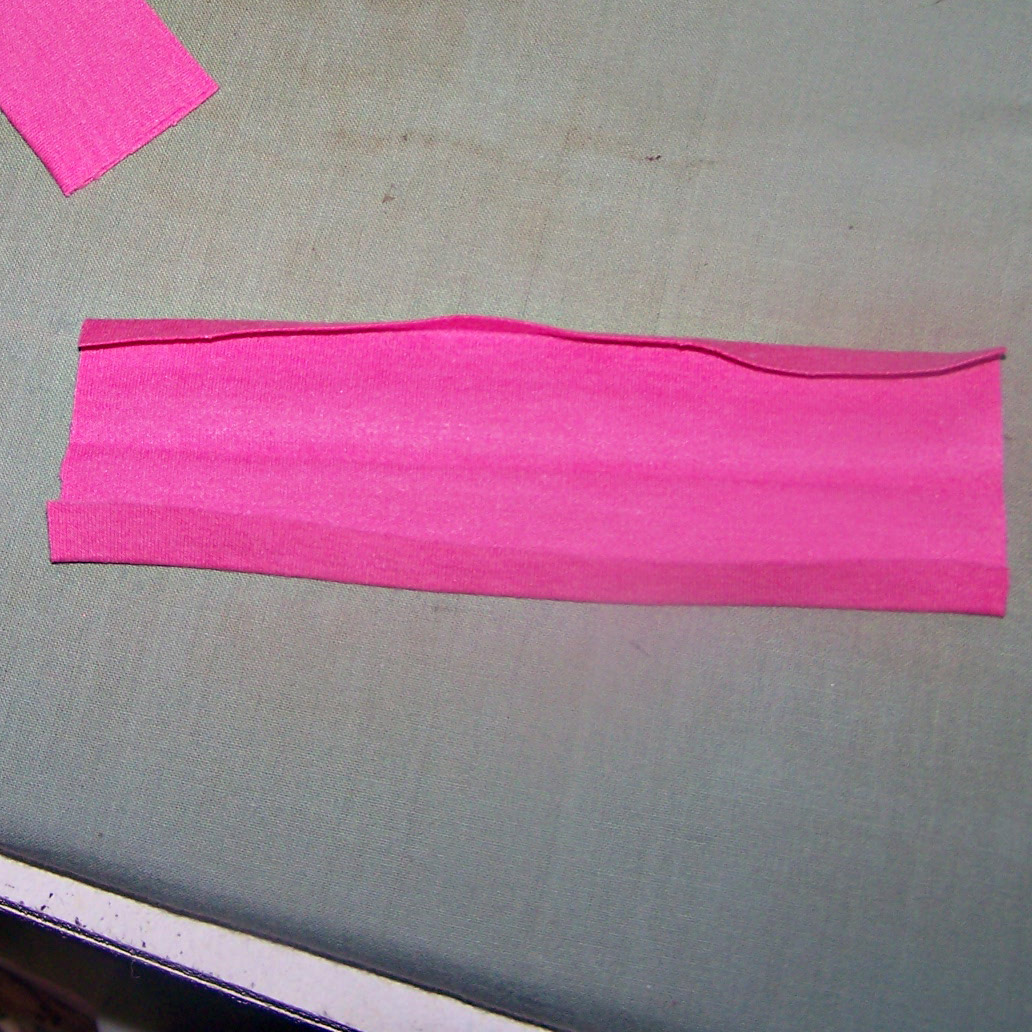
Prepare the button placket on Front: I will refer to the facings as A and B. For facing A, simply press one rectangle in half, lengthwise, and set aside. For facing B, press in half, lengthwise, and then fold in the raw edges 3/8 inch and press. You are basically creating wide double fold bias tape (with your knit fabric).
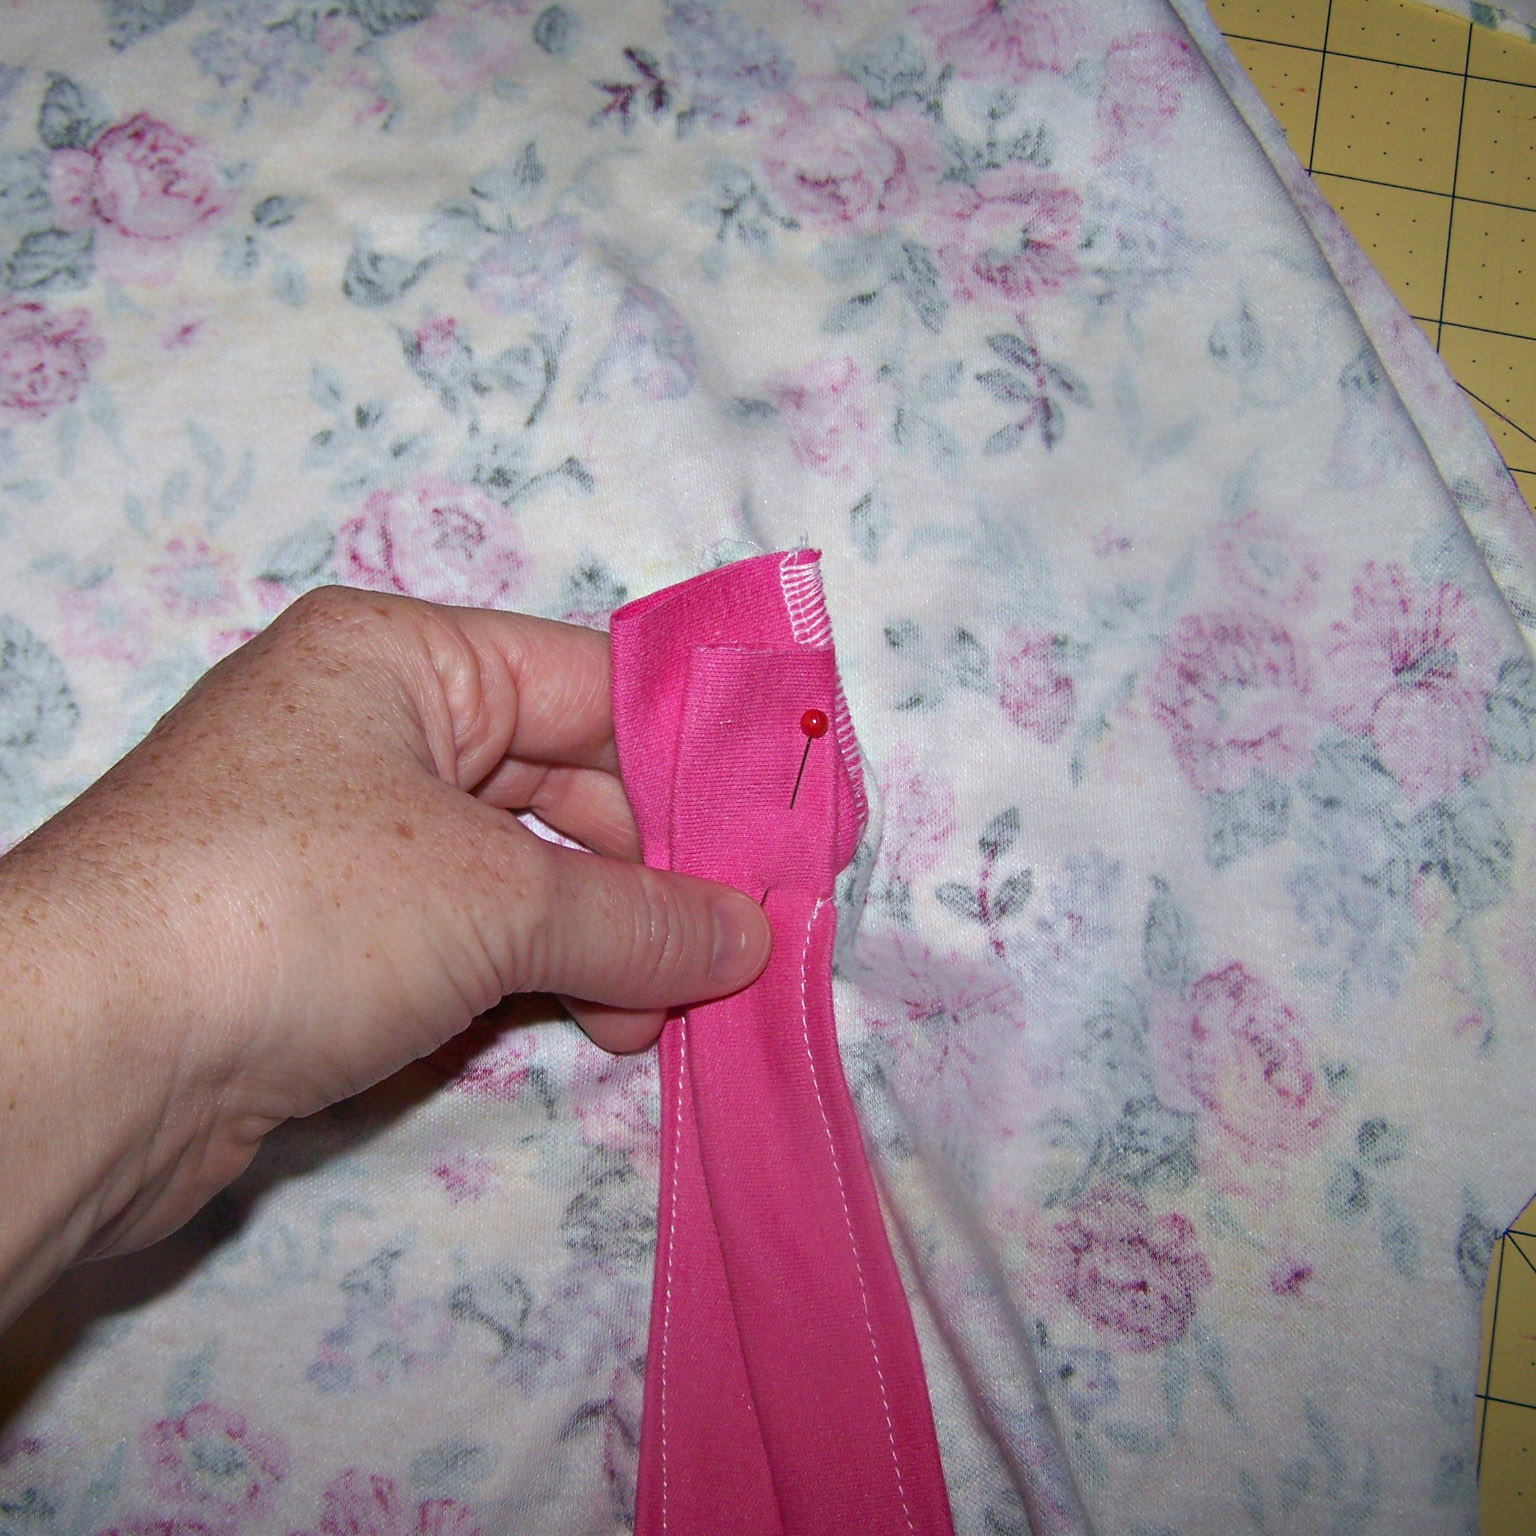
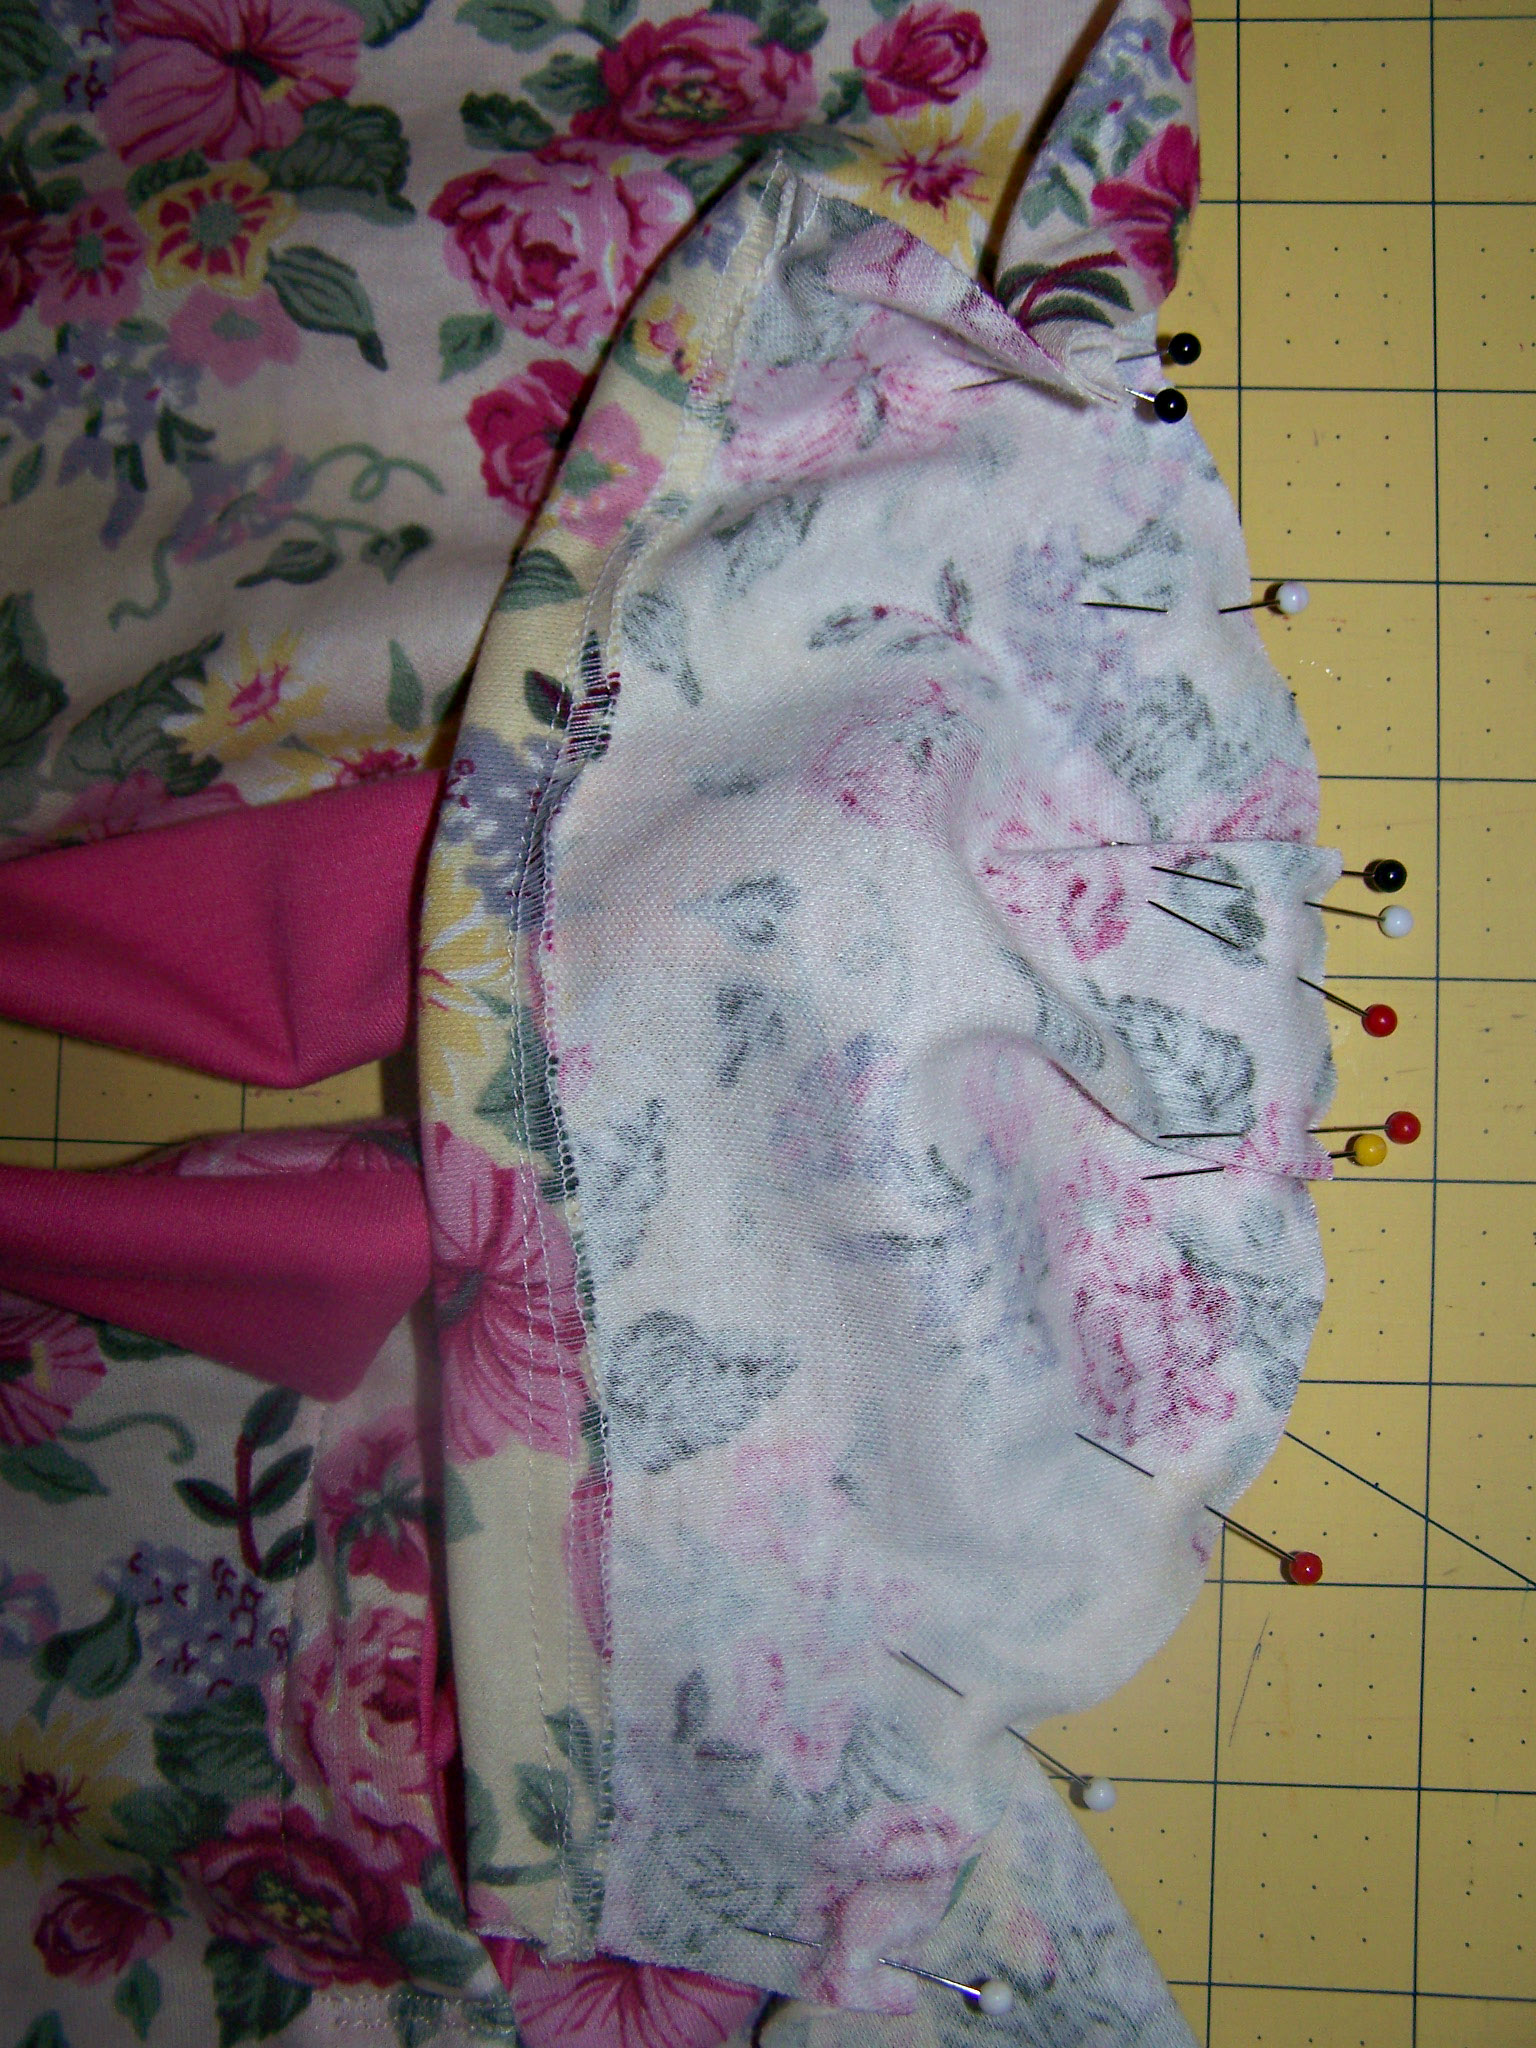
I will also be referring to the two edges created by slitting the neckline on the Front Body piece as edge A and edge B. Edge A will be the edge furthest away from the shoulder (left side of slit for girls/ right side for boys) and Edge B will be the other side.
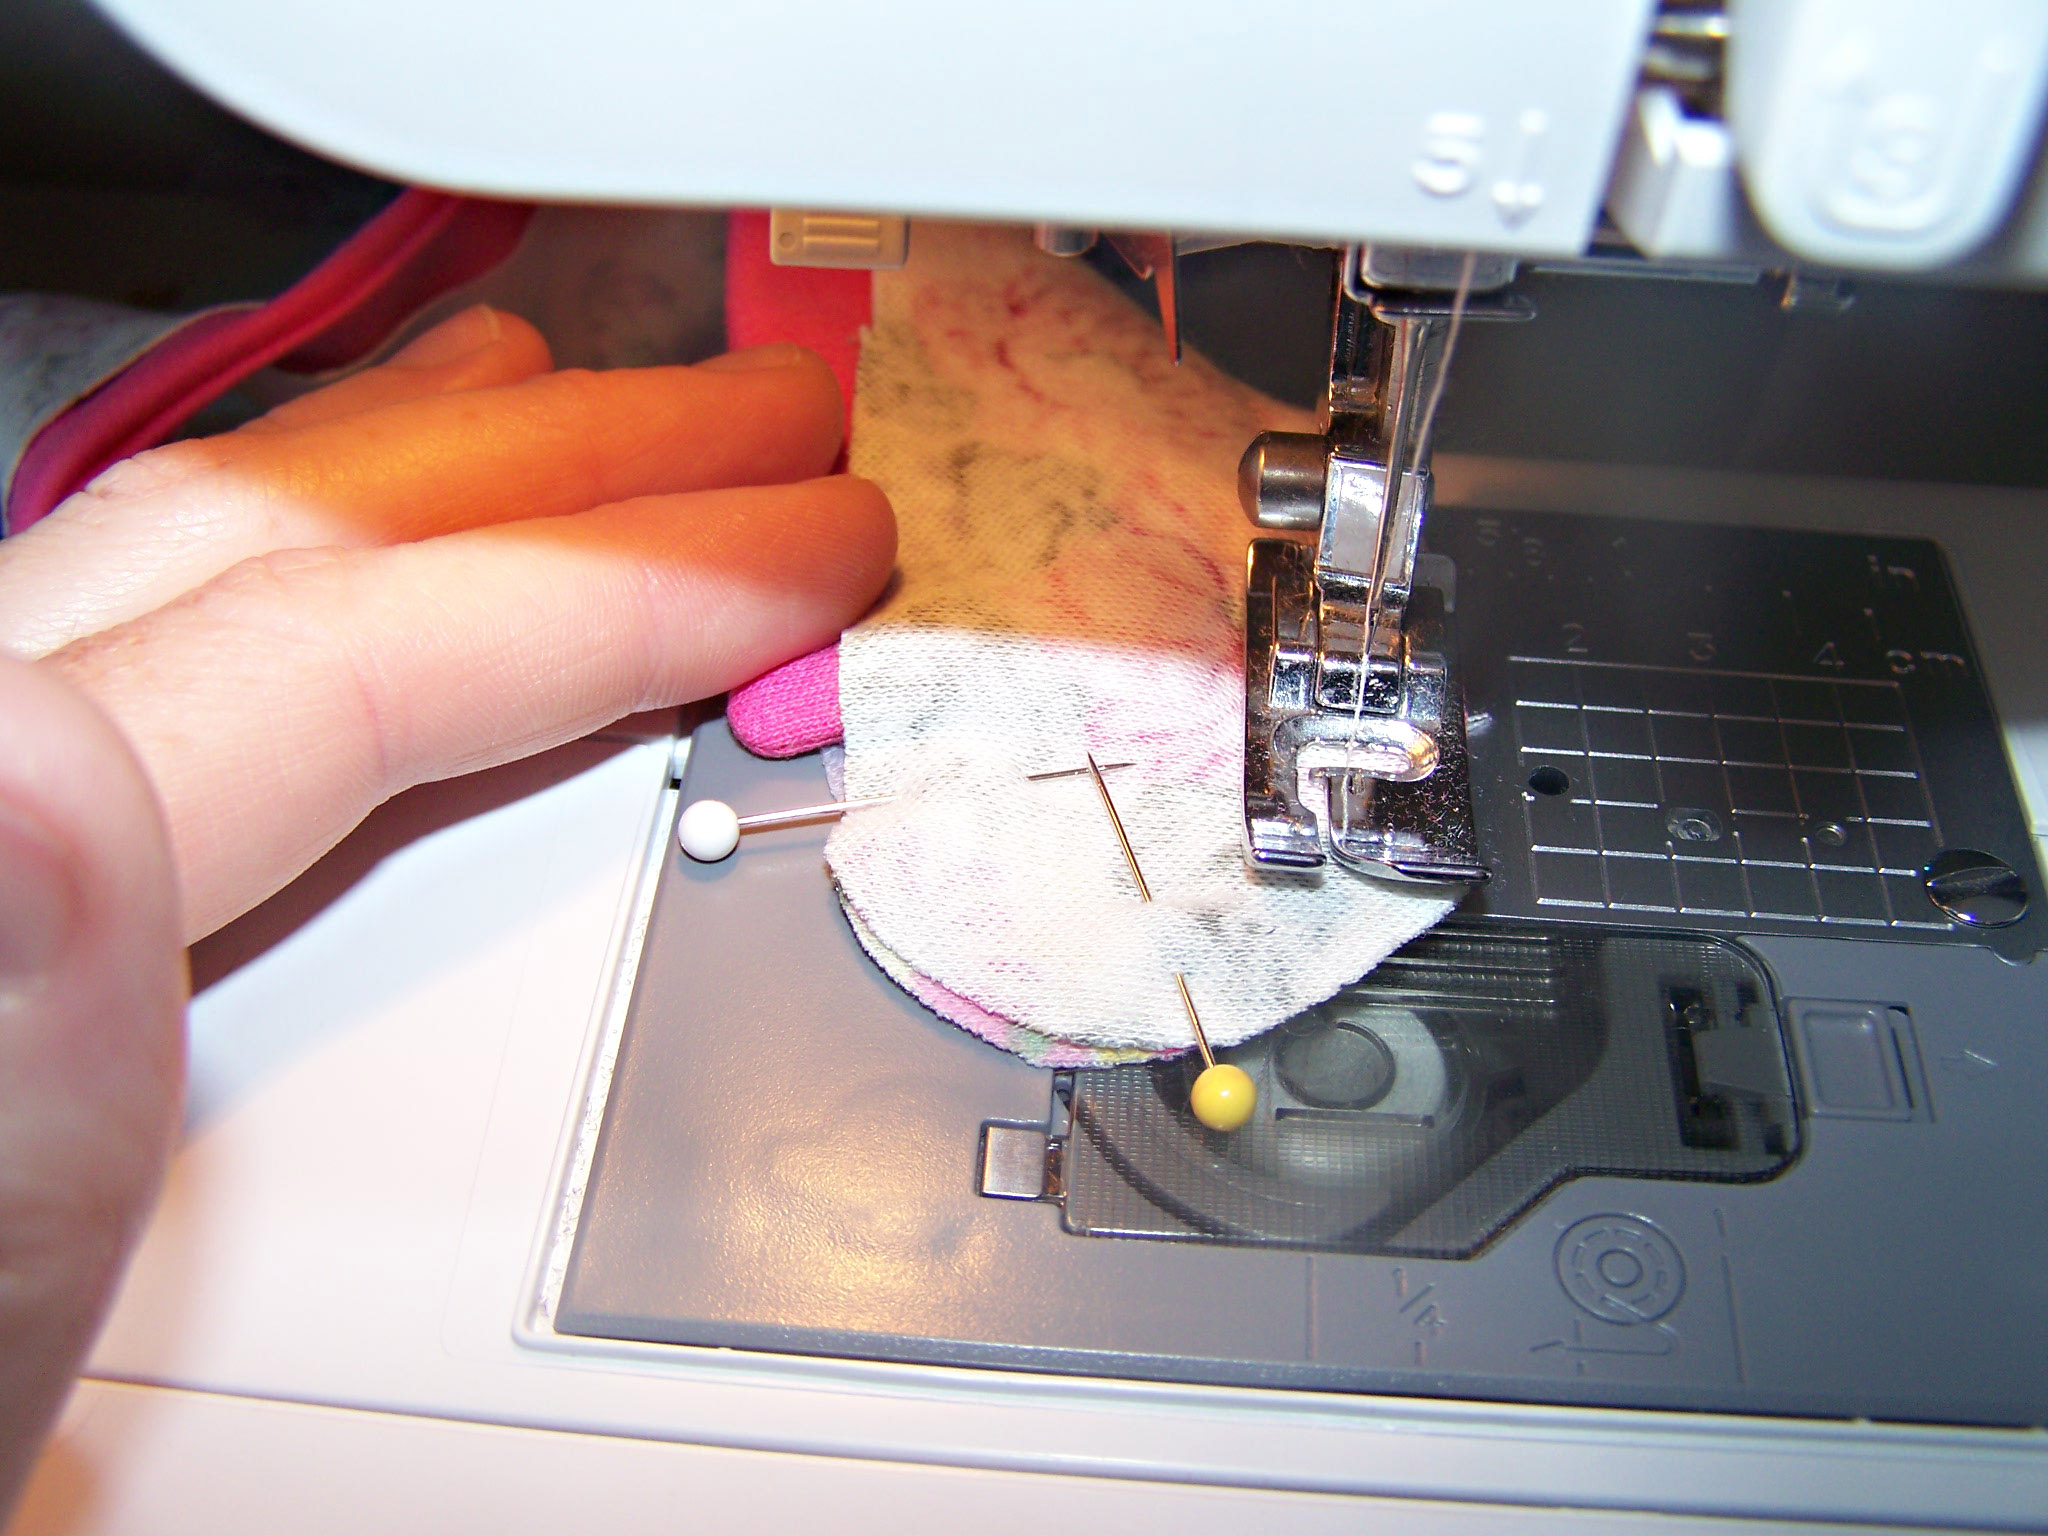
Edge A: Sew Facing A to Edge A just to the bottom of the slit. (I surged the raw edge of the facing in this photo, but that is not necessary)


Flip Facing A to the inside of the garment. Press. Top stitch.
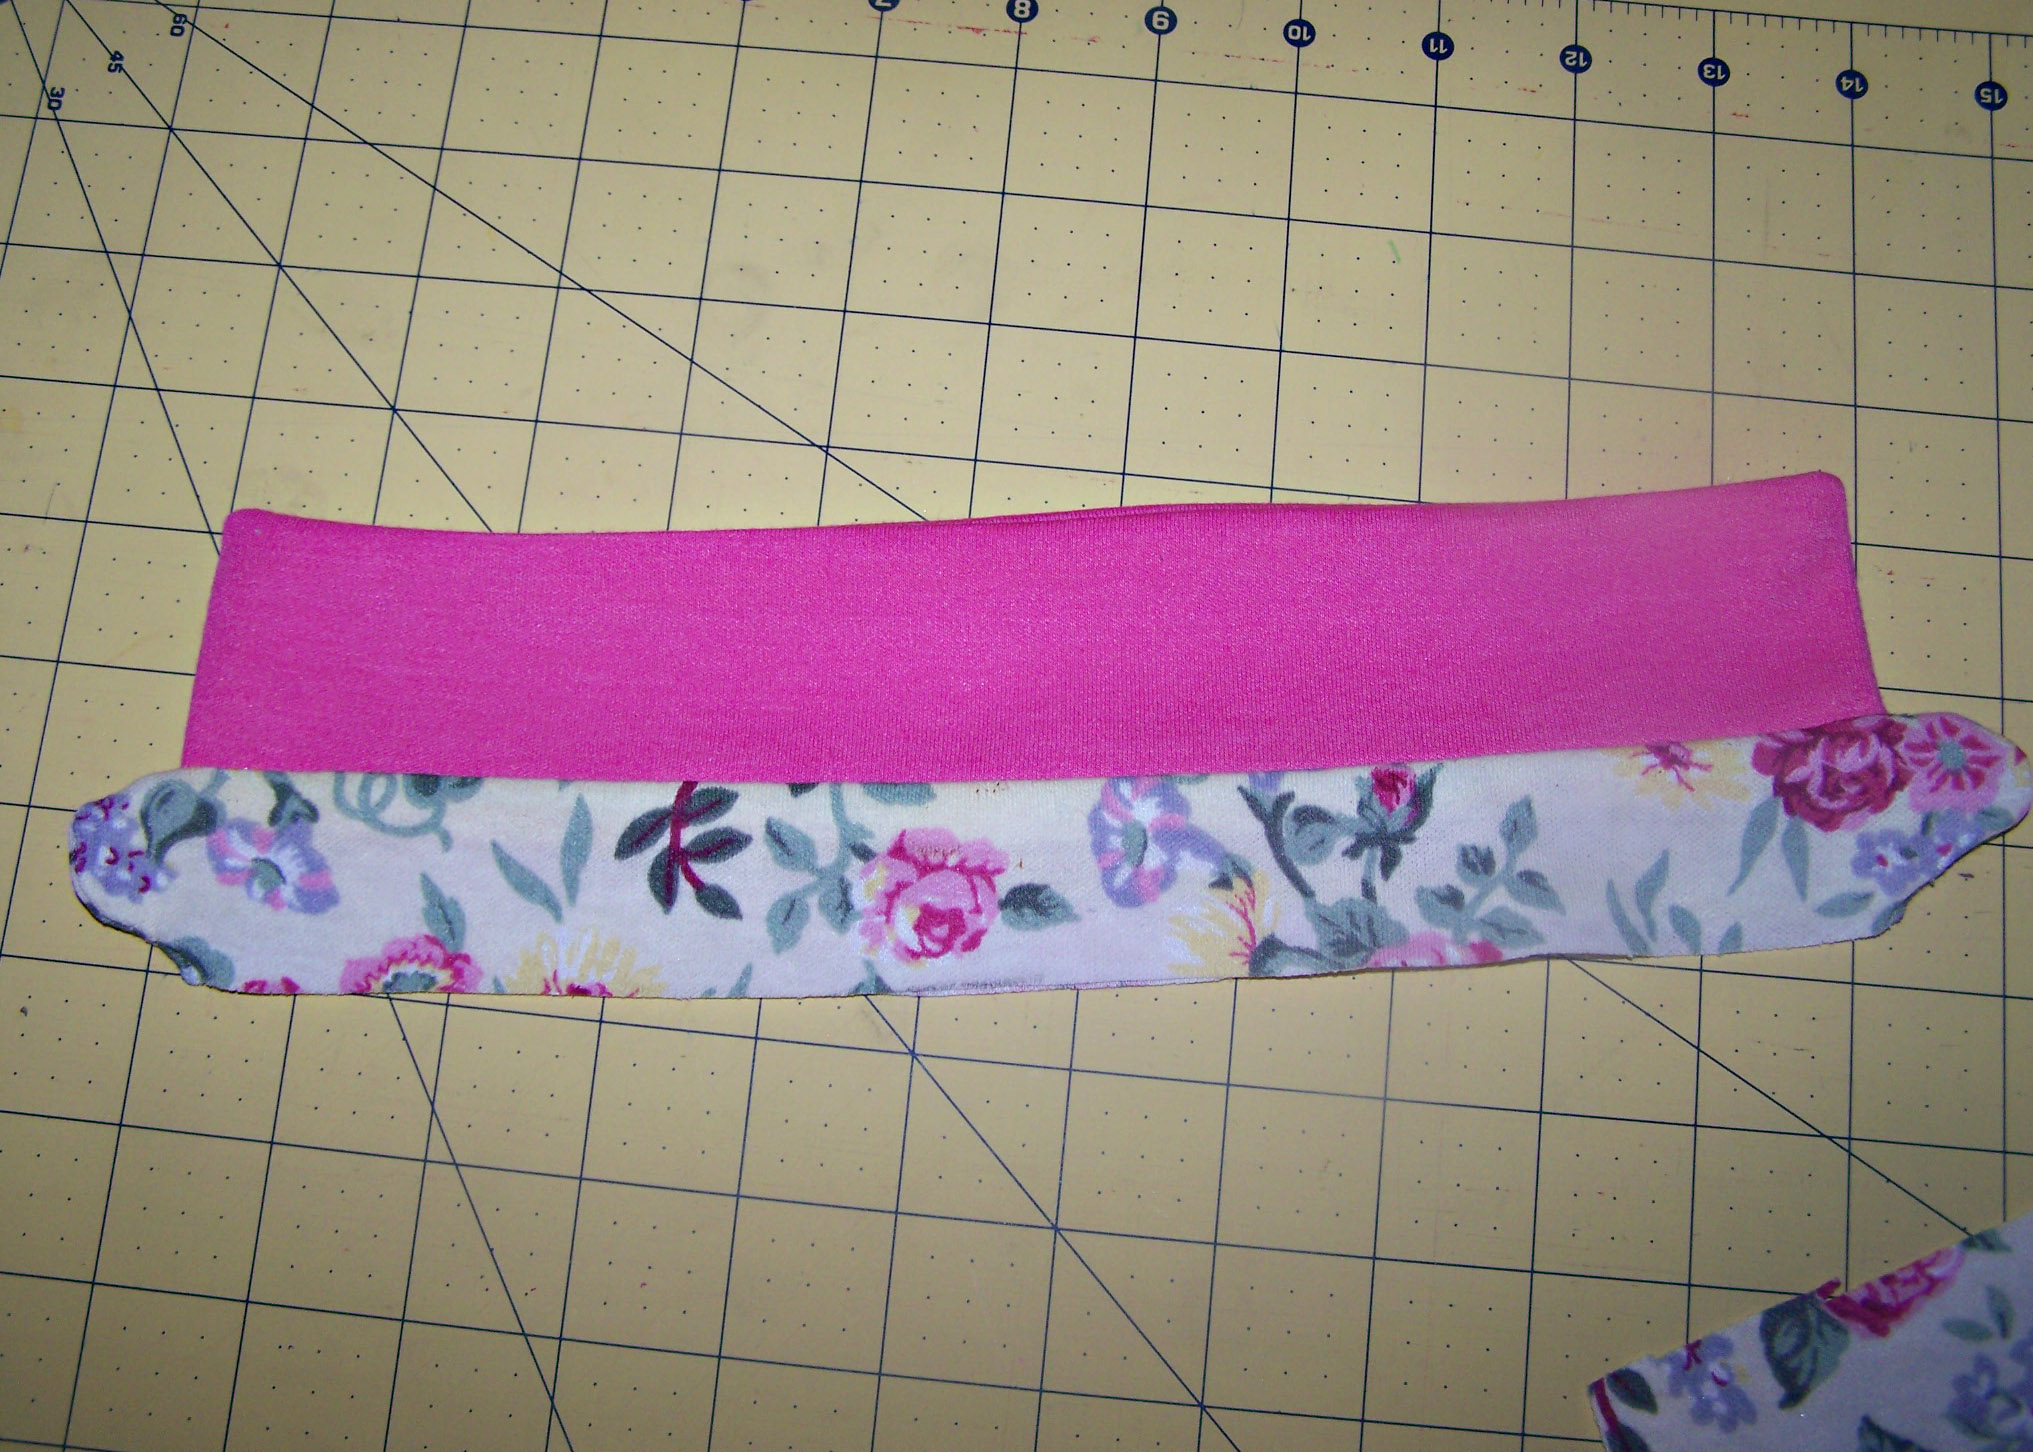
Edge B: Sandwich Edge B between folded edges of Facing B. Pin and stitch close to the folded edge to secure this facing to the garment. Push the tail of Facing B to the inside.
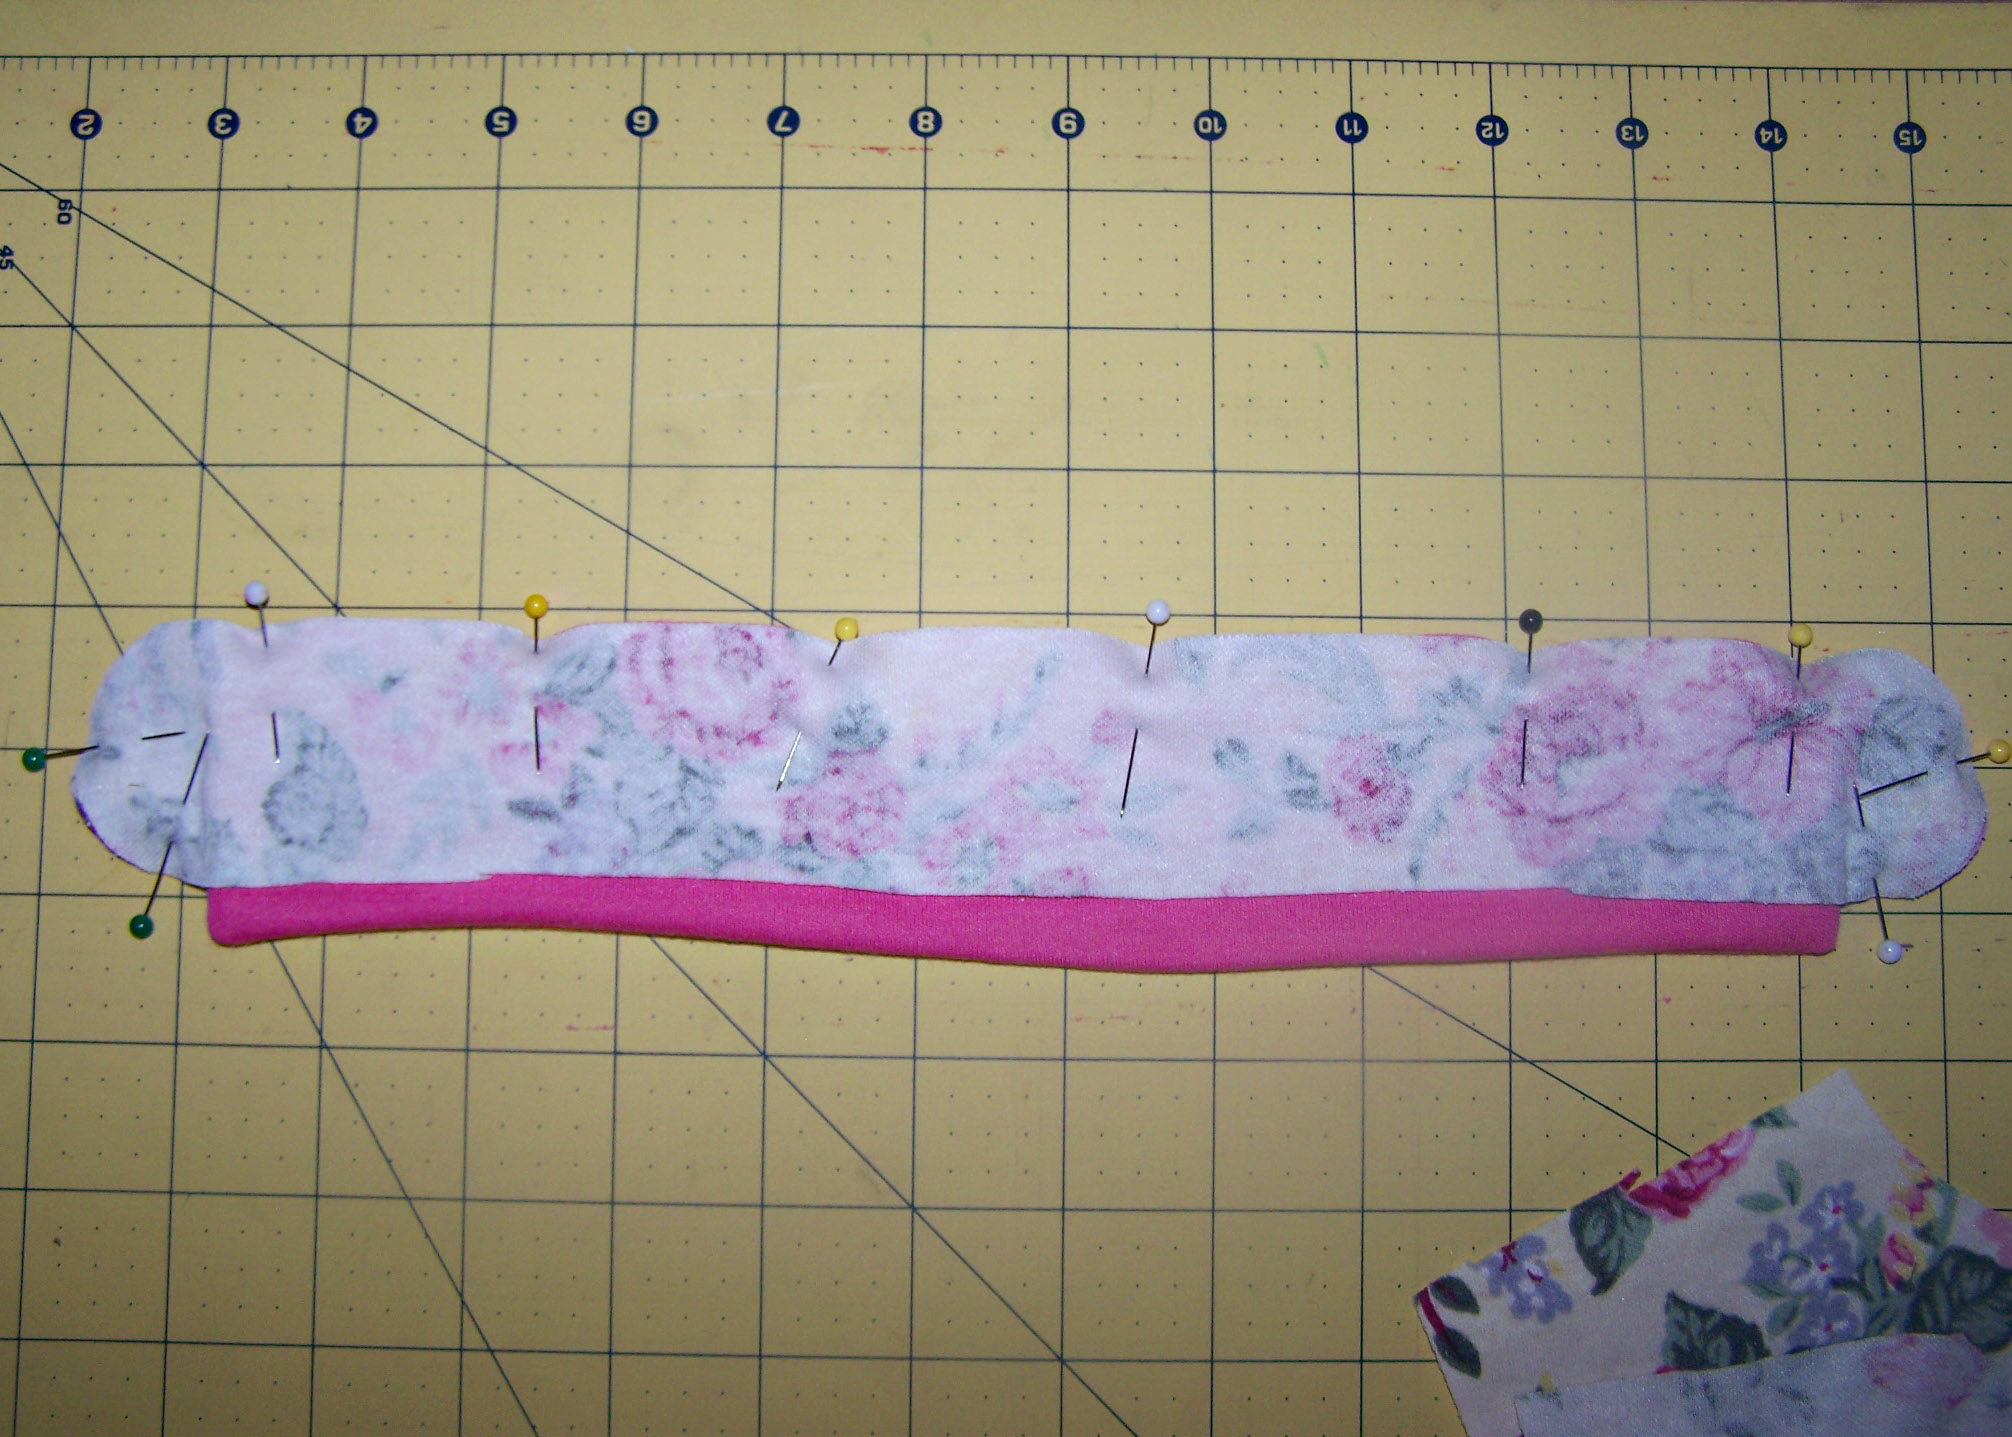
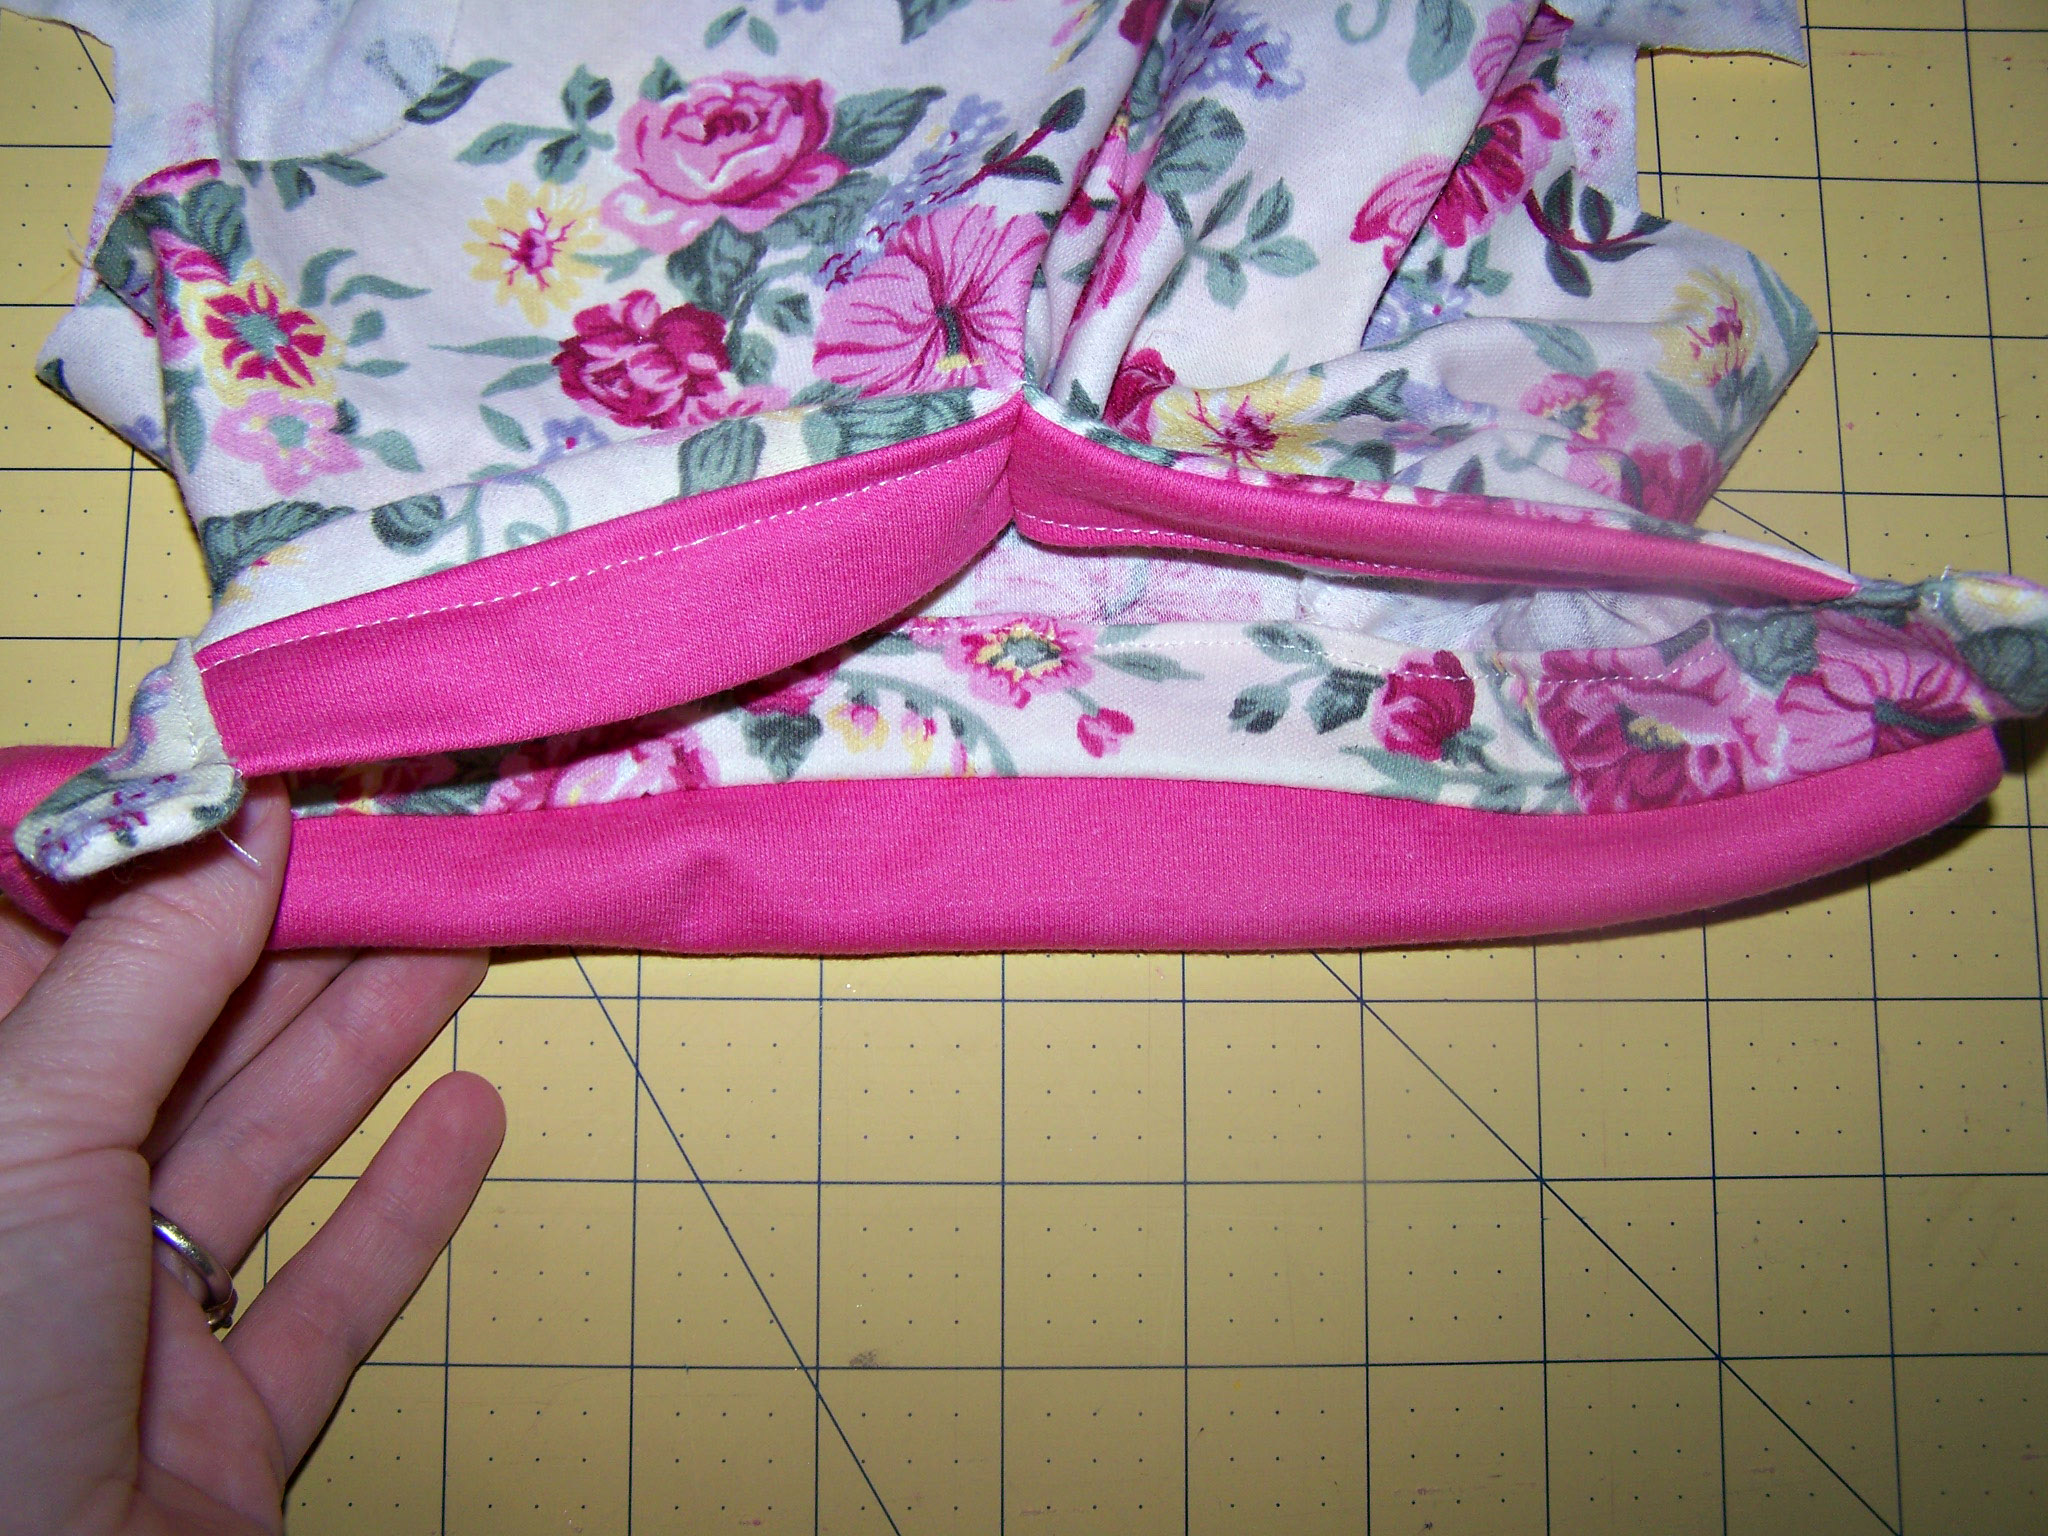
Lap facings , lining up the neck opening, and sew together.
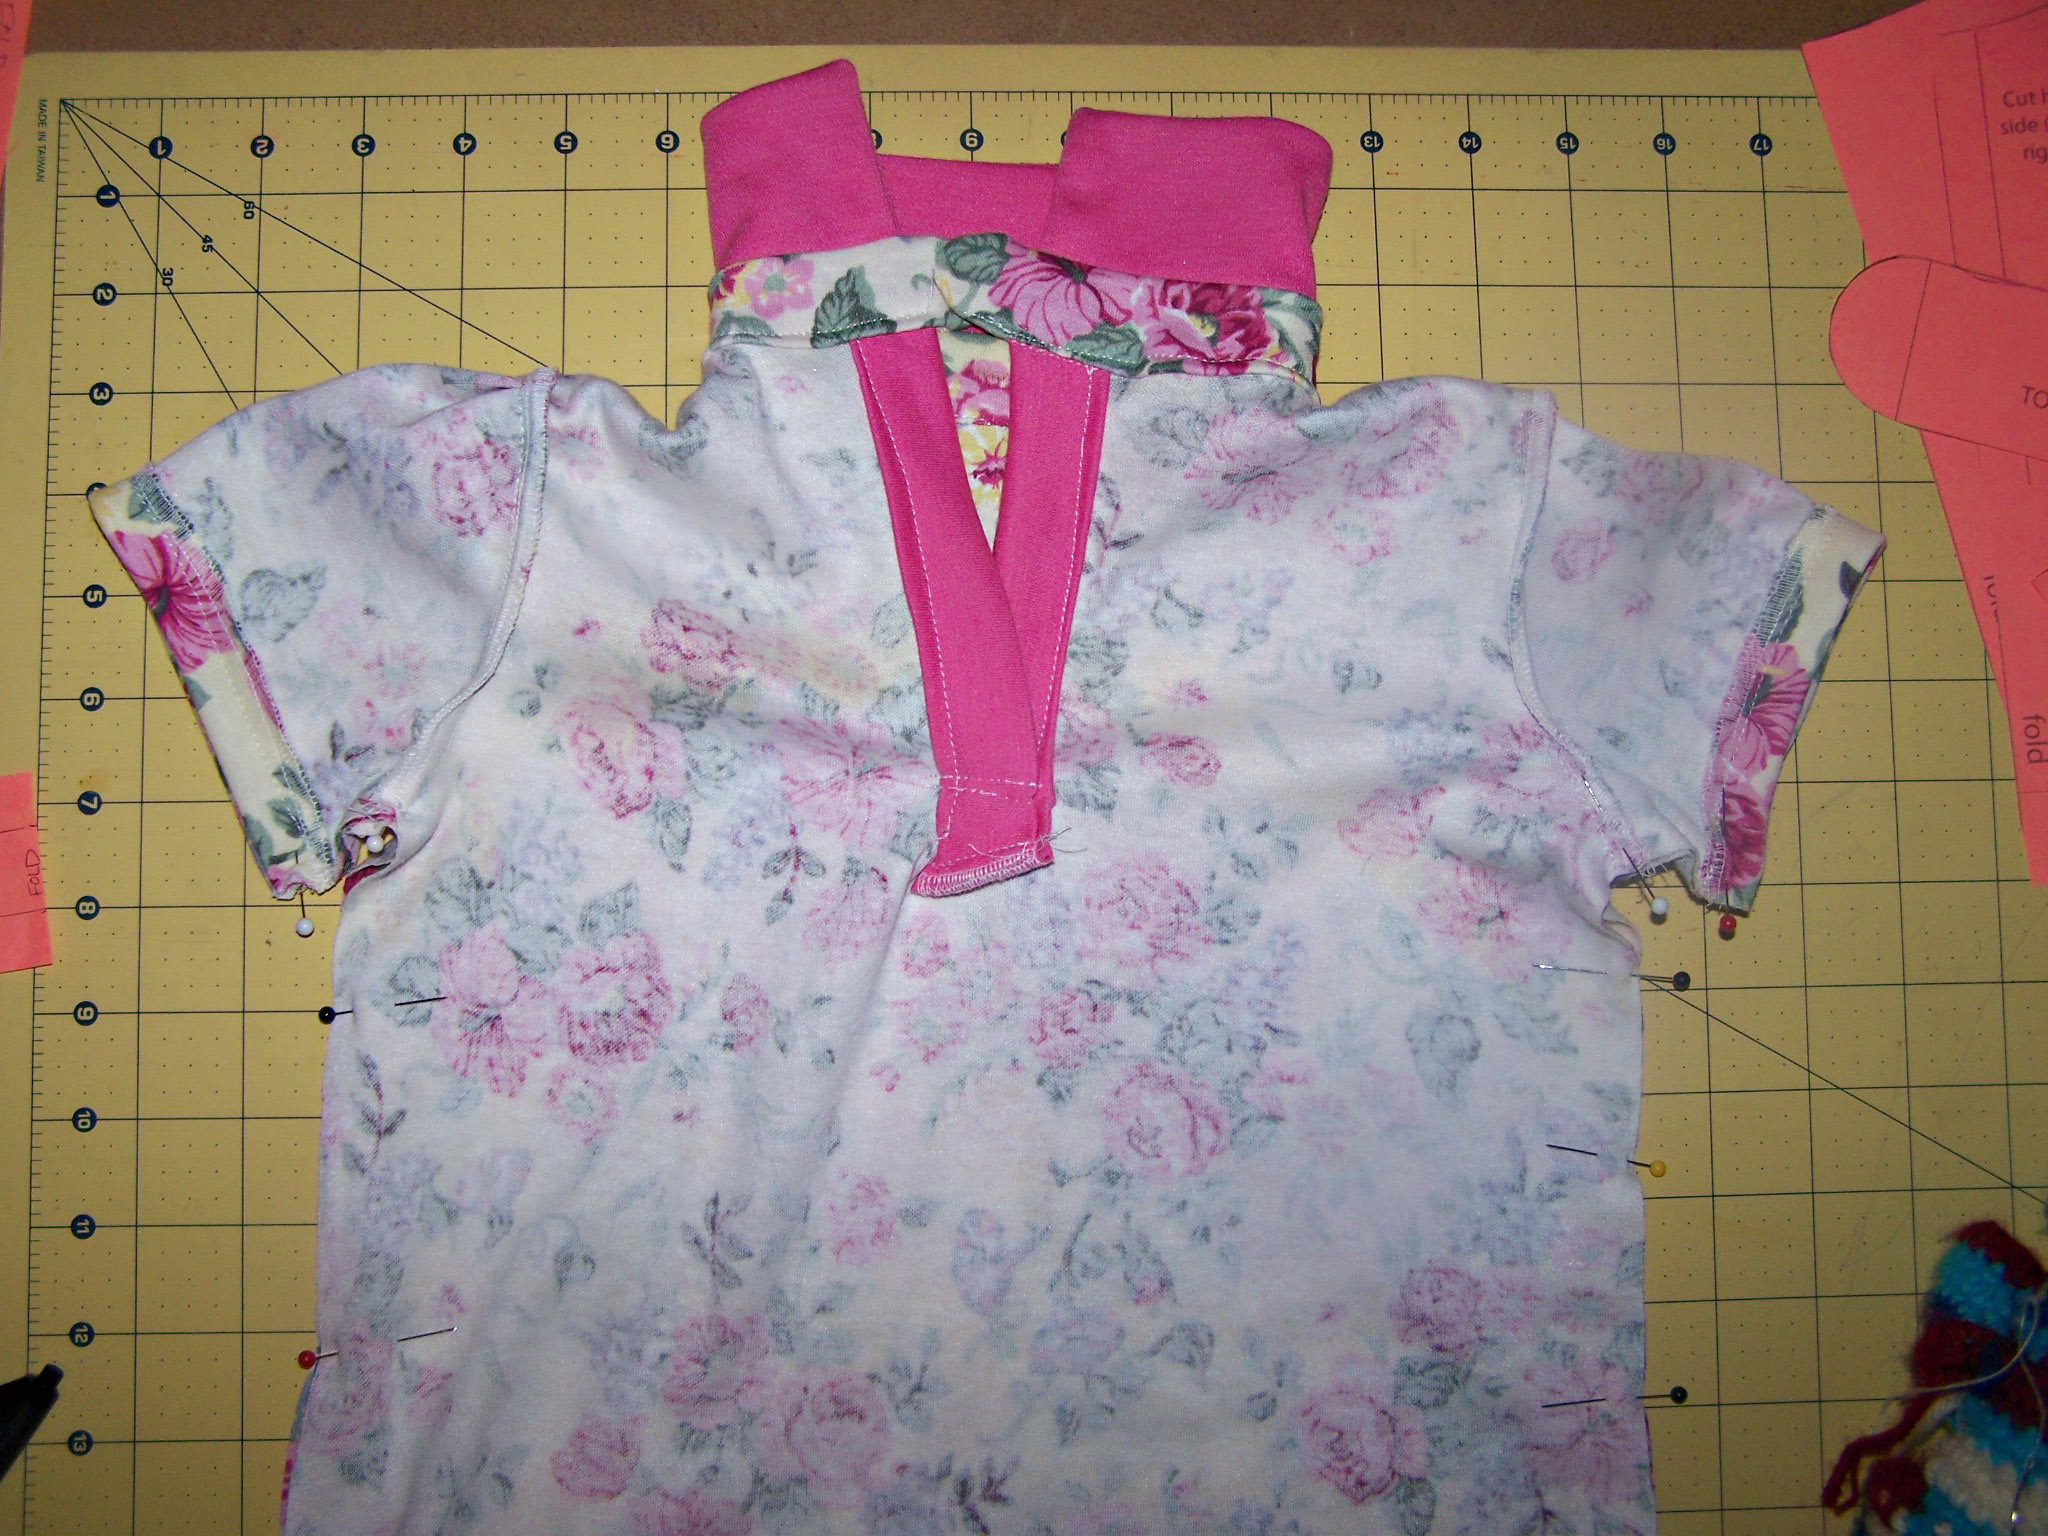
Trim the excess tail from the facings. Finish that edge by serging, zig zag stitch, or leave raw.
Top stitch two rows of stitching at the base of the facings (on the front of the garment)

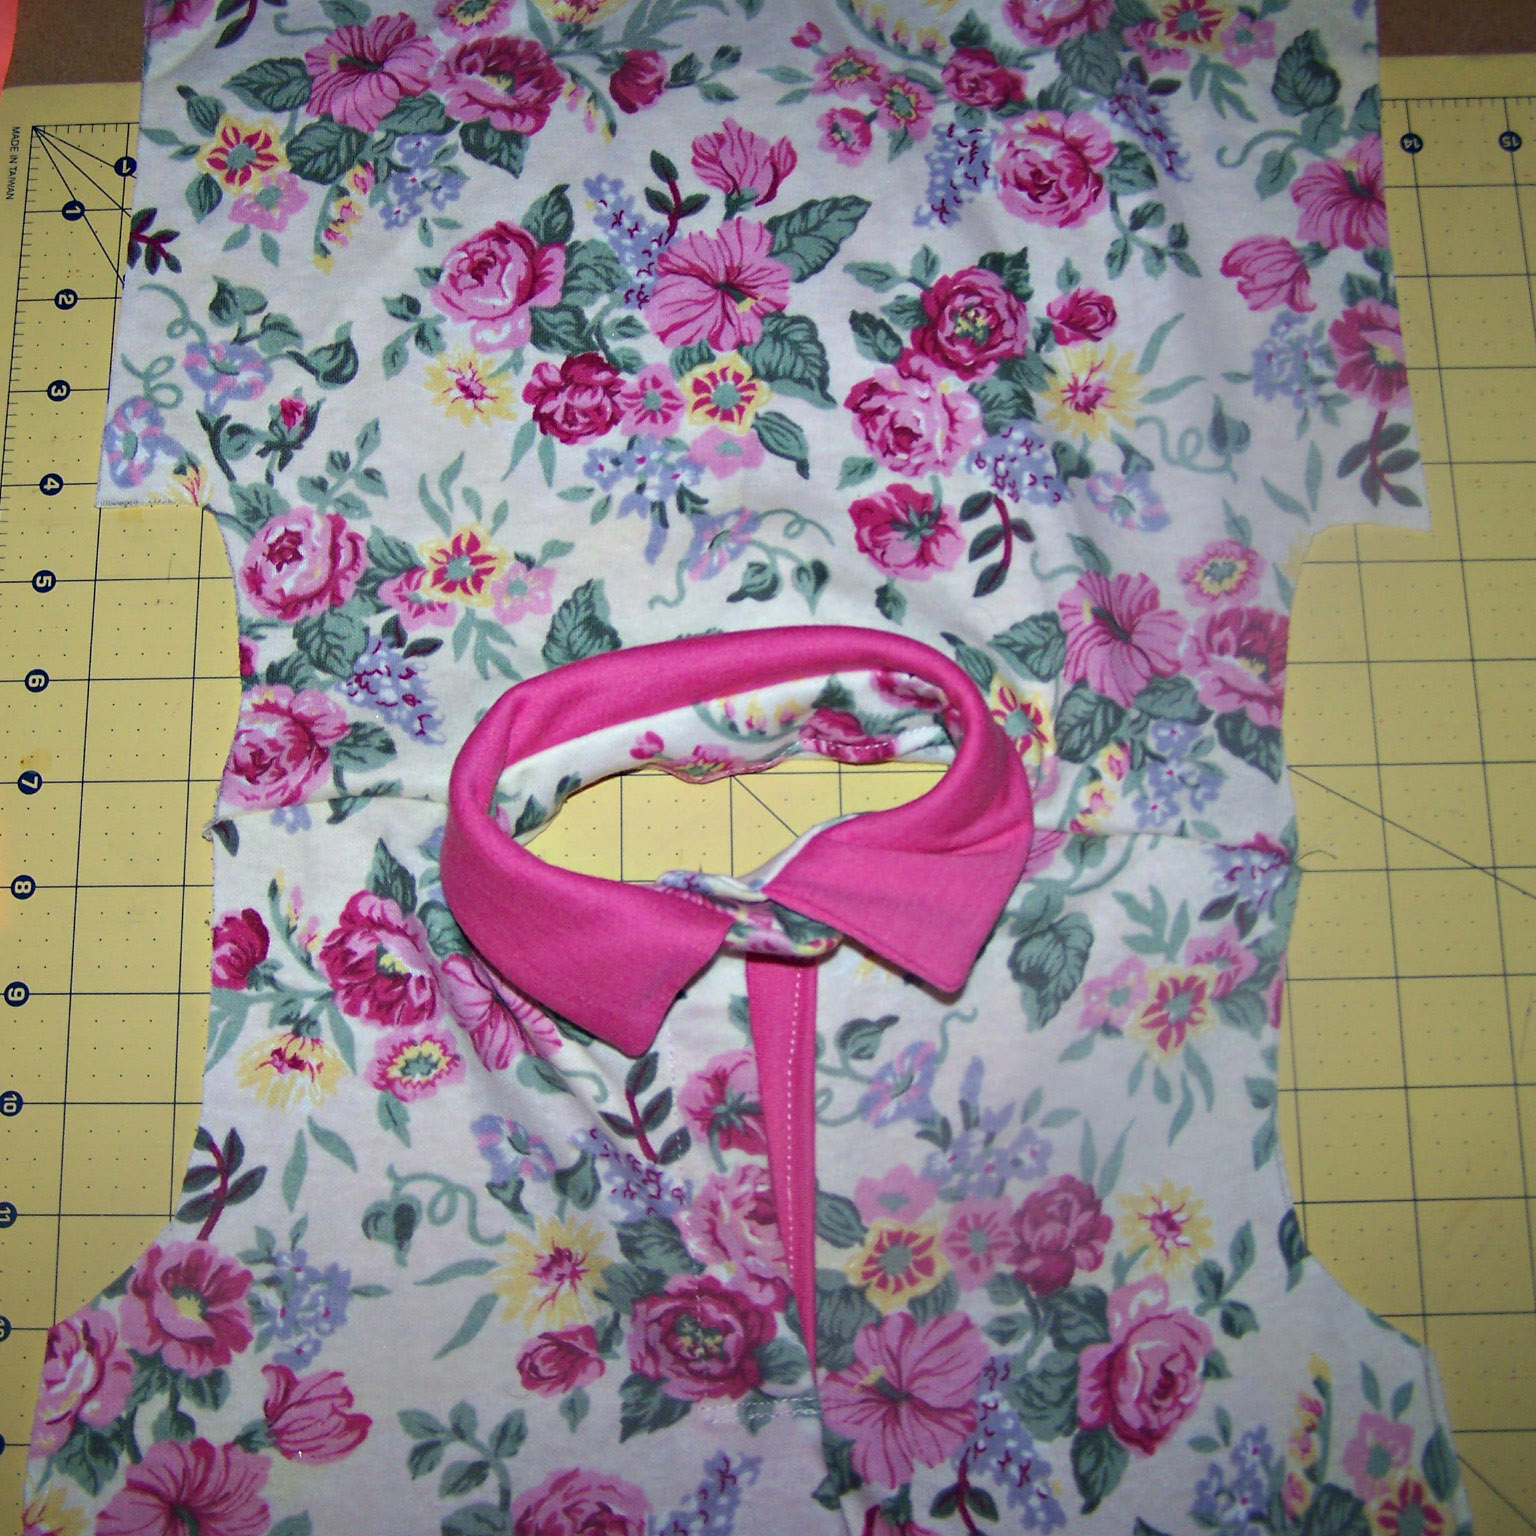
Collar: Sew the two collar pieces together, right sides facing, along the two short sides and one long side (top). Clip Corners, turn right sides facing out, and press.
Sandwich the raw edge of the collar between the two top button/ collar pieces, right sides facing.
Stitch around the curves and top edge to secure the collar to the top button piece. Be careful not to stitch too far into the bottom edge. You only want to catch the collar at the top.
Clip curves, turn right side out. Press. Set Aside.
Sew Front to Back at shoulder seams.
Pin and stitch the outside of top button/ collar along the neck opening.

Turn inside edge of top button/ collar under. Pin and top stitch (or hand stitch if you prefer to not see that stitching).
Whew! Hardest part is done!
Next, sleeves: Finish the hem of the sleeve as desired. (serge the raw edge, turn in 1/2 inch, and top stitch)
Pin and stitch to sleeve opening.
Stitch Front to Back under the arms and down the sides.
Hem bottom as desired.
Make button holes on outside button placket. Sew buttons on the appropriate placket.
You’re done!


Leave a comment