T-shirt polo pattern

Update:  For the free t-shirt polo tutorial, go here!

We are heading out of town for a couple of weeks, but I wanted to get the pattern pieces for the T-shirt polo posted before taking off.  I don’t have a tutorial just yet, and I probably won’t until I get back home, but feel free to email me or comment if you have questions.  I can try to walk you through it.Image
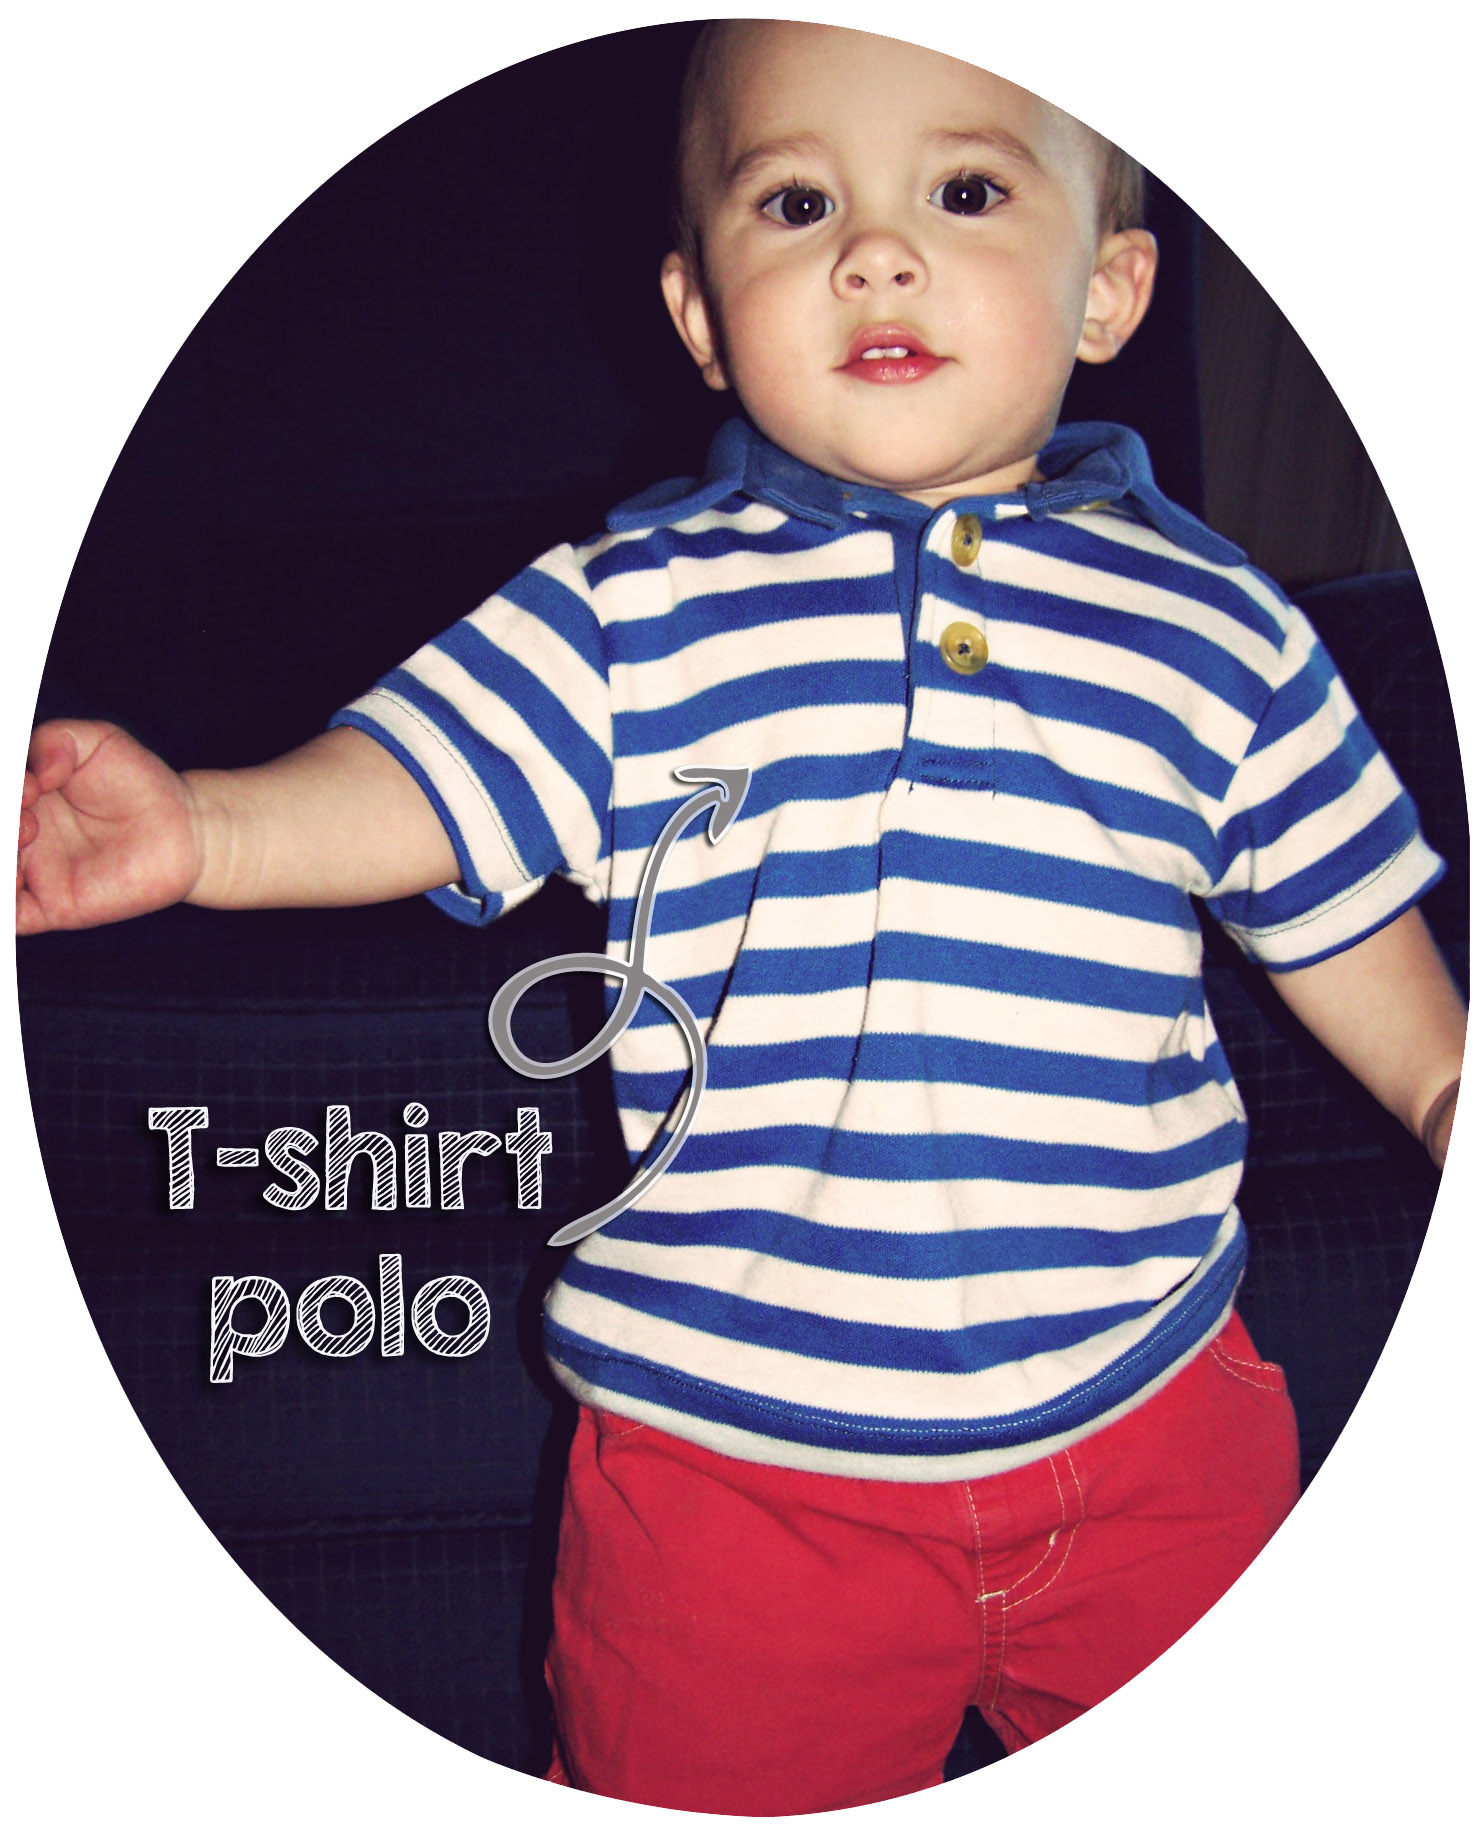
You’ll notice that there are 5 pages to print: 2 for each front and back, and then one for the extra stuff. Line up the word “fold” on the two front and back pieces to get an accurate pattern piece.  In addition to these pieces you’ll need 2 button placket pieces.  These are just rectangles sized 3 inches by 7 inches.

All pieces have a 1/2 inch seam allowance, the sleeve and body pieces have 1/2 inch hem allowance as well.  Lengthen or shorten those pieces by extending the lines as needed.

*Update*  I reworked some of the pattern pieces- lengthened both the front and back pieces, changed the shape of the sleeve a little bit, and lengthened the top button/ collar piece.  If you use this pattern, will you please let me know if you run into any problems?  Also, I have a tutorial coming up… I’ll post the link as soon as it’s ready.

T-shirt polo 1

T-shirt polo back 1

T-shirt polo back 2

T-shirt polo front1

T-shirt polo front2

I’d love to see your finished t shirt polos!  Send me a link to your blog or instagram or pinterest or whatever.

7 responses to “T-shirt polo pattern”

  1. I didn’t know you had a blog! I’m excited. I love your art and projects you do
    and I totally wanna try making this shirt. I’ll let you know what happens if I make it.

    1. I don’t know what I hit, but it looks like my name is “kaf” in the post above. Haha!

  2. Hello! Thanks heaps for your pattern – I’ve been searching the web now for ages trying to find a pattern! Do you happen to have any instructions yet? I may not need them but I haven’t sewn in years – this is my first project. Thanks again, Janelle

    1. I will work on some instructions soon. I’m working on getting some pictures of the process to write up a tutorial. Would it be helpful to write up instructions without pictures? I could do that in the meantime…

      1. Thanks – I’m just struggling with the button part – instructions (even if brief) would be helpful for that part, thanks!

      2. Hey Janelle!

        Okay. Let’s see if I can explain this well enough. 🙂 I like to do the button facings very first, so you’re just working with the Front of the shirt. Fold and press one of your rectangular facing pieces in half lengthwise. We’ll call this facing A. Fold the other in half lengthwise, then fold in each of the long edges 1/4 inch. Press to get nice, crisp folds. This will be facing B. On the front body piece of your shirt, the cut edge that is further from the shoulder seam (when looking at the front- right side for boys, left side for girls) will be edge A. The other side will be edge B. Stitch Facing A to edge A, raw edges together, from neck edge to bottom of opening on body Front. Turn facing A to inside of shirt. Top stitch around entire facing A. Sandwich edge B between folded edges of Facing B with about 3/8 inch overlap. Stitch close to edge to secure those pieces together. Push facing B tail to inside of garment. Lap the facings so Facing A and facing B line up. Your opening should line up as well. Stitch facings together on inside, then top stitch to shirt.

        For the collar/ top button:
        Sew collar pieces, right sides together, along the short sides and top. Clip corners and turn right sides out. Sandwich collar edge between top button pieces and sew along curved edge and top edge, catching the collar. (Be careful to only sew top edge of collar, not at curved edge of top button piece.) Clip curves and turn right sides out. The collar/top button should be finished except for the bottom edge that attaches to the body pieces.

        Sew the Front and Back pieces together at shoulders. Pin the collar to the neck opening with right sides together (only pin the front edge of top button/ collar to shirt). Stitch along that edge. Turn right sides out. Fold the inside top button/ collar seam allowance inside and either hand stitch or top stitch to catch that edge. Add a tag if desired.

        Let me know if this helps or doesn’t help or if you have any other questions. I have a couple of projects I’m working on right now and then I will *hopefully* be writing up a tutorial with pictures. Good luck! Let me know how it turns out. 🙂

  3. what is your suggestion if I want to change the measurements? How would I do that. i am wanting to make this polo for a teddy bear which is much smaller than a two year old! lol! help me out?

Leave a Reply

Fill in your details below or click an icon to log in:

WordPress.com Logo

You are commenting using your WordPress.com account. Log Out /  Change )

Facebook photo

You are commenting using your Facebook account. Log Out /  Change )

Connecting to %s

%d bloggers like this: